A tempered glass backsplash for kitchen spaces gives sleek style, easy cleaning, and strong heat safety.
If you want a backsplash that looks modern and works hard, you’re in the right place. I’ve helped homeowners choose, design, and install glass in real kitchens for years. In this guide, I’ll break down every key step of a tempered glass backsplash for kitchen projects. You’ll get real tips, clear costs, and design ideas you can use today.
What Is a Tempered Glass Backsplash?
A tempered glass backsplash is a heat-strengthened glass panel that protects the wall behind your counters and range. The glass goes through a special process to boost its strength and safety. If it breaks, it crumbles into small, dull pieces, not sharp shards.
This makes it a safe and stylish choice for busy homes. The surface is smooth, non-porous, and easy to wipe. That is why a tempered glass backsplash for kitchen walls is a favorite with clean, modern designs.

Key Benefits and Drawbacks
Benefits:
- Very easy to clean. Grease, sauce, and steam wipe right off with a cloth.
- Heat resistant. Works well near most cooktops when installed to code.
- Seamless look. Large panels cut down on grout lines and dirt traps.
- Hygienic. The surface is non-porous and resists stains and mold.
- Custom color and print. Match paint colors or add graphic designs.
Drawbacks:
- Needs careful measuring. Outlets and corners must be perfect.
- Can show smudges. A quick daily wipe keeps it clear.
- Upfront cost. A tempered glass backsplash for kitchen projects can cost more than tile.
- Chips at edges if abused. Good edge polishing and care help a lot.
I’ve seen clients choose it for rental units too. The reason is simple. It holds up and saves time on cleaning between tenants.

Design Options and Trends
You can get almost any look:
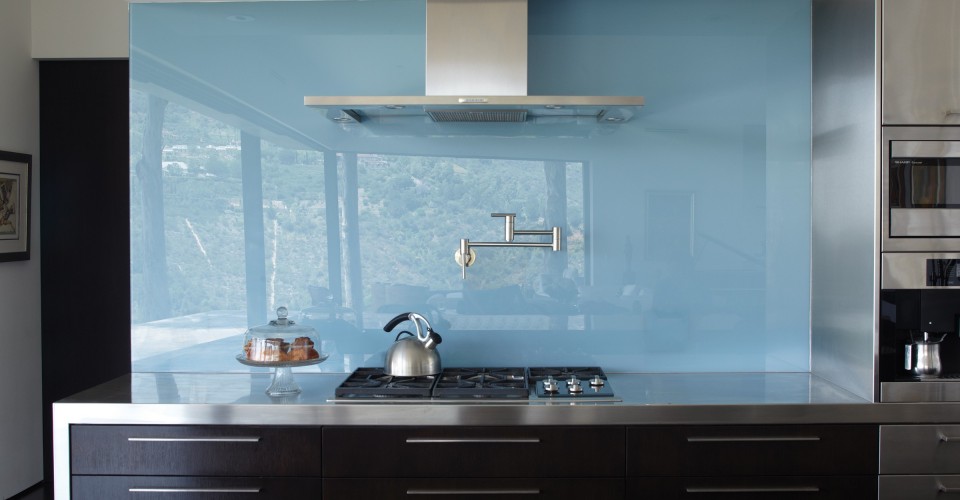
- Back-painted glass. Choose a solid color to match or pop.
- Low-iron glass. Gives a pure color with no green tint.
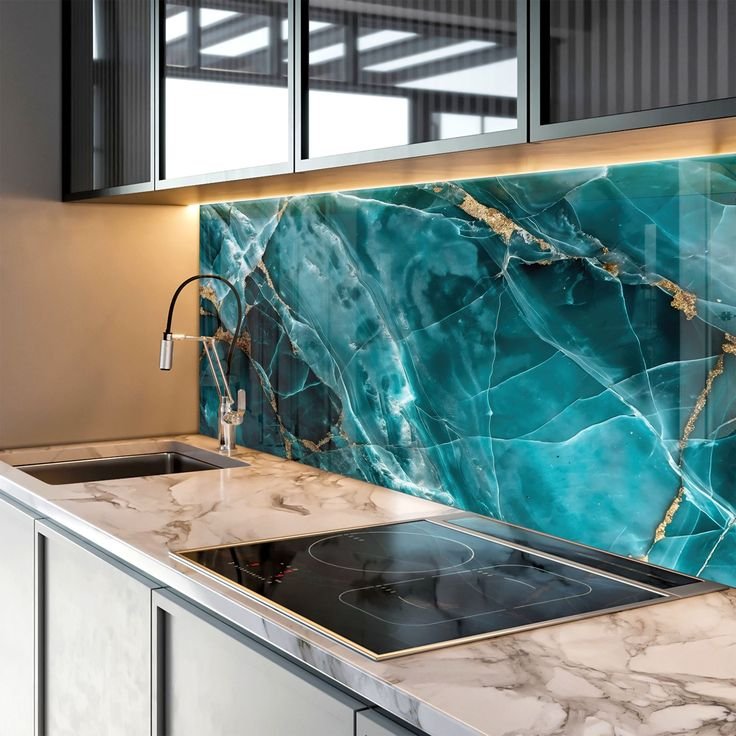
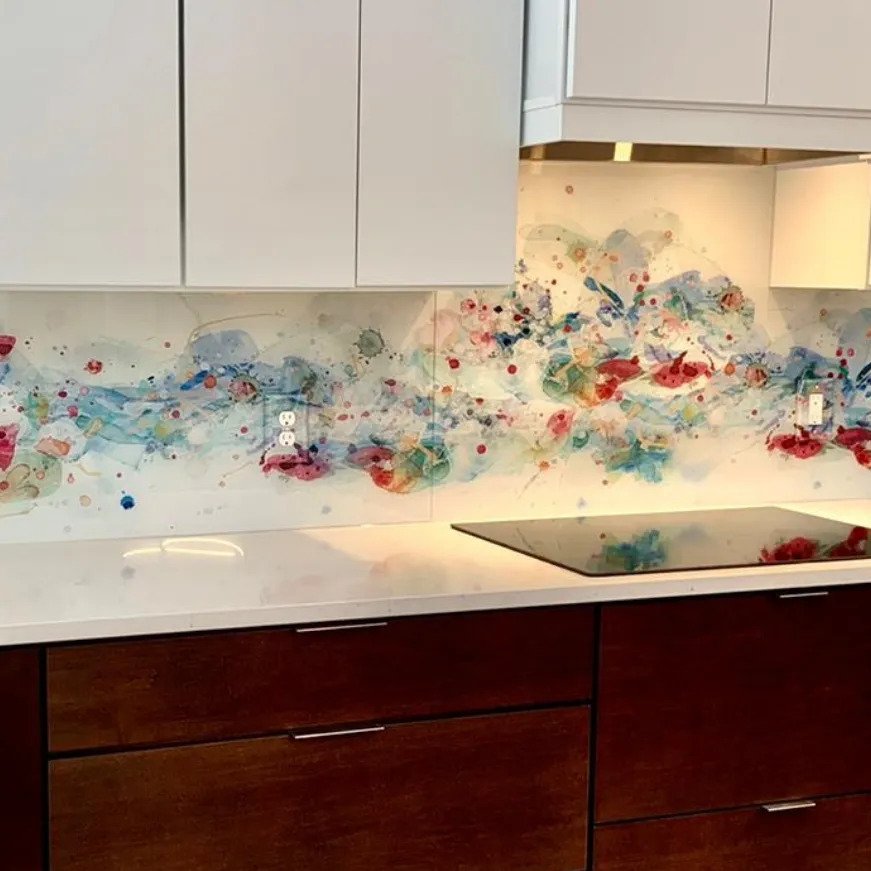
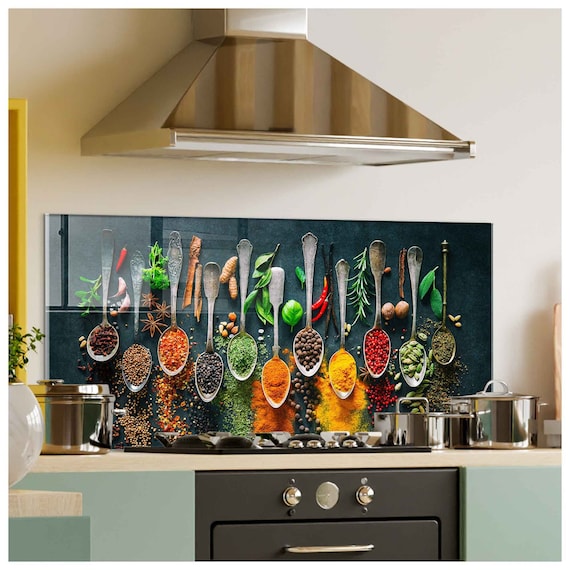
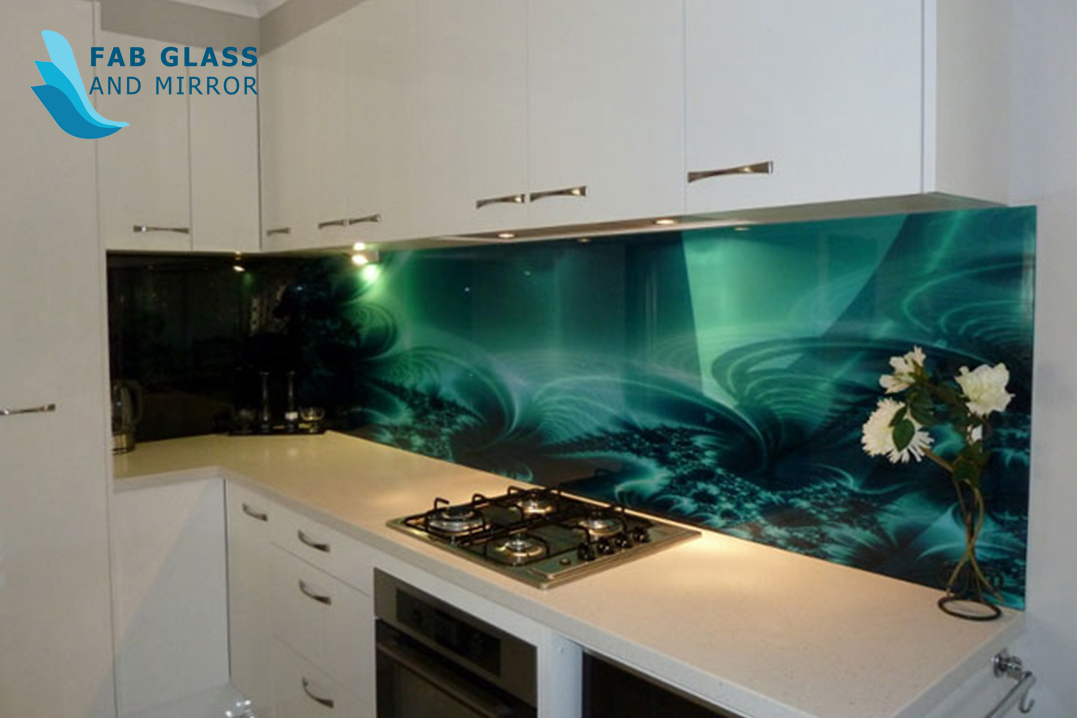
- Printed graphics. Add marble looks, patterns, or your own art.
- Matte or glossy. Gloss shines. Matte hides smudges better.
- Mirrored looks. Brighten small kitchens with light bounce.
- LED backlighting. Create a soft glow for a wow effect.
A tempered glass backsplash for kitchen remodels can be your main style move. One large color panel behind a range can anchor the whole room.
Cost, Budget, and Value
Costs vary by size, cuts, and install needs. Typical ranges I see:
- Material only: $35 to $85 per square foot for back-painted tempered glass.
- Installed: $80 to $150 per square foot with site measure, template, and labor.
- Average project: $900 to $2,500 for a mid-size kitchen.
Large panels, many cutouts, and color matching add cost. But the long life and low upkeep bring value. A tempered glass backsplash for kitchen upgrades often makes a space feel high-end with one move.

Sizing, Layout, and Measurements
Plan the layout before you order:
- Standard height. 18 inches from counter to wall cabinets is common.
- Range zone. Many choose 24 to 30 inches high behind the cooktop.
- Panel size. Fewer seams look better. Use the largest safe panel you can.
- Outlets and switches. Use templates for perfect cutouts.
- Edges. Choose flat-polish edges for a clean frame.
I like to mock up with craft paper first. It helps spot tricky spots. It also avoids reorders, which delay a tempered glass backsplash for kitchen installs.
Installation Guide: DIY vs Pro
DIY is possible with small panels. Large panels need pros and glass-safe tools.
Pro install steps I follow:
- Site measure. Check plumb walls and true corners. Create a template.
- Fabrication. Cut, polish, temper, and paint the back side.
- Dry fit. Test the panel before adhesive.
- Mount. Use neutral-cure, silicone-based adhesive made for glass.
- Seal. Use clear silicone at counters and edges for a neat line.
- Cure. Do not cook or clean the area for 24 to 48 hours.
Safety tip. Always lift with glass suction cups and two people. A tempered glass backsplash for kitchen areas is tough, but edges still need care.

Care, Cleaning, and Maintenance
Daily care is simple:
- Wipe spills with a soft cloth and warm soapy water.
- For grease, use a glass cleaner or a vinegar-water mix.
- Avoid abrasive pads and powders. They can dull the shine.
Use plastic or wood tools to scrape any dried bits. Over years, this keeps a tempered glass backsplash for kitchen walls looking like new.
Safety, Heat, and Codes
Tempered glass handles kitchen heat well when installed to guidelines. It is made for higher temps than standard glass. Still, keep it off direct flame.
Good practice:
- Keep a safe gap from gas burners as per your range manual.
- Use heat-rated silicone and spacers behind the glass.
- For very high-output ranges, add a small metal shield just behind the burners.
Follow local code and your fabricator’s rules. A tempered glass backsplash for kitchen ranges is safe when the gap, adhesive, and clearances are right.
Common Mistakes to Avoid
- Skipping templates. Walls are not always square. Templates save money.
- Using the wrong adhesive. Only use neutral-cure silicone for glass.
- Tight fit at edges. Leave a small gap for thermal expansion.
- Cutting after tempering. All cuts must be done before it is tempered.
- Facing the paint outward. The painted side must face the wall.
I once saw a paint-out mistake on a rush job. We had to reorder the panel. A one-week delay taught the team to label sides in big letters.
Alternatives and How They Compare
- Ceramic or porcelain tile. Classic, lower cost, but grout needs care.
- Quartz slab. Durable and luxe, but heavy and pricey to install.
- Stainless steel. Tough and pro style, but shows scratches.
- Acrylic or polycarbonate. Cheaper and light, but less heat resistant.
If you want clean lines and fast cleaning, a tempered glass backsplash for kitchen updates beats most options. If you love pattern and craft, tile can still win.
Buying Checklist
Before you order, confirm:
- Glass type and thickness. 1/4 inch (6 mm) is common. 3/8 inch (10 mm) for big spans.
- Low-iron option. For truest color.
- Edge finish. Flat polish looks best and helps prevent chips.
- Safety film on the back. Optional, adds another layer of safety.
- Color proof. Ask for a sample with your light conditions.
- Cutout plan. Mark every outlet and switch on the template.
- Warranty and lead time. Check coverage on paint and tempering.
This checklist keeps your tempered glass backsplash for kitchen projects on time and on budget.
Real-World Tips From the Field
- Pick a soft white, not paper white, under warm lights. Pure white can look blue.
- Run the glass 1 to 2 inches past the cooktop edges. It catches splatter.
- Seal the bottom seam well. Water at the counter line is the main risk.
- Ask for color matched sealant if you choose matte glass.
- Photograph the wall before install. You will know where wires and studs sit.
These small steps make a tempered glass backsplash for kitchen installs look pro and last longer.
Frequently Asked Questions of tempered glass backsplash for kitchen
Is tempered glass safe behind a gas cooktop?
Yes, when installed with the right clearances and heat-rated silicone. Keep it away from direct flame and follow your range manual.
How do I clean a glass backsplash without streaks?
Use a soft cloth and a simple glass cleaner. Wipe in one direction, then buff dry with a microfiber cloth.
Can I put outlets in a glass backsplash?
Yes. Fabricators cut precise holes with CNC or waterjet tools. Plan all cutouts during templating.
Will the color look the same as my paint swatch?
Colors can shift behind glass and under your lights. Always test a real glass sample before you order the full panel.
How long does installation take?
Site measure takes about an hour. Fabrication often needs 1 to 2 weeks. Install is usually a few hours, plus cure time.
Does glass scratch easily?
Tempered glass resists scratches in normal use. Avoid abrasives and metal scouring pads to keep it clear.
What thickness is best for a kitchen backsplash?
Most homes use 1/4 inch (6 mm). Go thicker for wide spans, many cutouts, or extra rigidity.
Conclusion
A tempered glass backsplash for kitchen projects blends beauty, strength, and easy care. It gives you a smooth, modern surface that stands up to heat and wipes clean in seconds. With smart planning, the right adhesive, and careful templating, you get a flawless, long-lasting finish.
If this guide helped, take the next step. Measure your wall, request color samples, and price your panel. Ready for more tips? Subscribe for design guides, budget tricks, and real-world install advice.