
A wooden microwave stand with storage saves space and keeps your kitchen organized.
If you want a tidy, warm, and efficient kitchen, a wooden microwave stand with storage is a simple win. I’ve helped homeowners and renters pick, install, and style these pieces for years. In this guide, I’ll walk you through what to buy, what to avoid, and how to make a wooden microwave stand with storage work hard for your space.
What is a wooden microwave stand with storage?
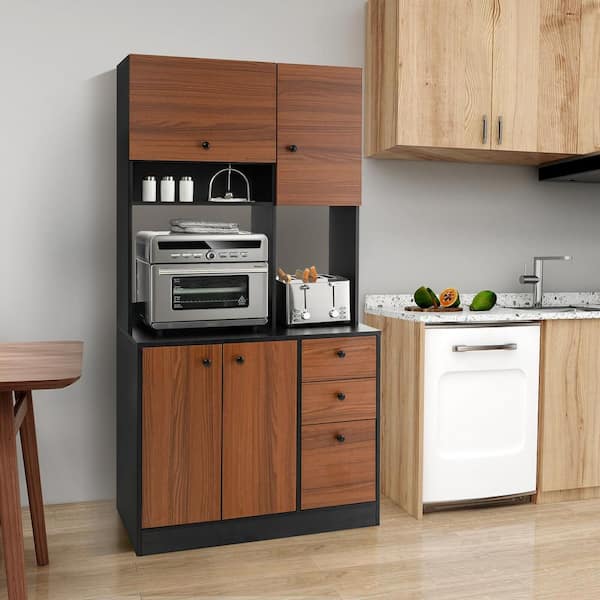
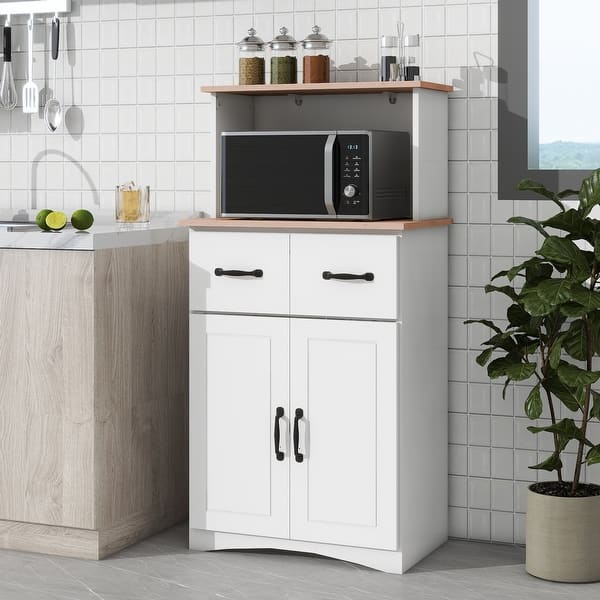
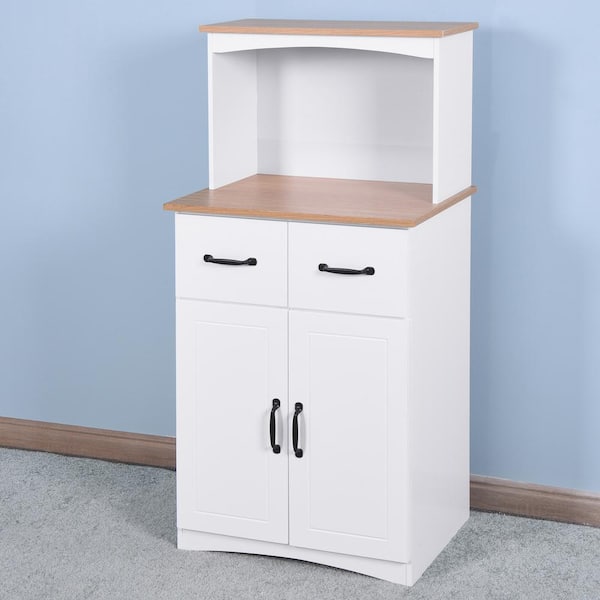
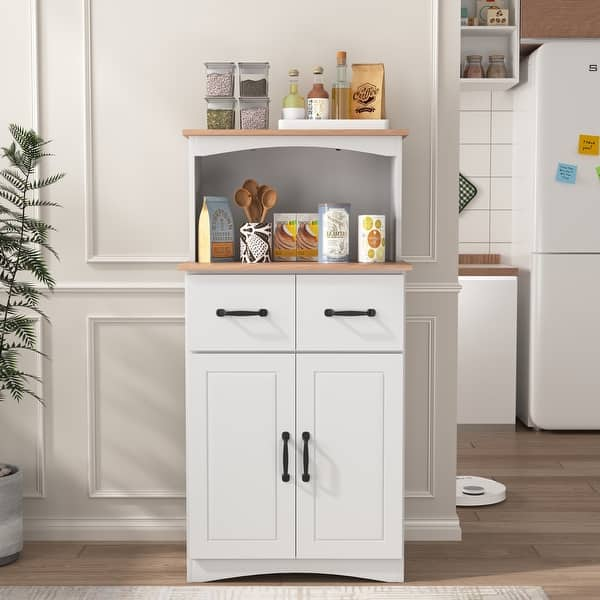
A wooden microwave stand with storage is a compact cabinet or cart that holds your microwave and adds shelves, drawers, or cabinets. It frees counter space, keeps daily tools close, and anchors a small kitchen zone.
Most stands offer a sturdy top shelf for the microwave. Below, you’ll find closed cabinets, open shelves, or a mix. Some models include wheels, side hooks, and a power strip to make setup easy.
Key features to look for:
- Solid, stable top shelf with a listed weight capacity
- Vent space behind and above the microwave for airflow
- Storage that fits your exact kitchen tools
- Finish that stands up to moisture and heat
You’ll see sizes for tiny studios up to large family kitchens. Pick the form that slots into your layout and matches your style.
Benefits: why it matters
A wooden microwave stand with storage does far more than hold an appliance. It adds order, safety, and flow.
Top benefits:
- More counter space Your prep zone opens up fast.
- Better ergonomics Place the microwave at chest height for less strain.
- Safer airflow Good stands give clearance so your unit runs cool.
- Hidden clutter Tuck bowls, wraps, and snacks out of sight.
- Long-term value Quality wood looks better with time and light care.
- Warm style Wood adds calm and texture that metal racks can’t match.
For renters, a rolling stand can act like a mini island. For owners, a fixed cabinet can feel built-in without the remodel.
Types, materials, and finishes
Not all stands are the same. Match the type and material to your home and use.
Common types:
- Fixed cabinet Clean look; feels built-in; very stable.
- Microwave cart with wheels Flexible; great for small spaces.
- Hutch style Extra vertical storage; doors hide the mess.
- Corner unit Uses dead corners; ideal for tight floor plans.
- Narrow tower Slim footprint; fits galley kitchens.
- Island-style cart Adds prep surface plus storage and seating on some models.
Materials and builds:
- Solid wood Highest durability; can be refinished; costs more.
- Plywood or MDF with wood veneer Smooth look; stable when sealed well.
- Bamboo Hard, eco-friendly; light, modern vibe.
Finishes:
- Clear or natural Shows grain; easy to match.
- Painted White, gray, black work with most kitchens.
- Stain Walnut, oak, acacia tones warm up stainless steel.
- Low-VOC sealers Safer indoor air, less odor.
Hardware notes:
- Soft-close hinges Reduce slams and stress on the frame.
- Full-extension drawer slides Easier access to the back.
- Locking casters Keep rolling carts steady.

How to choose the right wooden microwave stand with storage
Start with a tape measure. A little planning saves headaches.
Step-by-step:
- Measure your microwave Width, depth, and height. Many units are 18 to 30 inches wide and 10 to 17 inches tall. Weight ranges from 25 to 60 pounds.
- Check airflow Leave about 3 inches at the sides and back, and at least 3 inches above unless your manual states more.
- Match the stand size Add 1 to 2 inches to shelf width and depth for easy fit.
- Confirm weight capacity Look for a rating that exceeds your microwave’s weight by 25% or more.
- Decide height Aim for a top shelf near 48 to 52 inches from the floor for easy reach. Go lower if kids will use it.
- Plan storage Make a quick list: bowls, wrap, mugs, tea, snacks, spices. Choose shelves and drawers to fit.
- Check outlets and cord path Ensure a nearby outlet; plan cable routing.
- Style match Pick finishes that flow with cabinets and floors.
- Set a budget Good stands run from budget MDF to premium solid wood.
Smart extras:
- Built-in power strip with surge protection
- Side hooks for mitts and tools
- Removable shelves for tall items

Space planning and setup tips
Place the stand where it helps your daily flow. A few inches can change the feel of a kitchen.
Placement ideas:
- Close to the fridge or pantry for quick reheats
- Near an outlet to avoid cord stretch
- Out of main walkways to prevent bumps
Setup tips I use on installs:
- Level the stand Wobble leads to rattles and wear.
- Lock casters if on a cart Keep it steady during use.
- Use an anti-tip kit for tall hutches Add peace of mind.
- Add a surge protector Microwaves draw power; protect the unit.
- Cable management Use clips or a cord sleeve to keep it neat.

Organization ideas that work
A wooden microwave stand with storage shines when the inside is tidy. Think zones and fast access.
Quick wins:
- Use clear bins for tea, cocoa, and snacks You see it, you use it.
- Add a lazy Susan on a shelf Great for sauces and oils.
- File baking sheets vertically Use a rack to save space.
- Store wraps and foil in a drawer With a cutter if you have one.
- Keep mugs by the microwave Tea time moves faster.
- Label light and low Keep labels simple and readable.
Pro tip: Set a 10-minute reset once a month. Toss stale snacks and wipe shelves.
Care, maintenance, and longevity
Treat the wood right and it will outlast the microwave.
Simple care:
- Wipe with a damp cloth and mild soap Dry right away.
- Avoid harsh cleaners or heavy steam They can dull or lift finishes.
- Use a trivet under hot items Microwaves vent heat; protect the top.
- Add felt pads under tools and bins Stop scratches.
- Manage humidity Wood likes stable rooms. Aim for normal indoor range.
If the finish dulls, use a wood-safe conditioner or wax per the maker’s guide. Tighten hardware once or twice a year.
DIY and customization ideas
Make a wooden microwave stand with storage fit your style and habits.
Upgrades I’ve done for clients:
- Swap knobs and pulls Changes the whole vibe fast.
- Add side hooks or a rail Hang mitts and towels.
- Install under-shelf LED lights Better view in cabinets.
- Mount a narrow spice rack on the side Keeps the top clear.
- Fit drawer dividers for wraps and bags No more jumble.
- Add a butcher block top for carts Extra prep space and durability.
Basic DIY list:
- Drill, screwdriver, wood glue, clamps
- Fine-grit sandpaper and touch-up stain or paint
- Level, measuring tape, stud finder for hutch anchoring
Safety note: If adding a power strip, choose a unit with surge protection and proper ratings.
Budget, brands, and what I’ve tested
Price ranges you can expect:
- Budget Under $120 MDF or particleboard; good for dorms or studios.
- Mid-range $120 to $350 Solid frames or quality veneers; better hardware.
- Premium $350+ Solid wood, soft-close parts, custom finishes.
What I’ve learned in the field:
- Bamboo carts are tough, light, and easy to move in small homes.
- Solid oak and acacia stands feel stable and hide wear well.
- Soft-close doors and full-extension drawers are worth the extra cost.
Personal note: In my last apartment, a bamboo wooden microwave stand with storage freed two feet of counter space. I added hooks and a spice rack. It rolled out for cleaning and locked firm when in use. Setup took 30 minutes and saved me time every day.
When to spend more:
- Heavy microwave or convection model
- Daily family use with lots of door slams
- Desire for a piece that looks built-in
Frequently Asked Questions of wooden microwave stand with storage
What size wooden microwave stand with storage do I need?
Measure your microwave and add at least 1 to 2 inches on width and depth. Leave about 3 inches above and behind for airflow unless your manual needs more.
Can a wooden microwave stand with storage hold a convection microwave?
Yes, but confirm weight capacity and airflow. Many convection units are heavier and run hotter, so choose a sturdy top and keep vents clear.
Is a rolling cart or fixed cabinet better?
Rolling carts add flexibility for small spaces. Fixed cabinets feel more built-in and offer greater stability.
How do I protect the wood from heat and steam?
Use a trivet, keep vents clear, and wipe moisture right away. A sealed finish and routine care help the wood last.
What storage layout works best for daily use?
Keep mugs, tea, and snacks in the top drawers or shelves. Store bulk items below and use clear bins for fast access.
Will a wooden microwave stand with storage fit in a tiny kitchen?
Yes, look for narrow or corner models. A cart with wheels can slide out only when you need it.
How much should I spend on a wooden microwave stand with storage?
Budget models start under $120, but mid-range $120 to $350 gives better hardware. Premium solid wood above $350 offers long-term value.
Conclusion
A wooden microwave stand with storage gives you space, order, and style in one smart piece. Measure well, plan airflow, and pick storage that matches your daily routine. With a few setup tweaks and simple care, your stand will earn its keep for years.
Ready to upgrade your kitchen zone? Choose your stand, map your storage, and set it up this week. If you found this helpful, share it with a friend, subscribe for more home tips, or drop your questions in the comments.