Replace the Whirlpool microwave charcoal filter every 3–6 months to keep odors down and airflow clean.
If your kitchen smells hang around after cooking, your charcoal filter is likely tired. I’ve handled many Whirlpool over-the-range models, and a simple whirlpool microwave charcoal filter replacement often brings instant relief. In this guide, I’ll show you how it works, when to change it, and the exact steps to do it right on the first try—safely, quickly, and with confidence.

How the charcoal filter works in your Whirlpool microwave
A Whirlpool over-the-range microwave can vent outside or recirculate air back into your kitchen. If it recirculates, air passes through a grease filter and then a charcoal filter. The charcoal filter traps odors and smoke using activated carbon. It does not wash clean; it saturates over time.
A fresh charcoal filter keeps air moving well and reduces lingering smells. A worn filter chokes airflow and makes the fan work harder. That is why whirlpool microwave charcoal filter replacement matters for both comfort and performance.
Signs you need whirlpool microwave charcoal filter replacement
You can wait for a reminder light, but your nose and eyes tell the truth. Watch for these common signs.
- Strong odors after cooking that do not fade fast
- More steam or smoke hovering under the cabinets
- Fan sounds louder or airflow feels weak at the vent
- Filter looks dark gray or sheds fine black dust
- The control panel shows a filter reminder message
If you notice two or more, plan a whirlpool microwave charcoal filter replacement soon.

Tools and parts you will need
You do not need much to swap the filter. Set up a small, safe workspace first.
- A step stool for a steady reach
- A Phillips screwdriver with a magnetic tip
- A soft cloth to protect the control panel
- The correct Whirlpool charcoal filter for your model
- Optional gloves to keep carbon dust off your hands
Tip from experience: open the door and drape a cloth over the keypad. It protects from dropped screws. This tiny step saves time.

Step-by-step whirlpool microwave charcoal filter replacement guide
Follow these steps for most Whirlpool over-the-range microwaves that recirculate. Your layout may vary by model, but the basics are the same.
- Kill the power. Unplug the microwave or switch off the breaker. Safety first.
- Remove the top grille. Open the door. Take out the two Phillips screws at the top grille. Slide the grille to the left and pull it off.
- Find the charcoal filter. It usually sits behind the grille, above the door, in a shallow slot.
- Take out the old filter. Lift the tab or tilt the filter forward and slide it out. Expect a little black dust.
- Insert the new filter. Match the airflow arrow or text on the filter. The arrow usually points toward the front of the microwave.
- Reinstall the grille. Slide it back into place and secure the screws.
- Restore power. Plug it in or flip the breaker on.
- Reset the reminder. On many models, press Options or Settings, choose Filter Reset, and confirm. If your model uses a keypad hold, press and hold the 0 or 2 button for a few seconds as labeled.
If your model has front-access filter doors, you may not need to remove the grille. The user guide will show the exact door or clip design. Still, the whirlpool microwave charcoal filter replacement steps stay similar.

Model differences and how to confirm the right filter
Whirlpool builds several over-the-range lines with small differences. Fit matters a lot with charcoal filters. Here is how to confirm you have the right one.
- Check the model tag. Open the door and look on the frame or cavity for the model number.
- Cross-check on the Whirlpool parts site. Enter the model to see the exact charcoal filter part.
- Compare size and shape. The filter should match the slot length, width, and tab location.
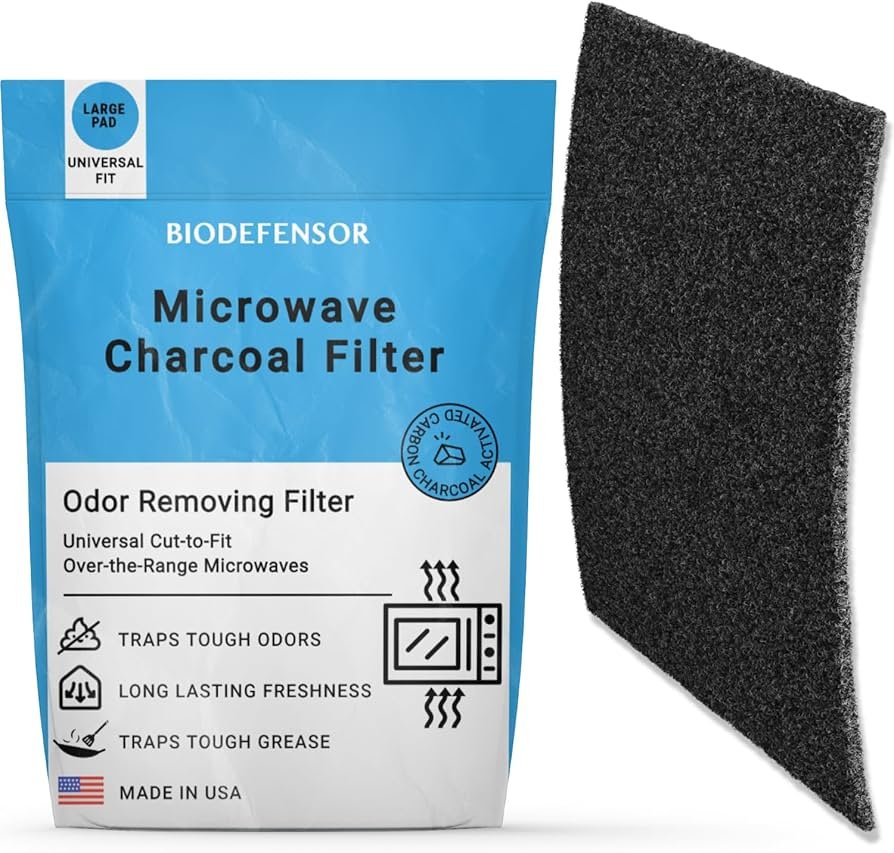
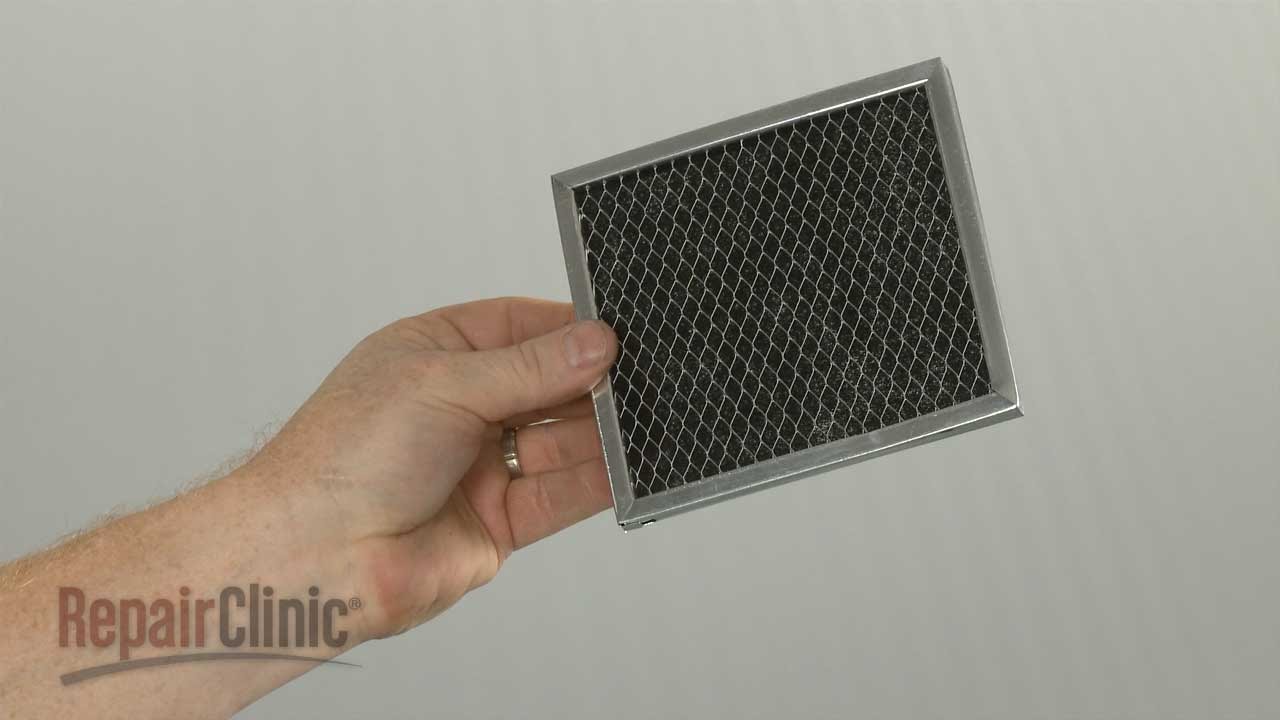
- Look for the words charcoal filter on the packaging. Grease filters are metal mesh and are washable. Charcoal filters are dark and porous and are not washable.
If your microwave is ducted to the outside, you likely do not use a charcoal filter at all. In that case, you only clean or replace the grease filter. This is a common confusion I see during whirlpool microwave charcoal filter replacement calls.

Safety, maintenance, and pro tips from experience
A little care makes the job smooth and safe. These are the habits I teach every client.
- Never wash a charcoal filter. Water ruins the carbon and spreads black residue.
- Wash the metal grease filter monthly. Warm water and mild soap work well.
- Replace the charcoal filter every 3–6 months. Heavy cooking or frying may need a 3-month cycle.
- Keep screws snug, not tight. Over-tightening can crack the plastic grille tabs.
- Use genuine or exact-fit filters. Off-size filters reduce airflow and cause fan noise.
Here is a quick story. A client cut a generic carbon sheet to size. It bowed inside the slot and blocked the vent. The fan grew loud and weak. A proper whirlpool microwave charcoal filter replacement fixed the airflow at once.

Cost, timing, and where to buy a genuine filter
You do not need a big budget for this fix. Most Whirlpool charcoal filters cost between 10 and 30 dollars. Sales happen often.
- Buy from the manufacturer parts site or trusted retailers.
- Keep one spare on hand to stay on your 3–6 month schedule.
- The job takes about 10 minutes for most models.
For kitchens that cook daily, plan a whirlpool microwave charcoal filter replacement at the start of each season. It keeps air clean and the fan happy.
Troubleshooting common hiccups during replacement
Things go wrong at times. Here is how to handle the most common ones.
- Stuck grille screws. Add a small drop of penetrating oil, wait a minute, and press the driver firmly while turning.
- Stripped screw head. Use a rubber band between the screw and driver for extra grip.
- Filter does not slide in. Check orientation and tab location. Do not force it. Confirm the part number again.
- Reminder will not reset. Power cycle the unit, then try the reset path listed on your control panel.
If you smell hot or see sparks, stop and pull the plug. That is not a filter issue. Call a trained tech. I have seen nests of grease cause arcing. Do not run it until it is checked.
Frequently Asked Questions of whirlpool microwave charcoal filter replacement
How often should I replace the Whirlpool microwave charcoal filter?
Most homes do well with a 3–6 month cycle. If you fry often or cook daily, plan for three months.
Can I wash or vacuum a charcoal filter to extend its life?
No. Washing or vacuuming breaks down the carbon and reduces performance. Replace it instead.
What is the difference between a grease filter and a charcoal filter?
A grease filter is metal mesh and washable. A charcoal filter absorbs odors and smoke and must be replaced.
Do all Whirlpool microwaves need a charcoal filter?
Only recirculating models use a charcoal filter. If your unit vents outside, you likely do not need one.
How do I reset the filter reminder on my Whirlpool microwave?
Many models have a Filter Reset under Options or Settings. Others use a long press on a labeled keypad button for a few seconds.
Is it okay to use a third-party charcoal filter?
Yes, if it is an exact fit for your model. Poor fit harms airflow and can increase fan noise.
Conclusion
A clean charcoal filter keeps your kitchen fresh and your microwave fan efficient. With a simple whirlpool microwave charcoal filter replacement every few months, you avoid odors, protect airflow, and extend appliance life. Take ten minutes today to check your filter, order the right part, and set a reminder for your next swap. Want more easy home tips? Subscribe for simple, step-by-step guides, or drop a comment with your model number and questions.