A wall plate cable pass through hides and protects cables while keeping walls neat.
You want a clean look without loose wires. As a home theater and network installer, I’ve learned what works, what fails, and what saves time. This guide walks you through the wall plate cable pass through from start to finish. You will learn how to choose, install, and maintain the right plate for a safe, pro-grade result.
What Is a Wall Plate Cable Pass Through?
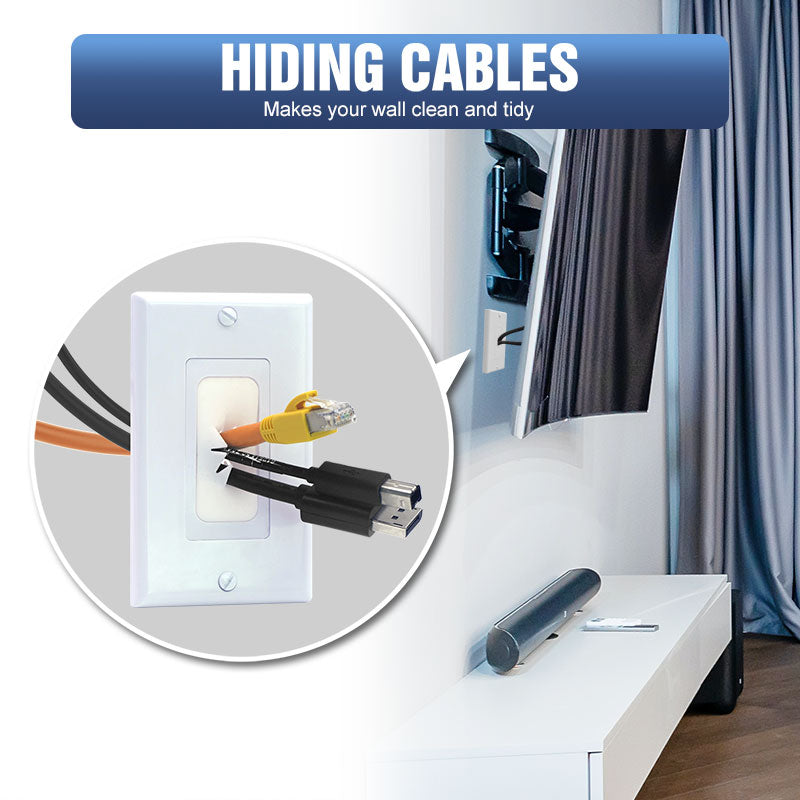
A wall plate cable pass through is a small plate that lets cables move through a wall while keeping the hole clean and safe. You often see it behind a TV, desk, or projector. It reduces mess and helps guide cables where they need to go.
Most plates fit a standard low-voltage mounting bracket. Some use brushes. Some use rubber grommets. Others are open pass-through plates with a curved throat. The right style depends on the room, cable type, and look you want.
People use a wall plate cable pass through for HDMI, Ethernet, speaker wire, coax, and fiber. It is simple, it looks sharp, and it helps with safety and code rules.
Why Use a Wall Plate Cable Pass Through?
A wall plate cable pass through is more than a neat faceplate. It adds value in key ways.
- Cleaner look. Hide the hole and route cables with a tidy exit.
- Safer setup. Reduce snags and protect softer jacket cables.
- Better cable control. Keep bend radius within limits and avoid kinks.
- Easier moves. Plates make it simple to add or swap devices.
- Helps with code and best practice. Use in-wall rated cables and proper openings.
If you run a TV mount, a gaming rig, or a conference room display, a wall plate cable pass through pays off. It looks pro and it lasts.
Types of Wall Plate Cable Pass Through and When to Choose Each
Not all plates are the same. Pick based on cable bulk, dust, and look.
- Brush plate. Two brush rows meet in the center. Good for many small cables and a clean look. Helps block dust and light.
- Rubber grommet plate. Soft opening grips the cable bundle. Good for fewer, thicker cables like HDMI and power-inlet kits.
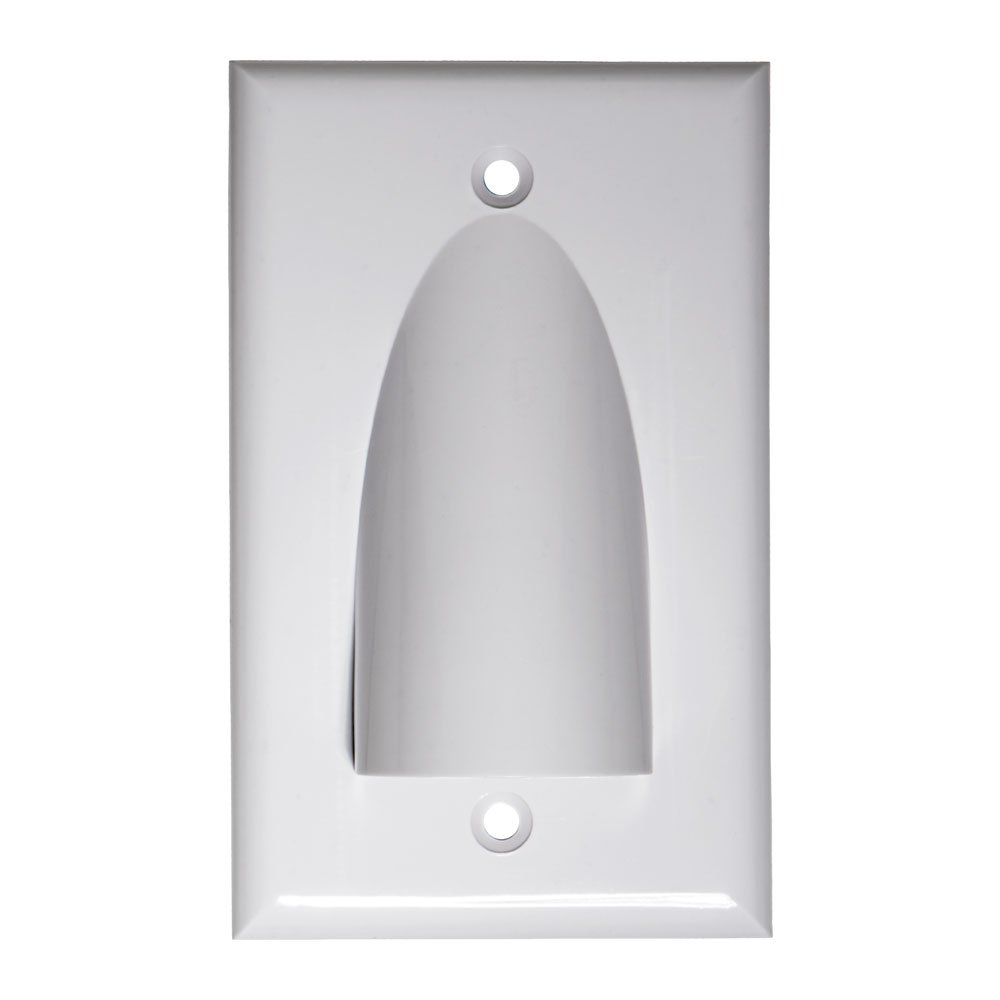
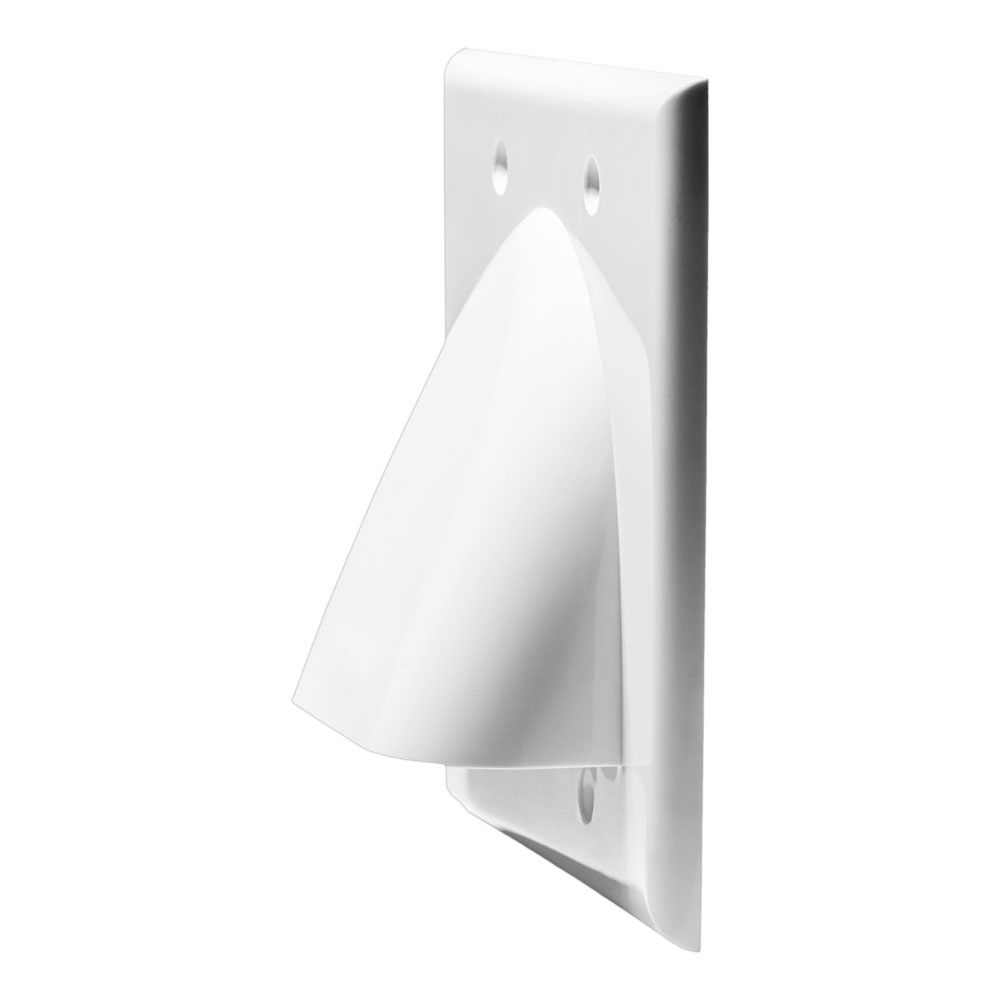
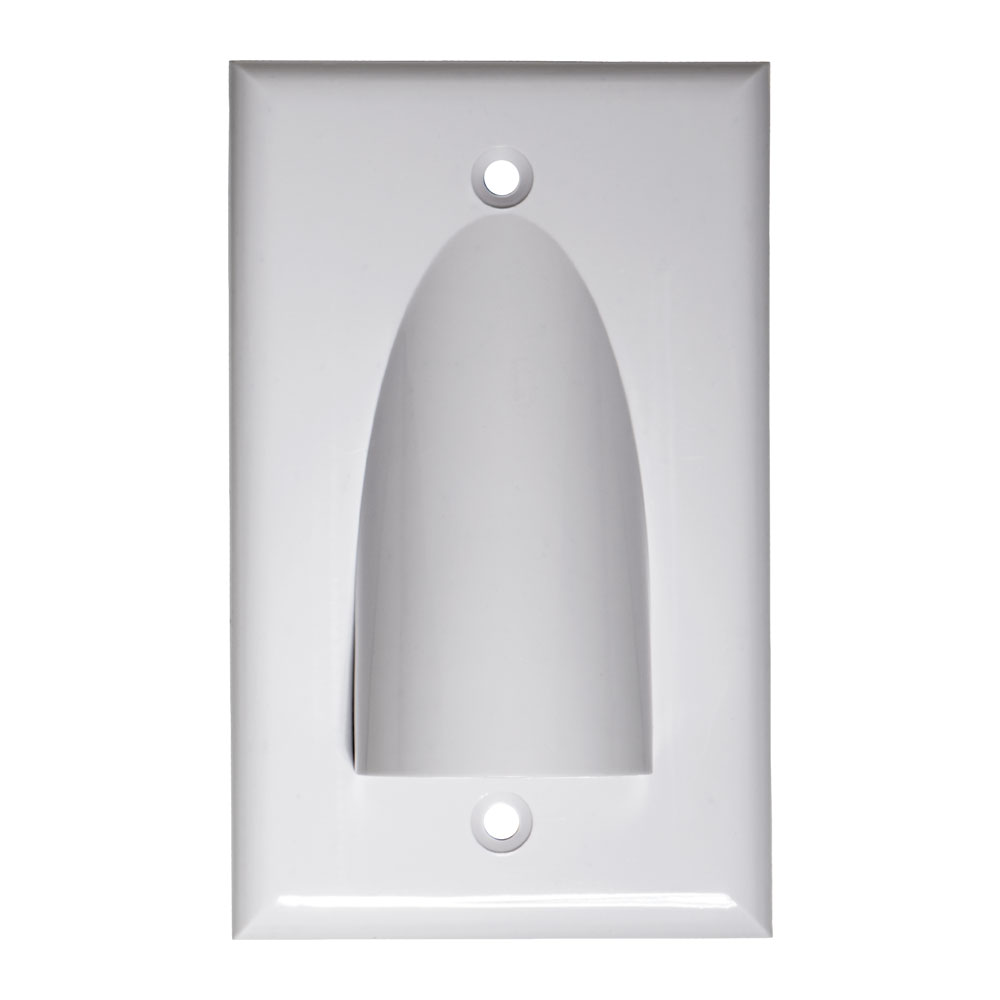
- Open scoop or hooded plate. Big curved opening. Great for high-density bundles or large connectors. Easy to pull and service.
- Decora insert pass through. Fits in a Decora wall plate. Matches other switches and jacks in the room.
- Keystone plus pass through. Mix pass through with keystone jacks for HDMI, Cat6, coax, and USB in one plate.
Tip: For a wall-mounted TV, I use a top brush plate and a bottom scoop. It makes pulls smooth but still looks clean.

Planning Your Install: Tools, Codes, and Layout
Plan first. It saves holes, time, and money.
Tools you may need:
- Low-voltage mounting brackets
- Stud finder and level
- Drywall saw and utility knife
- Fish tape or fiberglass rods
- Pull string and electrical tape
- Vacuum and drop cloth
Code and safety notes:
- Use in-wall rated cable. Look for CL2/CL3 for speaker/power-limited, or CM/CMR for Ethernet. Use plenum cable in air-handling spaces if needed.
- Do not share a box with high-voltage power unless you use a listed divider. Follow common rules from electrical codes such as the NEC in the US.
- Seal fire-blocks if you open them. Use approved firestop materials as required by local code.
- Keep cable bend radius gentle. Many HDMI and fiber lines fail if bent too tight.
Layout tips:
- Map the cable path between studs. Avoid plumbing and vents.
- Mark plate height that matches the TV or desk gear.
- Pull a spare string for the next upgrade.

Step-by-Step Installation Guide
Use this simple flow for a wall plate cable pass through.
- Mark stud locations with a stud finder. Choose open stud bays for top and bottom plates.
- Trace the bracket outline on the wall. Level it.
- Cut the hole with a drywall saw. Keep the hole just big enough for the bracket.
- Install the low-voltage mounting bracket. Tighten tabs until snug.
- Prep cables. Add pull string to the leading end. Tape staggered connectors for a slim profile.
- Fish the cable through the wall from top to bottom. Use rods for tricky runs.
- Attach the wall plate cable pass through to the bracket. Check that cables move freely.
- Dress the cables. Keep slack modest and avoid sharp bends.
- Power on and test. Check HDMI sync, network speed, and audio.
- Label both ends. Future you will say thanks.

Pro Tips from the Field
After hundreds of installs, these are my go-to moves.
- Pre-test every HDMI, Cat6, and fiber run on the floor. A two-minute test saves a two-hour tear-down.
- Use a sweep or scoop plate at the pull-in side. It reduces connector stress.
- Stagger tape on bundle pulls. Big heads like HDMI pull best when offset.
- Leave a pull string in every wall plate cable pass through. It is like a cheat code for upgrades.
- If the wall is busy, go baseboard or surface raceway. It can look clean and is far safer than forced wall cuts.

Common Mistakes to Avoid
These errors cause most call-backs.
- Using non in-wall rated cable. It may fail inspection and can be unsafe.
- Tight bends behind the TV. This is a top cause of HDMI dropouts.
- Mixing power and low-voltage in the same box without a divider. That can break code.
- Cutting the hole too large. Plates will not cover it well.
- No slack at the TV. Mount tilt and swivel need extra length.
Maintenance and Future-Proofing
A wall plate cable pass through can serve you for years with simple care.
- Dust brush plates now and then. It keeps bristles aligned and clean.
- Keep a spare string and notes on cable paths in the plate cavity.
- Plan for growth. Use a dual-gang plate if you see more gear coming.
- Consider conduit for long or complex runs. A short flexible conduit jump can be a life saver.
Buying Guide: Features, Materials, and What to Look For
Shop smart and match the plate to your project.
- Fit and size. Standard single-gang fits most needs. Dual-gang helps with thick bundles.
- Opening style. Brush for neat and light block. Scoop for easy pulls. Grommet for grip.
- Material and finish. Look for UL-listed, flame-resistant ABS. Choose white, black, or paintable to match trim.
- Strain relief. Some grommet plates support light strain. That helps with heavier runs.
- Mounting hardware. Include screws and a bracket if you need one.
Pro move: Buy two extra plates. If you ever change gear, you have a match on hand.
Use Cases and Layout Ideas
Real rooms need real plans. Here are fast wins with a wall plate cable pass through.
Wall-mounted TV
Run one plate high behind the TV and one low near the console. Use brush high and scoop low for smooth pulls.
Home office desk
Place a scoop plate low behind the desk. Pair with a keystone plate for Ethernet and USB.
Gaming setup
Route HDMI 2.1 and Cat6 behind the wall with a grommet plate. Add a spare string for future consoles.
Projector and screen
Put a pass through near the projector mount and one near the AV rack. Keep fiber and HDMI bend radius wide.
Conference room display
Use dual-gang plates for bulk cables and labeled keystones. It speeds up service and swaps.
A clean wall plate cable pass through plan keeps every space neat, fast, and simple to maintain.
Cost and Time Estimates
You can set up a wall plate cable pass through in an hour or two. A DIY install can fit a lunch break if the path is clear.
- Plates and brackets. Often 10 to 30 dollars per location.
- Cables. Varies by length and spec. Budget more for fiber or active HDMI.
- Tools. Basic hand tools work for most jobs.
If you face fire-blocks, tile, or brick, allow more time. When in doubt, bring in a pro for a quick site check.
Environmental and Safety Considerations
Keep safety first when you add a wall plate cable pass through.
- Use listed, in-wall rated cable to limit smoke and flame spread.
- Seal any opened fire-blocks with an approved firestop. This helps air and smoke control.
- Keep low-voltage and power in separate boxes unless you have a listed barrier.
- Avoid tight bundles that trap heat behind dense gear.
These steps help you meet common standards and keep the install safe and sound.
Frequently Asked Questions of wall plate cable pass through
What is a wall plate cable pass through used for?
It lets cables pass through a wall and keeps the opening neat. You get a clean look and less wear on cable jackets.
Can I run power and low-voltage through the same wall plate?
No, not in the same box unless there is a listed divider. Keep them separate to follow common electrical code rules.
Do I need in-wall rated HDMI and Ethernet?
Yes, use in-wall rated cable like CL2/CL3 or CMR where required. It is safer and often needed for compliance.
Will a brush plate block dust and light?
A brush plate helps reduce dust and light bleed. It also keeps the exit tidy while letting cables move.
How big should my wall plate be for many cables?
Use a dual-gang scoop or hooded plate for large bundles. It makes pulls easy and protects connectors.
Can I install a wall plate cable pass through in a rental?
Often yes if you get approval and patch holes when you move. Ask your landlord and follow building rules.
What tools do I need for a basic install?
You need a stud finder, drywall saw, low-voltage bracket, and a screwdriver. A fish tape or rod helps with longer runs.
Conclusion
A wall plate cable pass through gives you a clean, safe, and flexible setup. Plan your path, use in-wall rated cables, and pick the right plate style. With a few tools and smart steps, your TV wall, desk, or studio will look sharp and work better.
Try one small upgrade this week. Add a wall plate cable pass through to your most cluttered spot. If this guide helped, share it, subscribe for more tips, or drop a question in the comments.