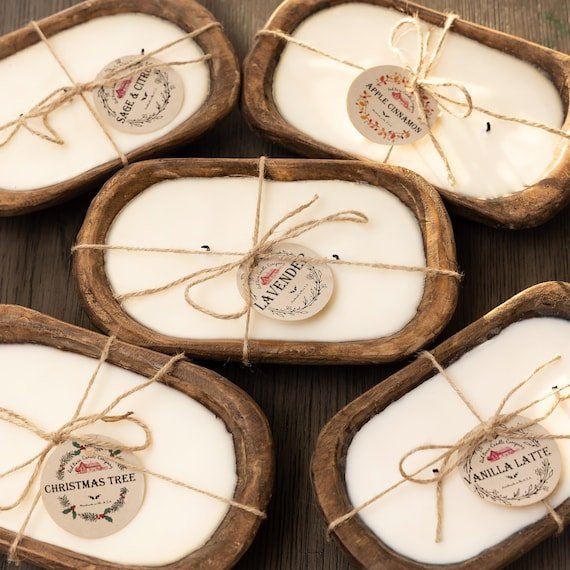
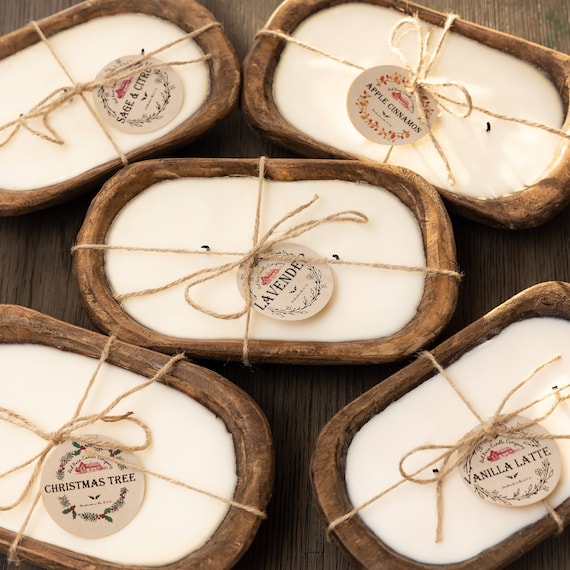
A wooden dough bowl can hold safe, beautiful multi-wick candles with rustic charm.
If you love warm, slow evenings and natural decor, a wooden dough bowl for candle making is a perfect match. I’ve tested many bowls, waxes, and wicks in a busy studio, and I’ll show you what actually works. You’ll learn how to choose the right bowl, seal it, wick it, and pour a clean, even burn that smells amazing. Stick with me and you’ll master the wooden dough bowl for candle making from start to finish.
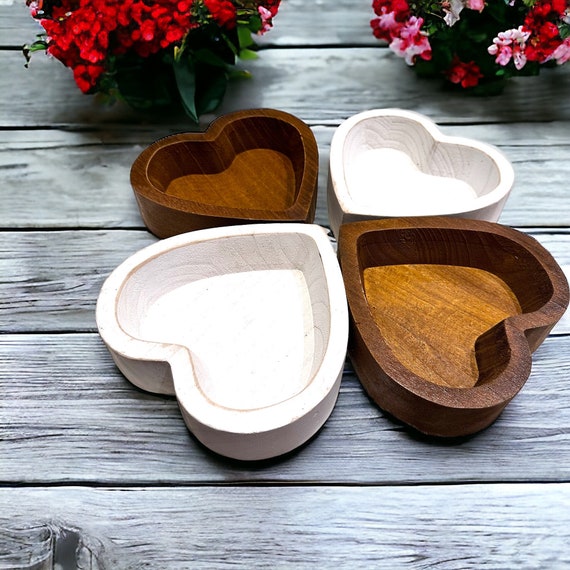
What a Wooden Dough Bowl Candle Is
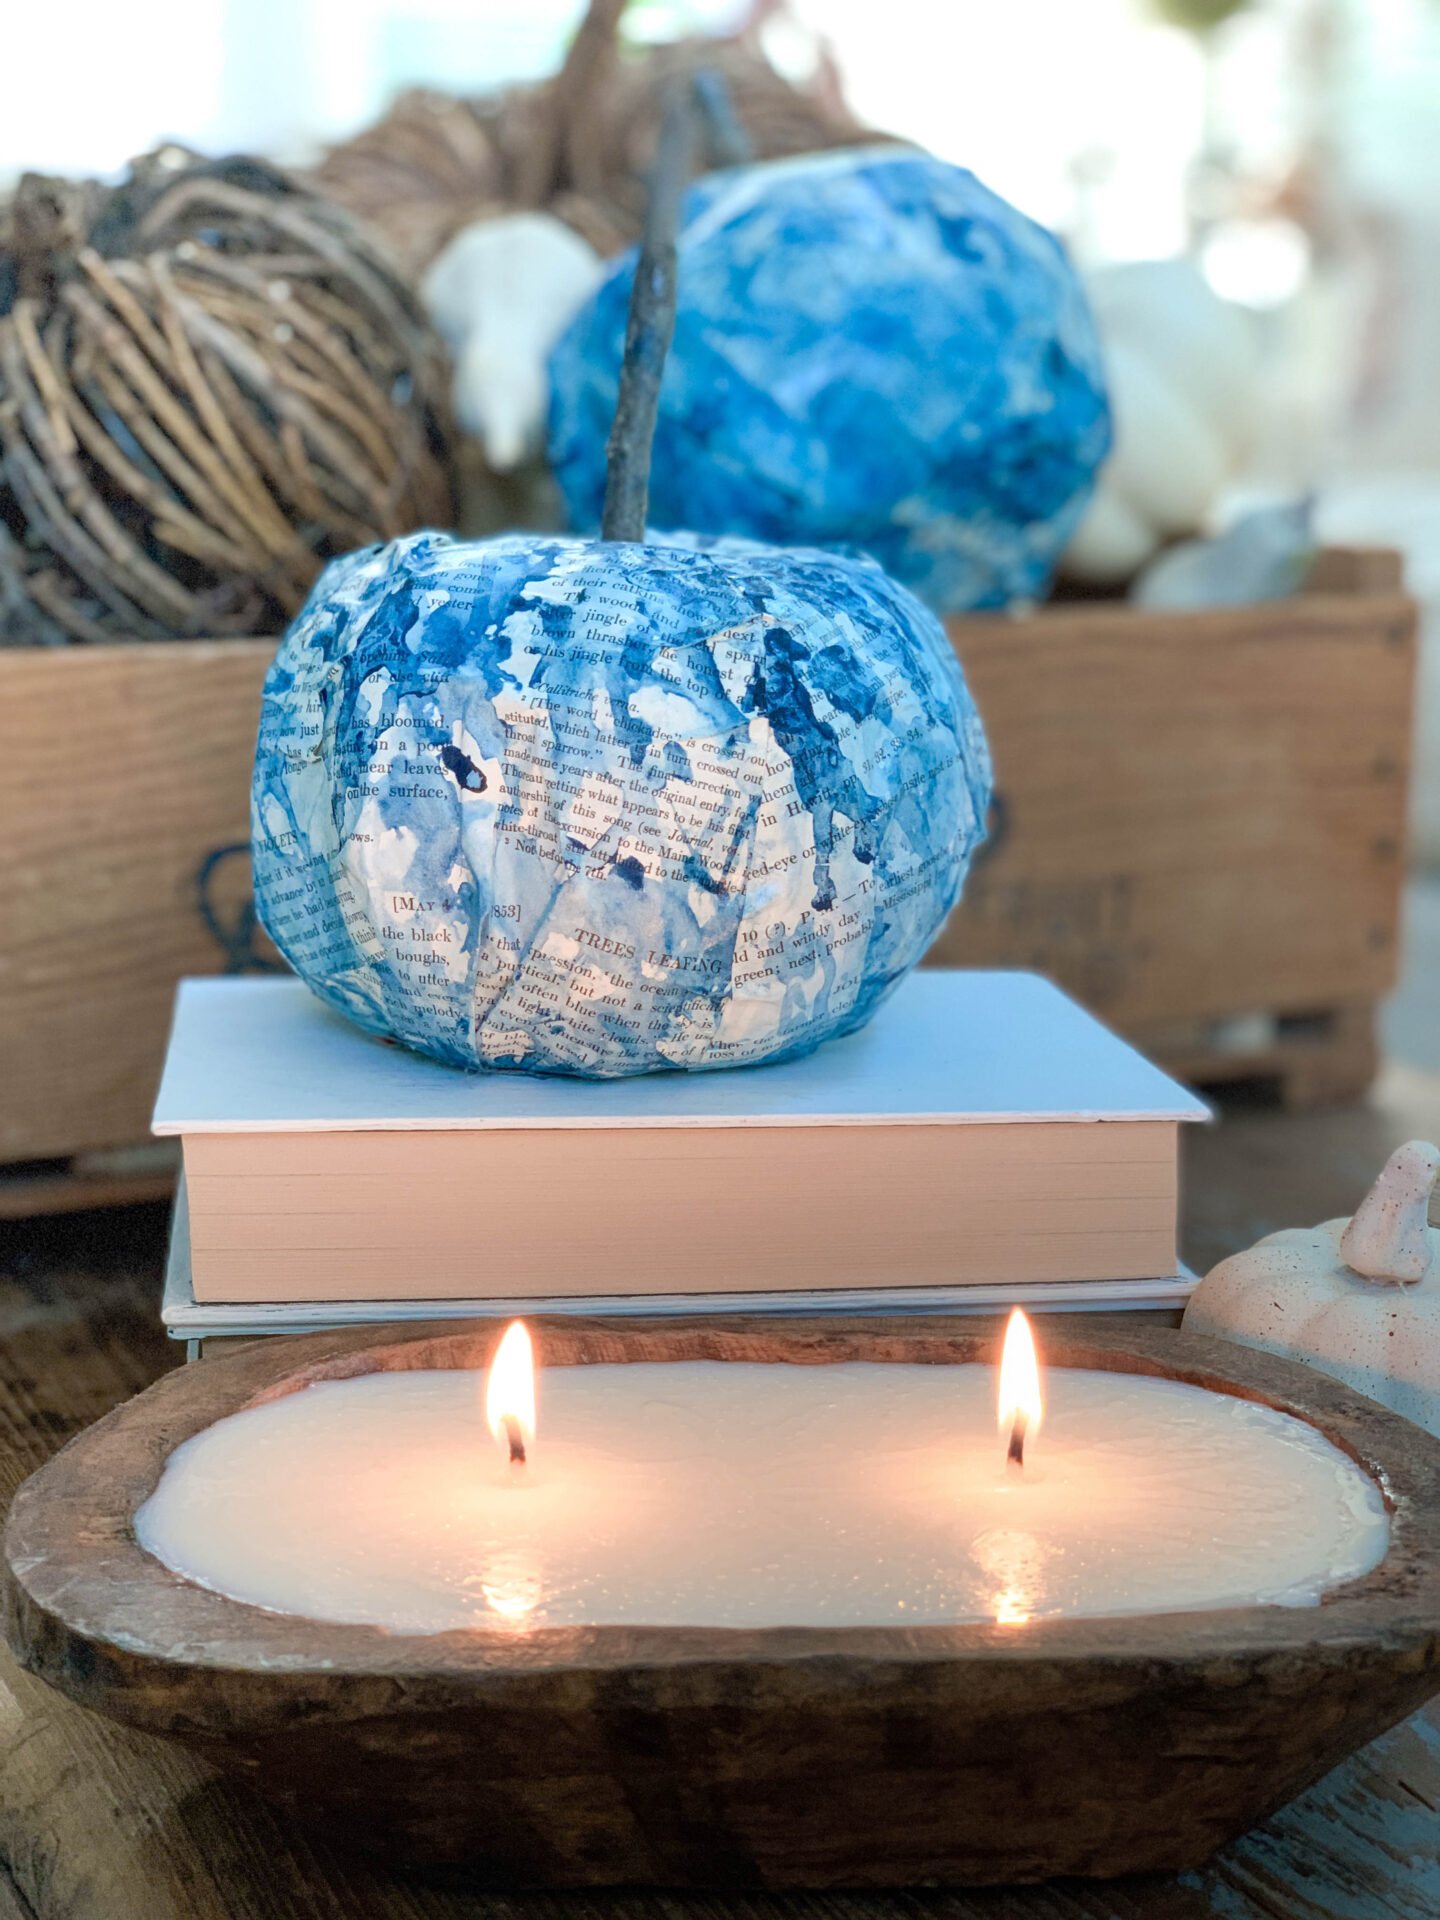
A dough bowl candle is a hand-poured candle set inside a carved wood bowl. The bowl adds a rustic, one-of-a-kind look. Each piece is unique. Most bowls need two to five wicks to burn well.
A wooden dough bowl for candle making is both decor and function. It can hold a wide wax pool. It works best with a safe, sealed interior and well-sized wicks. You get glow, texture, and scent in one piece.
Pros and Cons of Using a Wooden Dough Bowl for Candle Making
Every vessel has trade-offs. Wood bowls are no different.
Pros
- Stand-out style with natural grain and shape
- Great for gifts and centerpieces
- Multi-wick glow and strong scent throw
- Refillable and reusable if you plan for it
Cons
- Porous wood can leak if not sealed well
- Shapes vary, so testing takes time
- Thin walls raise heat and fire risk
- More wicks mean more setup work
If you want a wooden dough bowl for candle making to shine, plan for sealing, wick testing, and careful burn tests.

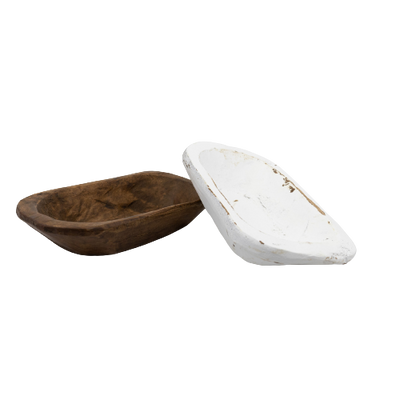
Choosing the Right Wooden Dough Bowl
Pick hardwoods known for light weight and low resin. Paulownia and mango wood are common. Avoid reclaimed wood with unknown finishes. Skip cracks, knots near the cavity, and bowls with very thin walls.
Key checks before you pour
- Wall thickness: at least 0.5 inch around the cavity
- Depth: about 2 to 2.75 inches works well
- Flame clearance: keep at least 1 inch from any wall
- Volume: fill the bowl with water to 0.5 inch below the rim, then measure. One fluid ounce of water is close to one ounce of wax by weight for a simple plan.
When in doubt, buy bowls sold as “pre-sealed” or “for candle use.” That reduces guesswork when using a wooden dough bowl for candle making.
Safety and Compliance Essentials
Heat rises and wood is organic, so safety is step one. Keep wicks and flames at least 1 inch from the wall. Always seal the bowl so wax does not soak into the grain. Use wick tabs and high-temp adhesive to keep wicks stable.
Do burn tests in 3-hour cycles. Record wax pool width, depth, and container temperature. Trim wicks to 0.25 inch before each burn. Use standard warning labels, batch codes, and clear use directions. For fragrance oils, follow maker limits and safety data. These steps are non-negotiable for a wooden dough bowl for candle making.
Tools and Materials You’ll Need
- Wooden dough bowl, pre-sealed or ready to seal
- Soy, coconut blend, or beeswax
* Fragrance oil and a scale - Thermometer, heat-safe pitcher, and stirring tool
- Cotton or wooden wicks, tabs, and wick stickers
- High-heat, non-flammable sealer
- Heat gun for top touch-ups
- Labels and safety cards
This list keeps you on track when using a wooden dough bowl for candle making.

Step-by-Step: How to Make a Wooden Dough Bowl Candle
- Inspect and prep. Check wall thickness and depth. Sand rough spots. Wipe dust.
- Seal the bowl. Apply thin coats of a high-heat, non-flammable, water-based sealer. Let each coat dry. Cure per the maker’s guide. I use three coats for peace of mind.
- Plan the wicks. Map your spacing on paper or tape. Keep 1 inch from walls and even gaps between wicks.
- Attach wicks. Use wick stickers or hot glue. Press each tab flat. Use wick holders to keep them upright.
- Melt wax. Follow your wax sheet. Many soy waxes like 185°F for mixing fragrance. Coconut blends can be higher. Do not overheat.
- Add fragrance. Follow IFRA and your wax maker’s load range. Many soy waxes take 6 to 10%. Coconut blends can take 8 to 12%. Stir for two minutes.
- Pour. Many soy waxes pour best near 135°F. Coconut blends pour warmer. Pour slow to avoid air pockets.
- Cure. Cover the bowl with a box to limit dust. Cure based on wax guide. Soy often needs 1 to 2 weeks for full scent throw.
- Finish. Heat gun the top for tiny flaws. Trim wicks to 0.25 inch. Add labels.
- Test burn. Run 3-hour cycles. Watch flame height, wax pool width, and side heat. Adjust wicks if needed.
These steps form a solid base for a wooden dough bowl for candle making.
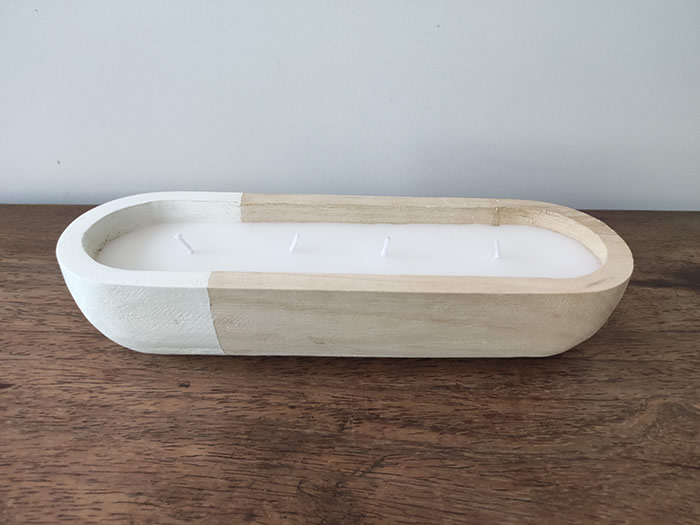
Wicks: Size, Number, and Placement
A wide bowl needs more than one wick. A simple rule: one medium wick for each 3 to 4 inches of surface width. Wider bowls may need three to five wicks. Keep at least 1 inch from any wall and 1 inch between wicks.
For cotton wicks, start with medium to large sizes for soy or coconut blends. For wooden wicks, use single-ply or booster styles and test. Mix and match only after trials. Record your test data. That log speeds up every future wooden dough bowl for candle making project.

Wax, Fragrance, and Burn Performance
Wax choice changes everything. Soy is smooth and familiar. Coconut blends give great scent throw and glass adhesion. Beeswax burns long and clean but needs stronger wicks. Paraffin blends throw big scent but may feel less “natural” to some buyers.
Fragrance load by wax
- Soy: 6 to 10%, test for weeping at higher loads
- Coconut blends: 8 to 12%, very good hot throw
- Beeswax: 3 to 6%, keep oils that bond well
Warm, spice, and wood notes suit a rustic look. But fresh herbs and citrus also shine. For a wooden dough bowl for candle making, test two oils at a time and keep notes on hot throw and burn pool.
Sealing and Finishing the Bowl
Sealing stops leaks and reduces scorching. Pick a non-flammable, water-based, high-heat sealer. Apply thin coats and let each one dry. Full cure can take several days. Do not rush it.
Avoid oils and wax conditioners that stay soft. They can bleed into your candle and affect wicking. If you do not want to seal, use bowls sold as pre-sealed for candle use, or add a fitted metal or silicone liner. Always test a full burn cycle before you sell or gift any wooden dough bowl for candle making.
Care, Use, and Customer Instructions
Great candles come with clear use steps. Add a card that says:
- Trim wicks to 0.25 inch before lighting
- Burn for 2 to 3 hours at a time to set the memory
- Keep on a heat-safe surface and away from drafts
- Stop use when 0.25 to 0.5 inch of wax remains
- Never leave a burning candle unattended
If you plan refills, include a return plan or a safe at-home refill guide. This builds trust and extends the life of a wooden dough bowl for candle making.
Troubleshooting and Common Mistakes
Common issues and quick fixes
- Tunneling: Add wicks or size up a step. Encourage a full first burn.
- Soot: Wick is too large or too long. Trim to 0.25 inch and size down if needed.
- Weak scent: Raise load within safe limits or switch to a better oil. Cure longer.
- Leaks: Seal again or retire that bowl. Do not risk a porous vessel.
- Hot sides: Wicks too close to the wall. Move them inward or reduce size.
I once skipped a second seal coat and saw tiny seep spots on day two. It taught me to over-test any wooden dough bowl for candle making before I ship.
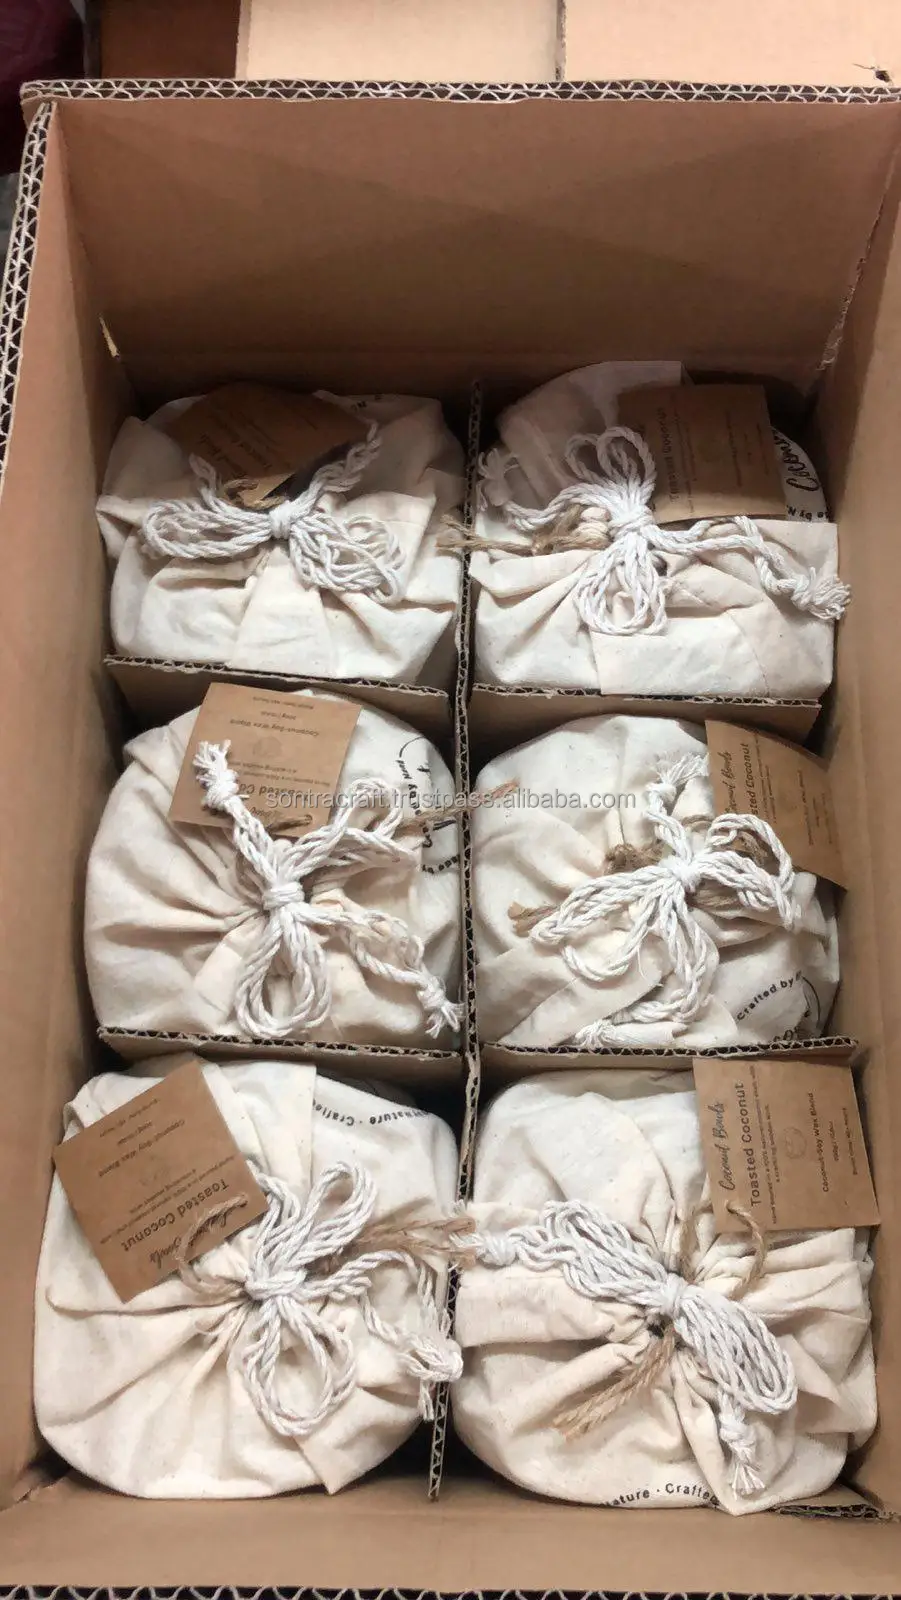
Costing, Pricing, and Selling Tips
Know your costs per bowl: vessel, wax, fragrance, wicks, sealer, labels, and labor. Add packaging and a buffer for test burns. Many makers aim for a 3x multiple over total cost to cover overhead and profit.
Marketing ideas
- Use lifestyle photos with warm light and table settings
- Share a short video of your pour and wick map
- Keywords to try: dough bowl candle, rustic candle centerpiece, refillable dough bowl candle
- Offer refills to boost repeat sales
Clear messaging and test-backed claims help you stand out with a wooden dough bowl for candle making.
Frequently Asked Questions
Can any wooden bowl work for candles?
No. Use bowls sold for candles or those you seal and test. The bowl must have thick walls and enough room for safe wick spacing.
What wax works best in a dough bowl?
Soy and coconut blends are top picks. They give smooth tops and strong scent when wicked right.
How many wicks do I need?
It depends on width. Plan one medium wick for every 3 to 4 inches of surface and keep 1 inch from walls.
Do I have to seal the bowl?
Yes, unless it is pre-sealed for candles. Sealing prevents leaks and reduces heat on the wood.
How long should I cure the candle?
Follow the wax maker’s guide. Soy often needs 1 to 2 weeks, while coconut blends can be ready sooner.
Is a wooden dough bowl candle safe to burn?
Yes, if built and tested well. Keep wicks trimmed, burn on a safe surface, and stop with 0.25 to 0.5 inch of wax left.
Conclusion
A wooden dough bowl for candle making blends craft, scent, and natural style in one piece. With a well-chosen bowl, a solid seal, smart wick maps, and careful testing, you can pour candles that burn clean and look stunning.
Set up a test plan this week. Pick one bowl, two waxes, and two wick sizes. Record results and improve fast. If this guide helped, share your progress, subscribe for more tips, or drop a question so we can solve it together.