A wood plate rack for wall is a stylish, space-saving way to store dishes.
If you want clean counters, fast access, and a warm, lived-in look, a wood plate rack for wall is a smart upgrade. I’ve installed and tested many in tiny rentals and busy family kitchens. In this guide, I’ll break down what works, what fails, and how to choose and mount a wood plate rack for wall that fits your space, your style, and your daily routine. Expect practical tips, pro-level steps, and friendly advice you can trust.

What Is a Wood Plate Rack for Wall?
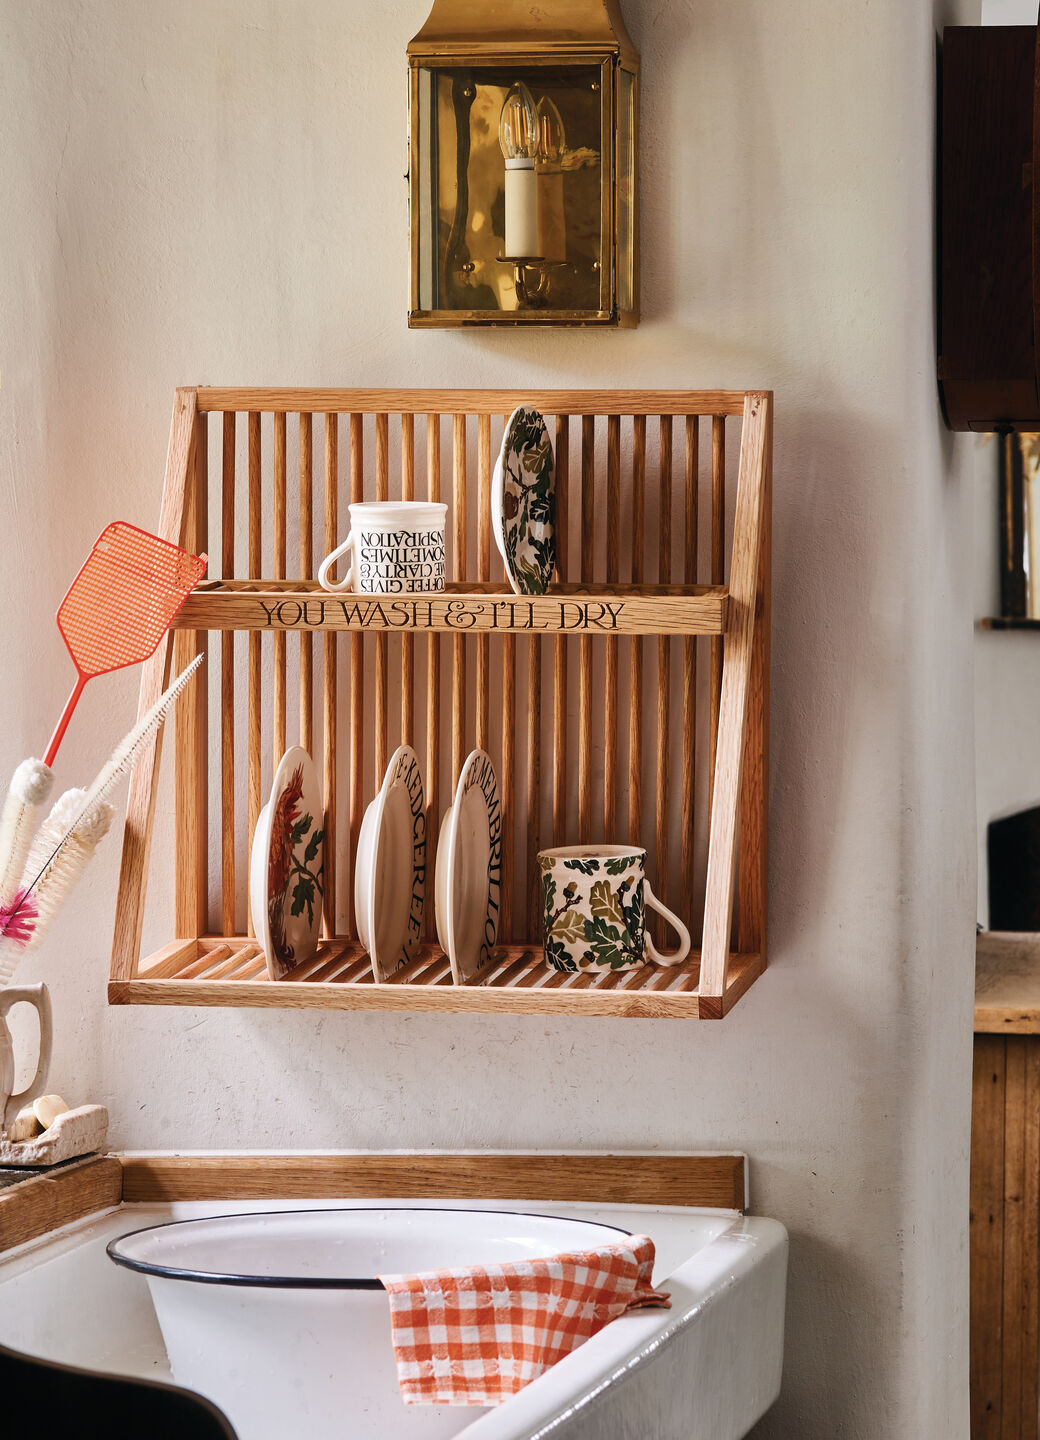
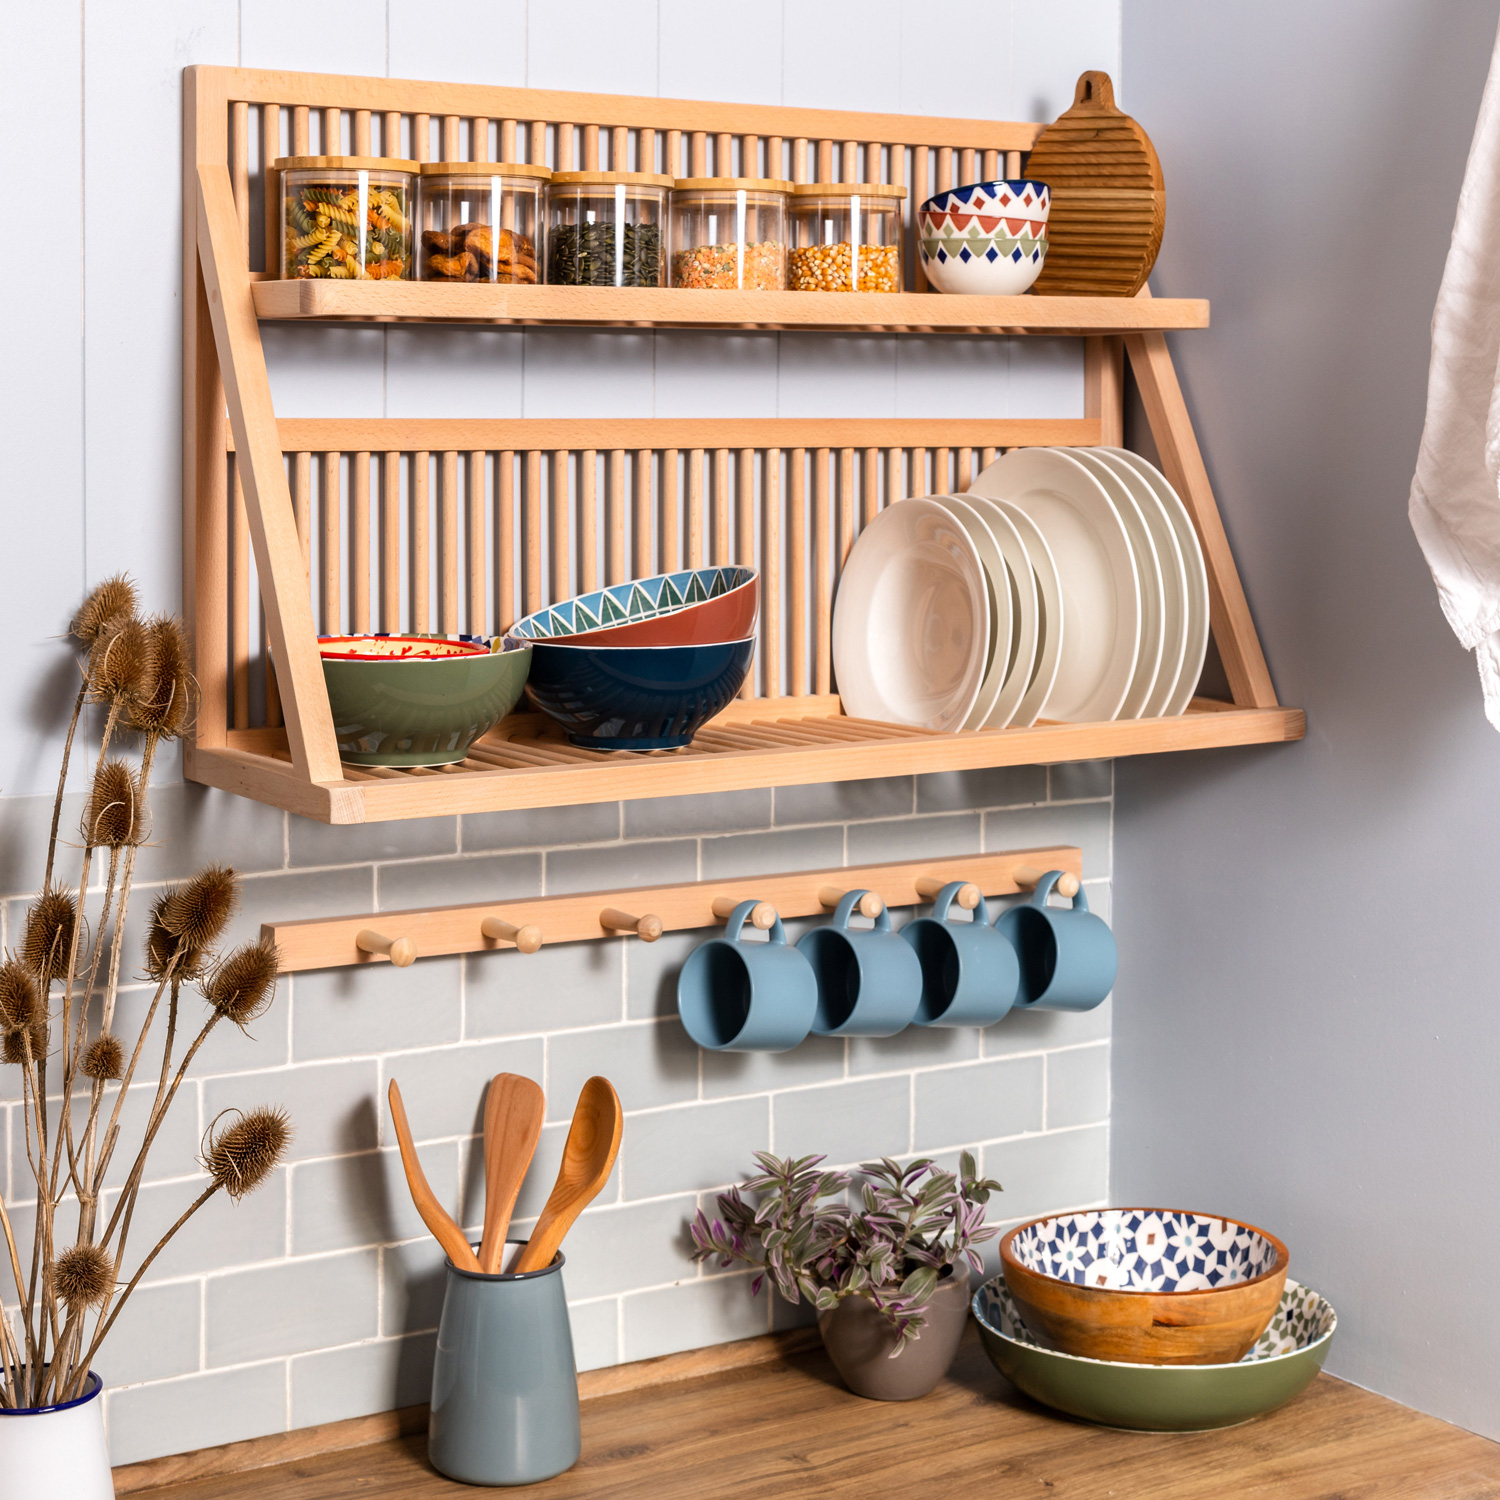
A wood plate rack for wall is a mounted shelf with slots or rails that hold plates upright. Many models also have a top shelf for bowls or decor. Some include hooks for cups and tea towels.
It saves space and keeps dishes within reach. It also turns plates into decor. The best part is airflow. Plates dry faster and stay cleaner. In small kitchens, a wood plate rack for wall can replace a drying rack and free the counter.
You can find racks in oak, maple, pine, bamboo, and reclaimed wood. Styles range from farmhouse to modern minimal. Whether your home is classic or sleek, there is a wood plate rack for wall to match.
Benefits and Why It’s Worth It
A wood plate rack for wall blends function and style. It brings order to daily life while adding charm. Here is why it stands out.
Space saving and organization
A wall rack clears counter space fast. Upright slots give every plate a home. You grab what you need in seconds.
Style that feels warm
Real wood adds texture and a lived-in feel. You can show off heirloom plates or simple white sets. A wood plate rack for wall turns storage into a display.
Easy care and airflow
Stand plates to dry. Air moves around each piece. Less trapped moisture means fewer odors and water spots.
Safer than stacks
No more heavy stacks you must lift. Pull a plate from the front. It is simple and safer, especially for kids.
From small studio apartments to large open kitchens, a wood plate rack for wall boosts order and charm at the same time.

Types of Wood and Finishes
Picking the right material makes a big difference in look and life span. Here is what to know before you buy or build a wood plate rack for wall.
Hardwoods vs. softwoods
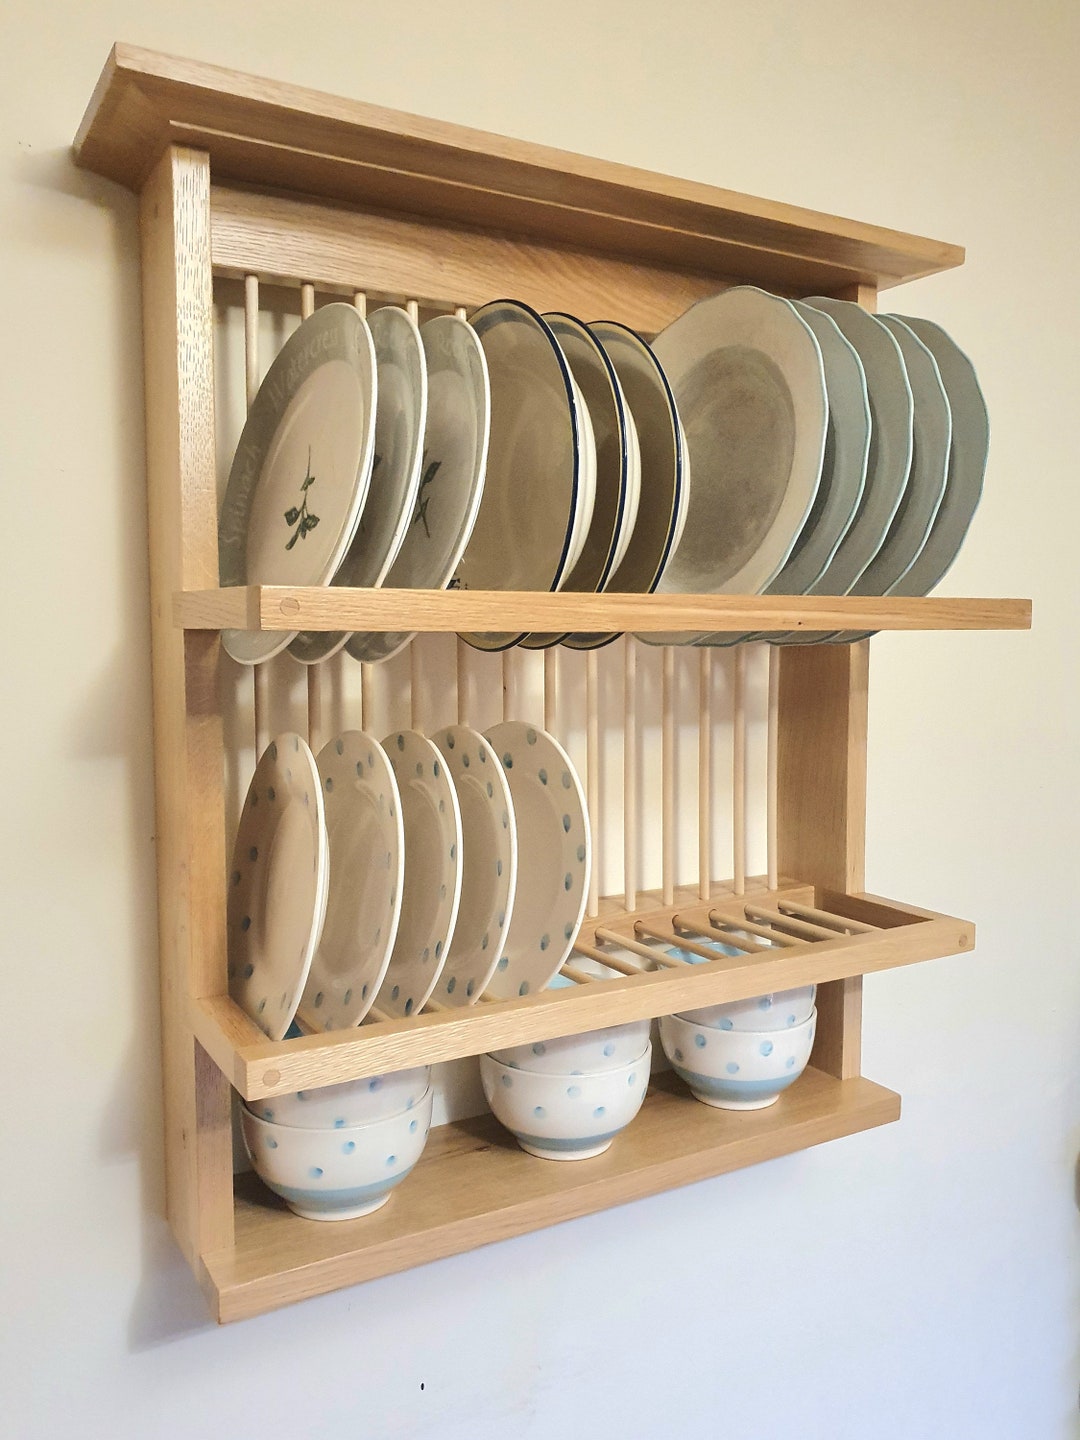
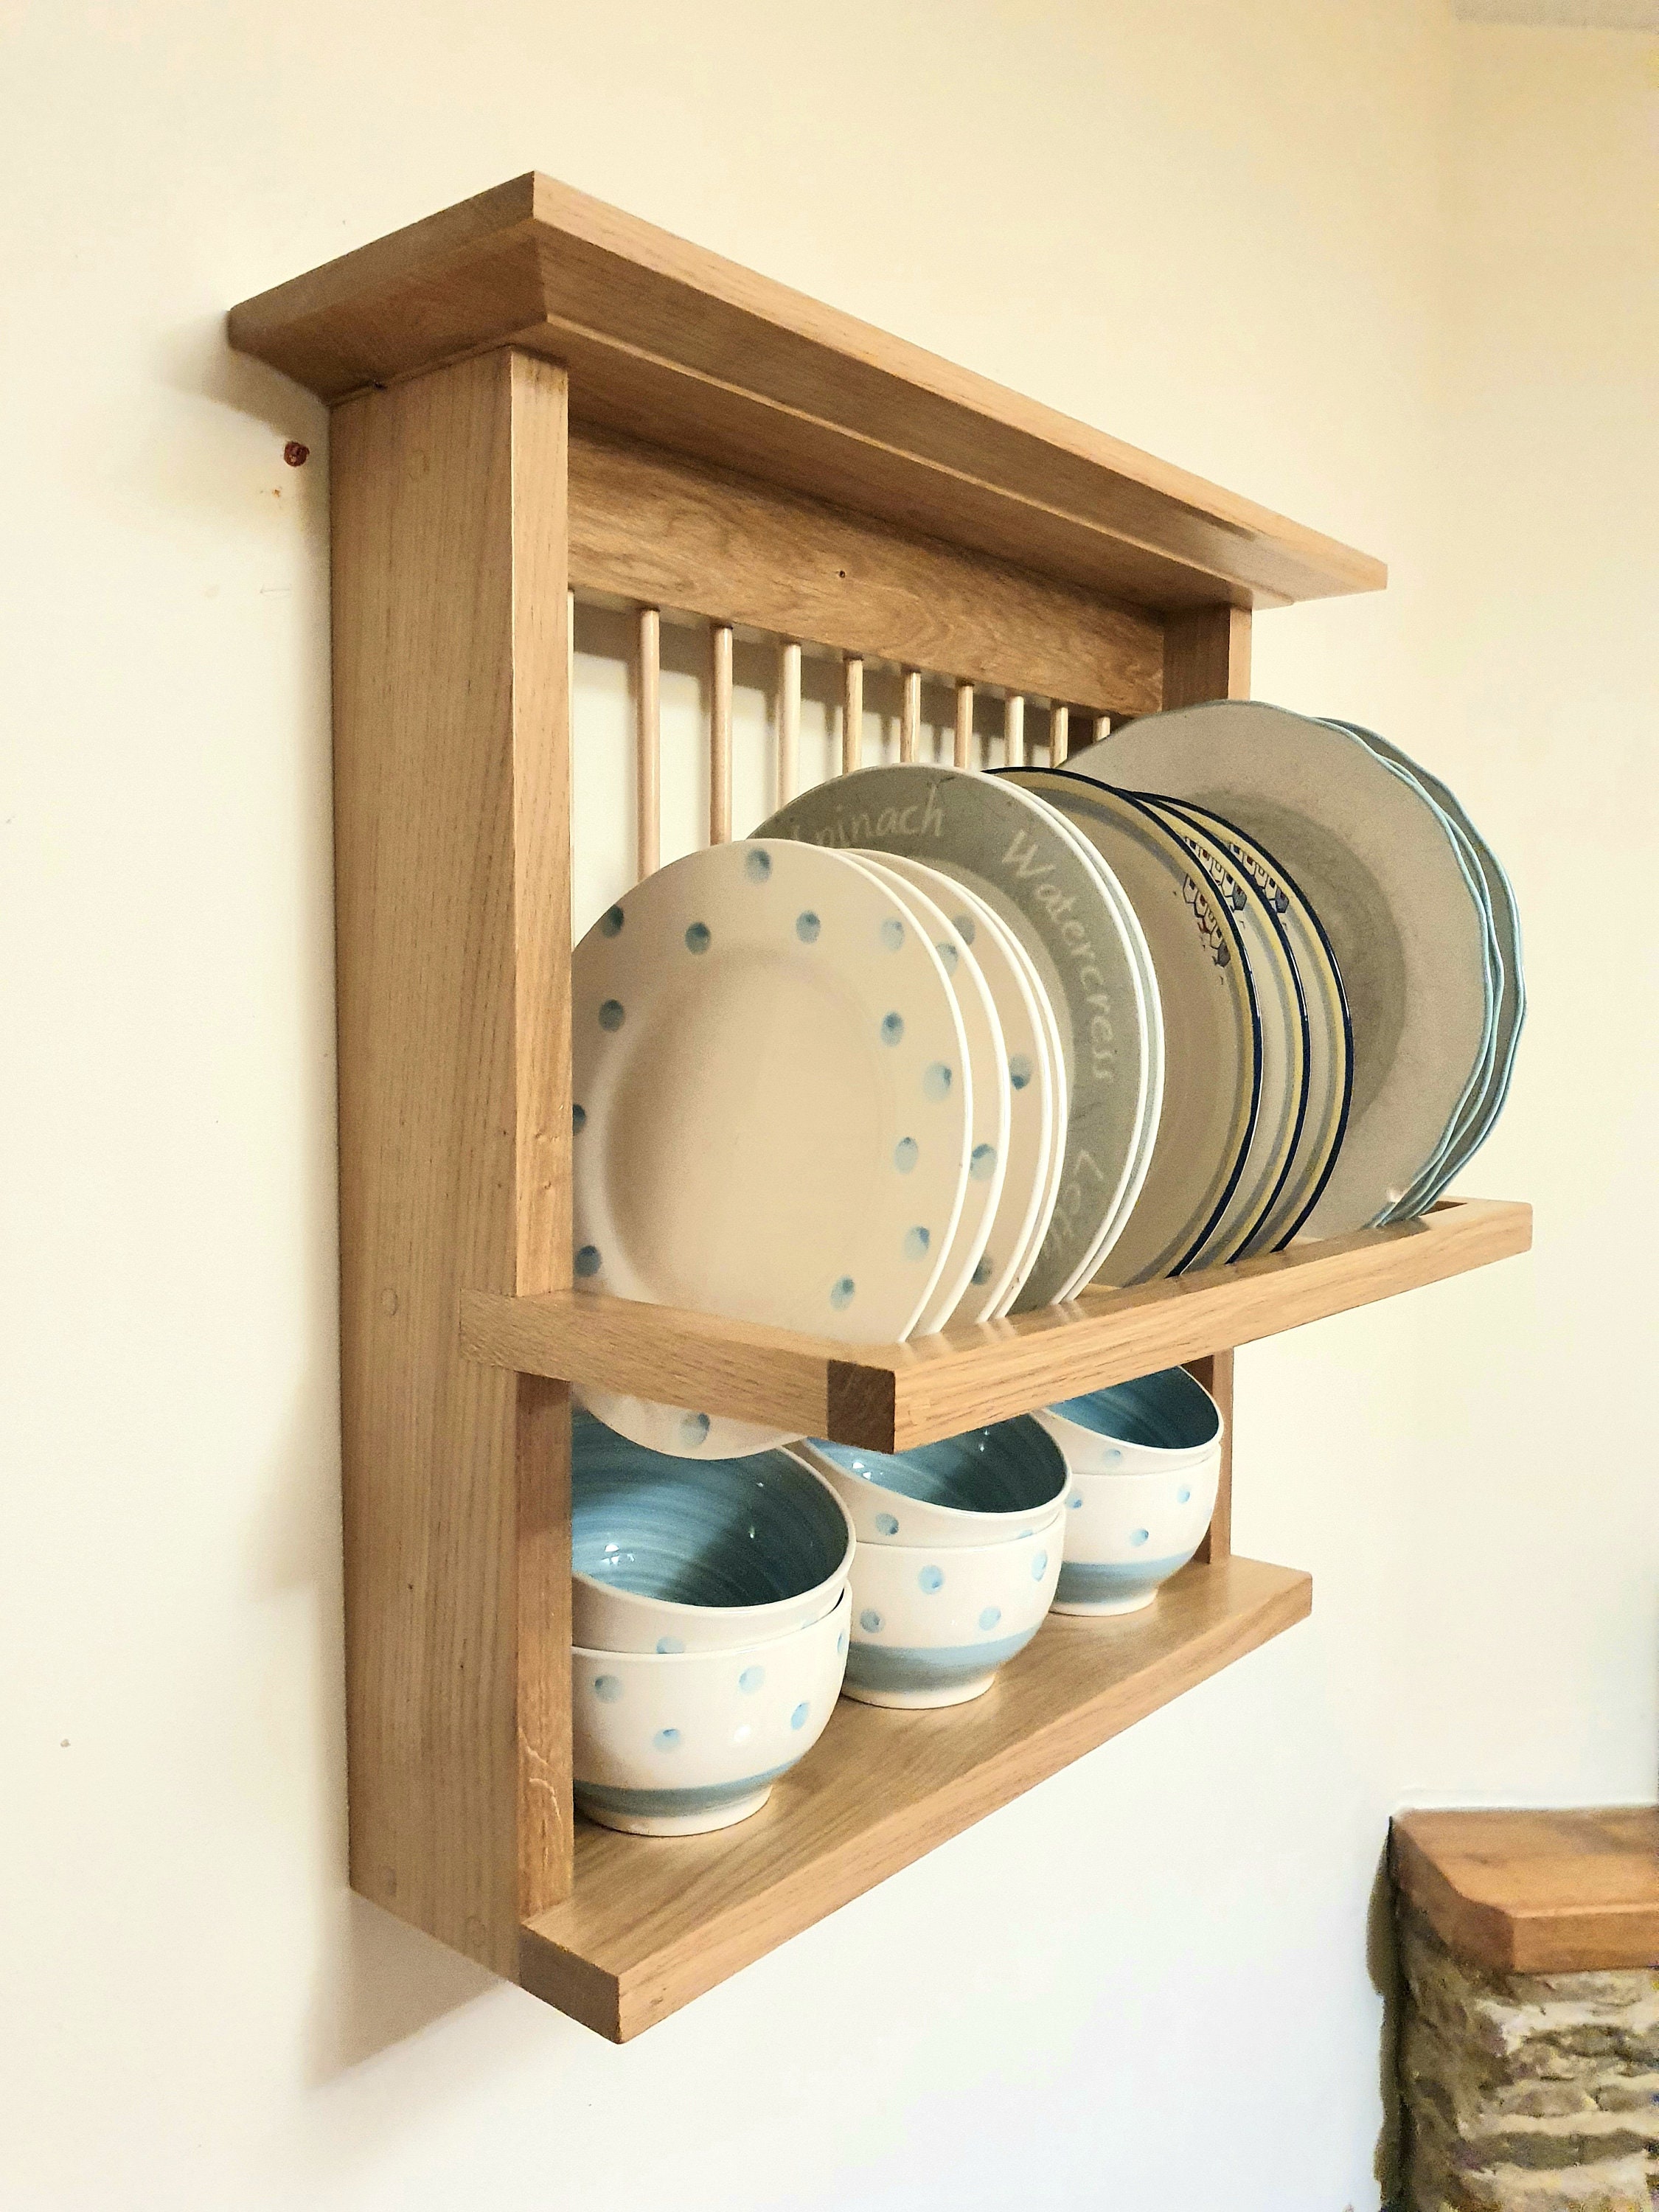
Hardwoods like oak, maple, and walnut are strong and resist dents. They carry more weight and hold screws well. Softwoods like pine and fir are lighter and cheaper. They work fine if sealed and not overloaded.
Finishes that work in kitchens
Natural oil finishes look warm and are easy to refresh. Polyurethane gives strong water and stain resistance. Paint adds color and a wipeable coat. Satin or semi-gloss is best for easy cleaning.
Eco-friendly options
Bamboo is fast-growing and stable. Reclaimed wood tells a story and reduces waste. Check for low-VOC finishes to reduce indoor fumes.
Choose a wood plate rack for wall that matches your climate, your care habits, and the wet zones in your kitchen.
Choosing the Right Size and Capacity
Measure first. Then measure again. Smart sizing keeps a wood plate rack for wall safe and useful.
- Measure wall width and height. Leave room for doors and switches.
- Note plate diameters. Standard dinner plates are 10 to 11 inches. Check depth too.
- Allow at least 1.25 to 1.5 inches per slot so plates slide in and out.
- Check rack depth. Many plates need 8 to 10 inches of total depth.
- Plan weight. A stud-mounted wood plate rack for wall can hold more. Hollow anchors hold less.
If you want mugs, choose a model with hooks. If you want bowls and serving platters, add a top shelf with a front rail. Keep the center of mass close to the wall for safety.

Installation Guide: Step-by-Step
Mounting a wood plate rack for wall is simple with the right steps. Here is my field-tested method from kitchen projects and rental refreshes.
Tools you may need:
- Stud finder
- Level
- Tape measure
- Drill and bits
- Wood screws or lag screws
- Wall anchors if no stud is available
- Pencil and painter’s tape
Steps:
- Mark stud locations. Use a stud finder and verify with a small test nail.
- Hold the rack at height. Use painter’s tape to outline its edges.
- Mark mounting holes. Pre-drill into studs where possible.
- Use proper screws. For studs, use 2.5 to 3 inch wood screws. For drywall only, use rated anchors and follow limits.
- Check level twice. Tighten screws while watching the bubble.
- Test load gently. Add plates one by one near the studs first.
- Add bumpers. Felt pads on the back reduce wobble and protect paint.
- Secure loose items. Use a thin rail or rack pins to stop plates from slipping.
Pro tips from experience:
- Hit at least two studs for longer racks.
- If studs do not align with holes, add a hardwood cleat to bridge studs. Mount the cleat first, then the rack to the cleat.
- Keep the rack away from direct steam from a kettle or espresso machine.
Follow the rack maker’s weight rating. When in doubt, lower the load. Safety first for every wood plate rack for wall.
Styling Ideas and Use Cases
A wood plate rack for wall can fit many looks and rooms.
- Modern minimal: Use maple with a clear coat. Display all-white plates. Keep the layout clean.
- Farmhouse charm: Choose oak or pine with a warm stain. Mix vintage plates and stoneware mugs.
- Small kitchen boost: Use a tall, narrow rack near the sink. Store daily plates at eye level.
- Dining room display: Style seasonal plates, cookbooks, and a small plant.
- Beyond dishes: Hold cutting boards, baking sheets, and serving trays. Add S-hooks for tools.
Rotate colors by season. Swap in holiday plates for a quick mood change. A well-placed wood plate rack for wall becomes a living part of your decor.
:strip_icc()/diy-wood-plate-rack-wall-table-179ae70d-e69e4e133f404465964de8e48a672821.jpg)
Care, Maintenance, and Safety
With light care, a wood plate rack for wall will last for years.
- Wipe weekly with a damp cloth. Dry right away.
- Avoid harsh cleaners. Use mild soap if you must.
- Refresh oil or wax once or twice a year on natural finishes.
- Watch humidity. Use a vent hood when boiling or frying.
- Respect limits. Do not overload. Keep heaviest plates near studs.
If you have kids, mount higher or use racks with front rails. Check screws twice a year. A quick check keeps your wood plate rack for wall solid and safe.
DIY vs. Buy: Cost, Quality, and Where to Shop
You can build a custom wood plate rack for wall or buy one ready to mount. Both paths work well.
DIY builds:
- Cost can be low to mid depending on wood.
- Full control of dimensions and style.
- Needs tools, time, and a good plan.
Ready-made racks:
- Many price points from budget to premium.
- Faster setup with pre-drilled holes.
- Check reviews for strength and finish quality.
What to look for:
- Solid joinery like dowels, screws, or mortise and tenon
- Smooth sanded edges to protect plates
- A protective finish rated for kitchens
- Clear weight ratings and mounting hardware
- Pre-drilled holes spaced for standard studs if possible
If you rent, choose a lighter wood plate rack for wall and use anchors approved by your lease. Keep the box and instructions for move-out.

Common Mistakes to Avoid
- Skipping studs. Drywall alone may fail under load. Always aim for studs when possible.
- Overloading. Even strong racks have limits. Respect ratings.
- Placing near steam. Constant moisture can warp wood and weaken joints.
- Wrong depth. Shallow racks tip plates forward. Measure plate depth first.
- No front rail. Without a small lip or rail, plates may slide during bumps.
Avoid these traps, and your wood plate rack for wall will stay sturdy and look great.
Frequently Asked Questions of wood plate rack for wall
How much weight can a wood plate rack for wall hold?
This depends on materials, joinery, and mounting. Stud-mounted racks with proper screws hold far more than anchor-only setups. Always follow the maker’s rating.
Can I install a wood plate rack for wall on tile?
Yes, but use a diamond bit and go slow. Drill through tile first, then anchor into the wall or studs behind.
Will a wood plate rack for wall work in a rental?
Often yes. Use approved anchors and keep patchable holes small. Ask your landlord first and save the hardware.
What finish is best for kitchens?
A water-resistant finish like polyurethane or a hard-wax oil is ideal. It wipes clean and resists stains.
How do I stop plates from slipping?
Choose a rack with a front rail or add clear bumpers. Keep the rack level and avoid over-polishing shelves.
Can I store bowls and mugs too?
Yes. Pick a design with a top shelf for bowls and hooks for mugs. Check weight limits and place heavier items near studs.
What is the best height for a wood plate rack for wall?
Eye level for daily plates works well. Leave space above faucets, outlets, and door swings.
Conclusion
A wood plate rack for wall saves space, adds style, and makes daily life easier. Choose the right wood, confirm depth and capacity, and mount it with care. Keep it clean, respect its limits, and it will serve you for years.
Ready to transform your kitchen? Measure your wall, pick a design you love, and take the first step today. If you found this guide helpful, share it with a friend, subscribe for more home tips, or leave a comment with your setup and questions.