A tempered glass stove backsplash panel protects your wall, resists heat, and wipes clean fast.
If you cook often, grease and steam are not kind to paint or grout. As a designer who has installed many kitchen upgrades, I trust a tempered glass stove backsplash panel for clean looks and low stress care. In this guide, I’ll share expert tips, real install notes, and smart design ideas so you can pick, fit, and love your tempered glass stove backsplash panel for years.

What is a tempered glass stove backsplash panel?
A tempered glass stove backsplash panel is a heat-strengthened glass sheet that sits behind your range. It shields the wall from splatter, steam, and stains. It also adds a smooth, modern look.
Tempered glass is four to five times stronger than regular glass. When it fails, it crumbles into small chunks rather than sharp shards. A tempered glass stove backsplash panel can be clear, low-iron clear, tinted, mirrored, or back-painted for color.
Key benefits and why it beats tile or steel
A tempered glass stove backsplash panel brings form and function. It keeps your kitchen bright and simple.
Top benefits:
- High heat tolerance for daily cooking near gas or electric ranges
- Smooth surface that wipes clean in seconds with no grout lines
- Non-porous surface that resists stains, mold, and odors
- Crisp, reflective finish that makes a small kitchen feel larger
- Easy to match with any style using color, print, or mirror options
I have swapped tile for glass in many remodels. Clients love that one pass with a cloth clears oil and sauce. The finish still looks new after years.

Safety, heat ratings, and building standards
A tempered glass stove backsplash panel is strong, but it must be used the right way. Most kitchen glass panels use 6 mm or 8 mm safety glass that meets ANSI Z97.1 and CPSC 16 CFR 1201. These standards cover impact and break behavior.
Heat notes I share with every client:
- Keep safe distance from open flame. Glass should not sit in direct flame.
- Typical tempered glass tolerates kitchen heat and splatter zones. Many makers rate panels to several hundred degrees Fahrenheit, yet never let flames lick the glass.
- Use stand-offs or a small air gap near powerful gas burners if the flame pattern is wide.
- Follow range maker clearance rules. If the manual calls for non-combustible surfaces, tempered glass over a non-combustible backer is a strong choice.
In my work, panels rarely crack. When issues happen, they trace back to pinched edges, poor cuts, or direct flame exposure.
Measuring, sizing, and smart cutouts
A good tempered glass stove backsplash panel starts with exact measurements. Do not guess. Measure twice, order once.
Steps I use on site:
- Measure width from left cabinet or end panel to right. Check at top and bottom.
- Measure height from the countertop or range guard to the hood or bottom of cabinets.
- Note any outlets, switches, or pot-filler lines. Plan cutouts with 3 to 5 mm relief around fixtures.
- Choose thickness. 6 mm works for most kitchens. Use 8 mm for large spans or if you want extra heft.
- Pick edges. Flat polished edges look clean. Seamed edges remove sharpness and help prevent chipping.
- For white paint or light stone, order low-iron glass. It avoids the green tint and keeps colors true.
I also map stud lines and mark level on painter’s tape where the panel will sit. It saves stress on install day.
Installation guide: DIY steps and pro tips
A tempered glass stove backsplash panel installs fast with the right prep. Two people make it safe and smooth.
What you need:
- Neutral-cure silicone rated for glass and kitchens
- Isopropyl alcohol and lint-free cloths
- Plastic shims or spacers, 2 to 3 mm
- Suction cups for safer handling
- Masking tape, level, and measuring tape
Steps:
- Dry fit the tempered glass stove backsplash panel. Confirm cutouts align and edges clear obstacles.
- Clean the wall. It must be flat, dust-free, and dry. Prime drywall if needed. Cement board or painted drywall both work.
- Mark level lines and spacer positions. Place small shims at the bottom for an even gap.
- Run silicone in vertical beads on the wall. Keep a 2 to 3 inch spacing between beads. Stay 1 inch from edges.
- Lift the panel with suction cups. Set it on shims. Check level. Press gently to set.
- Tape the edges to hold while the silicone cures. Follow cure time, often 24 to 48 hours.
- Remove shims. Fill the bottom and side gaps with a thin silicone bead. Tool smooth.
Pro tips I use:
- Use only neutral-cure silicone. Acid-cure can etch mirror backings and some paints.
- Do not drill tempered glass on site. All holes and notches must be factory cut before tempering.
- Leave a small expansion gap at edges. Glass needs room to breathe with heat.
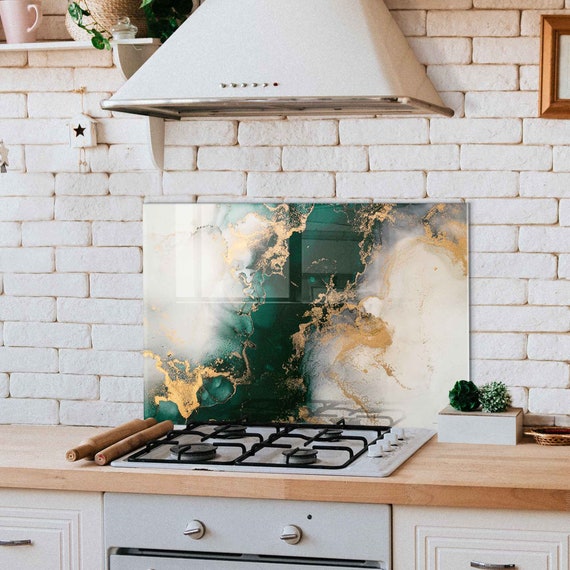
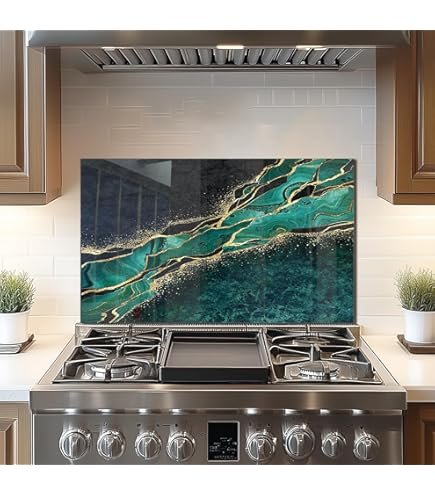
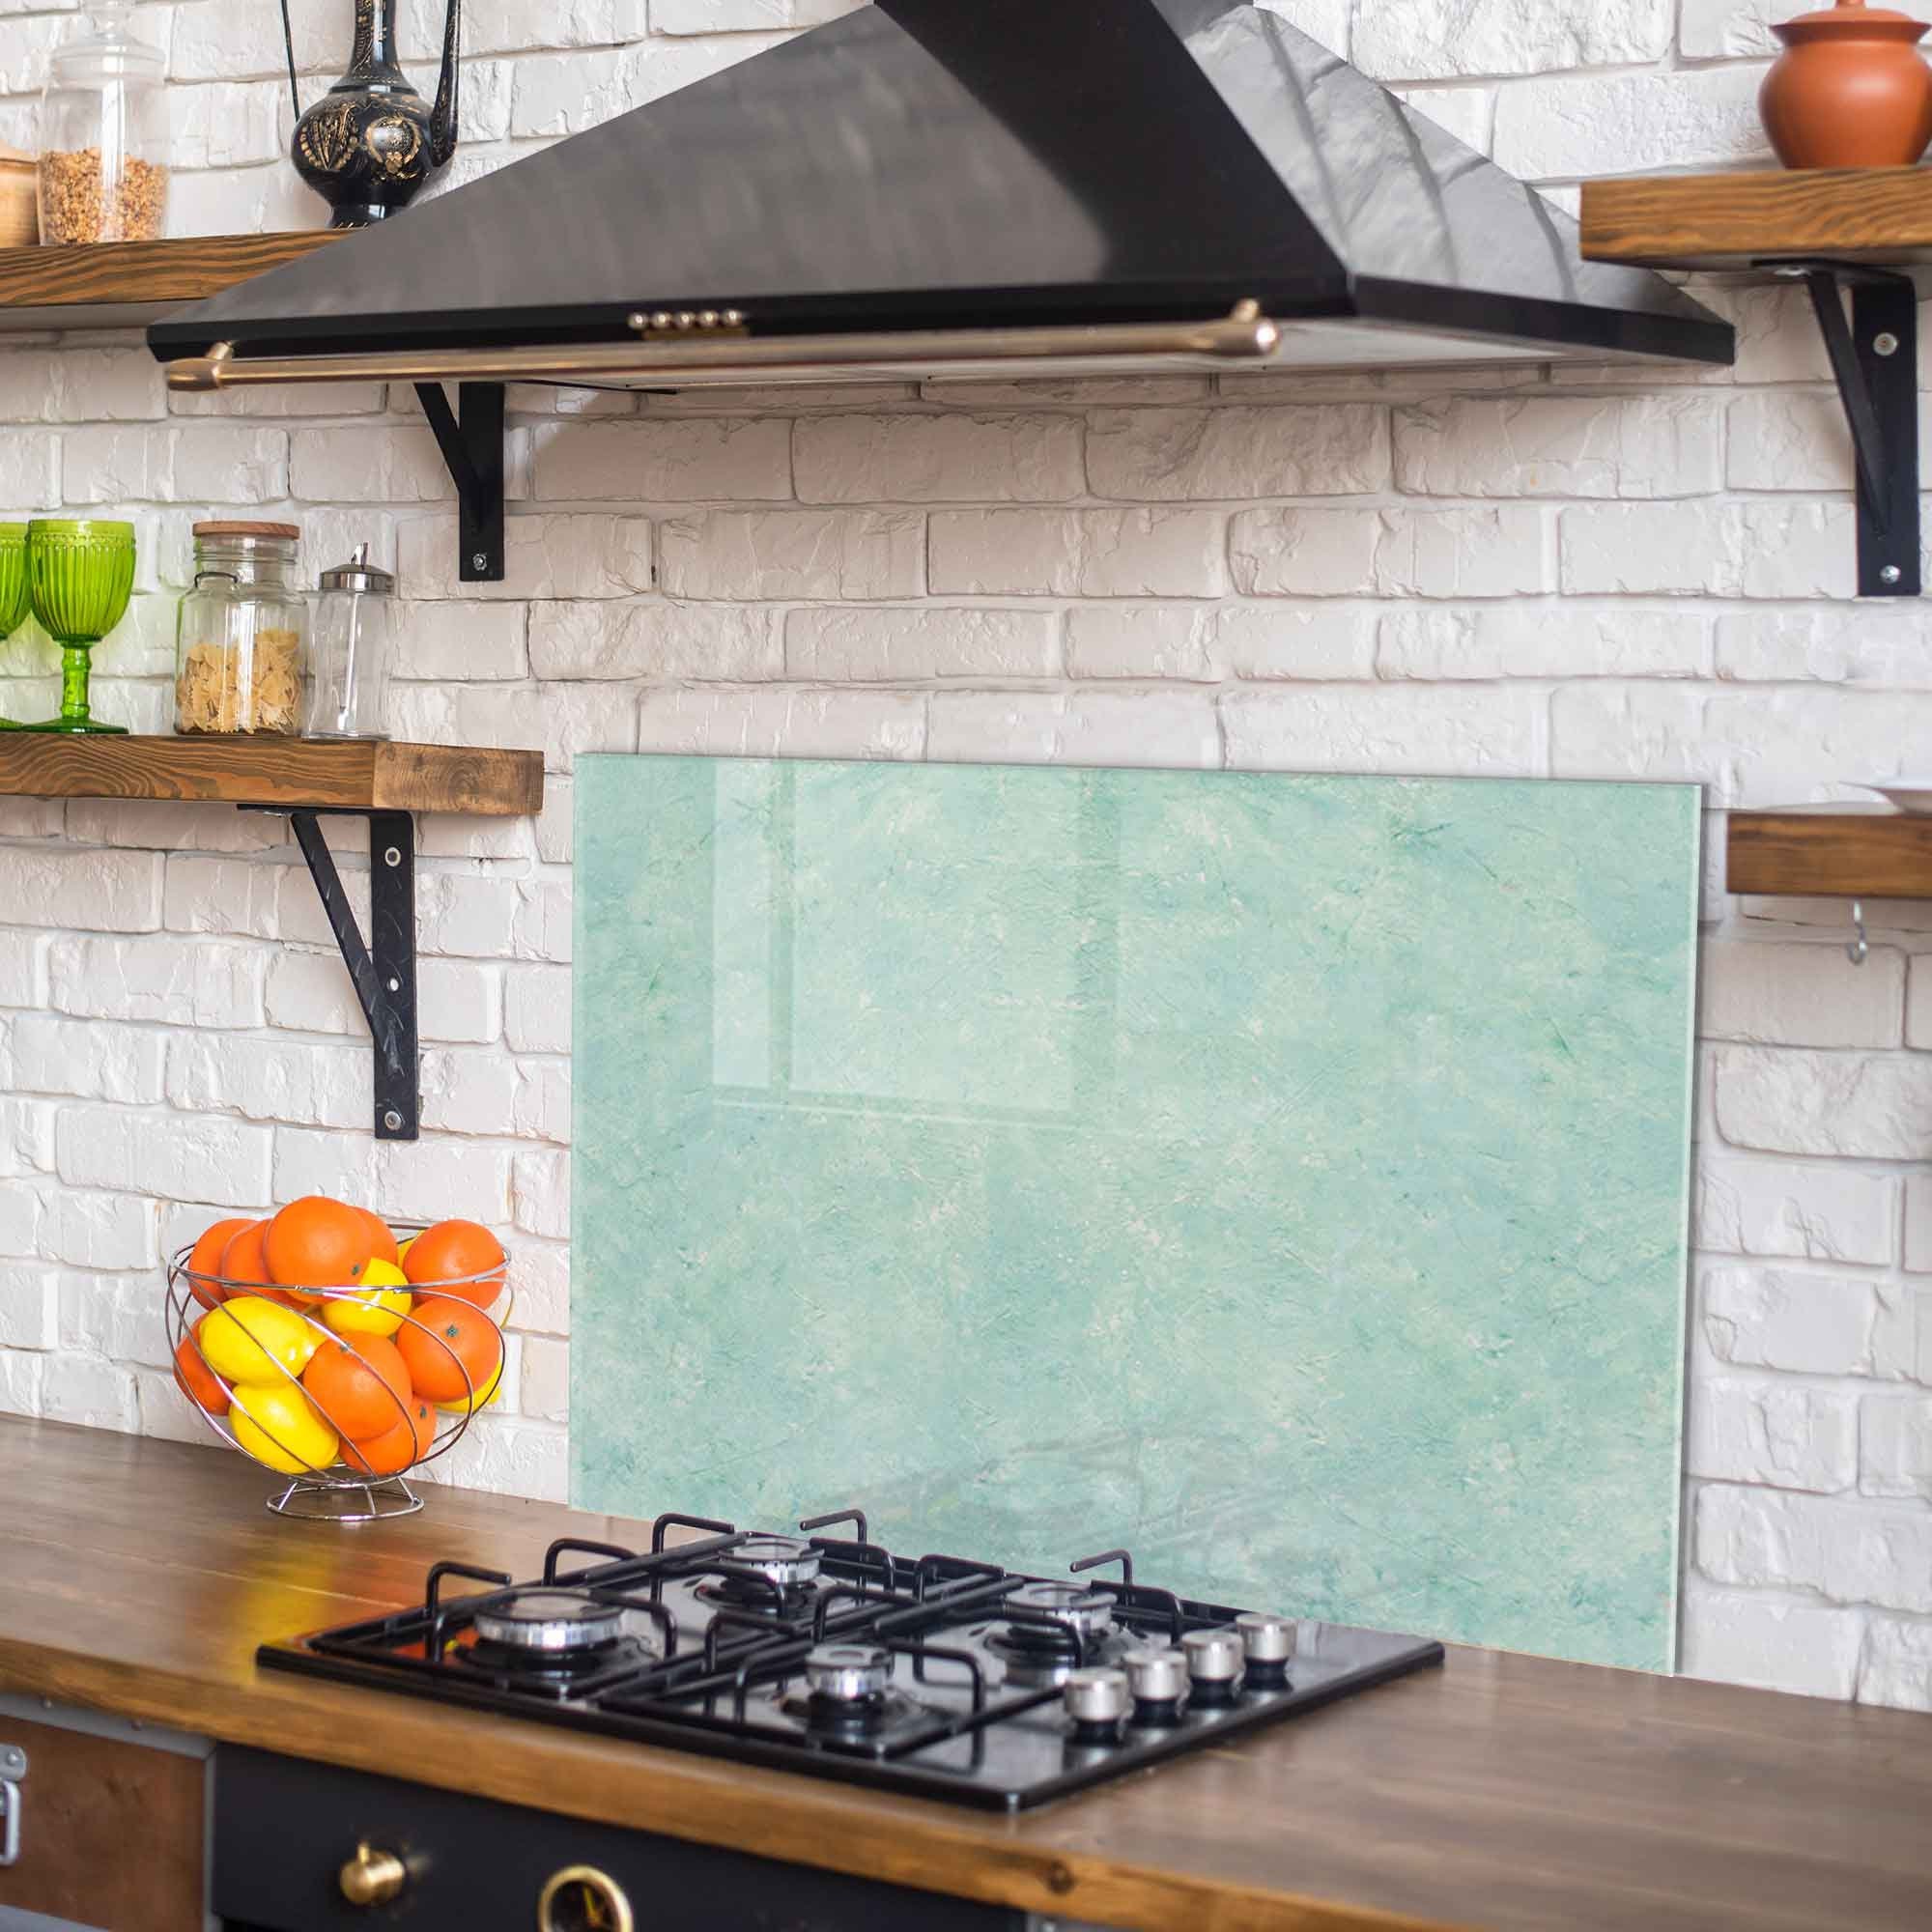
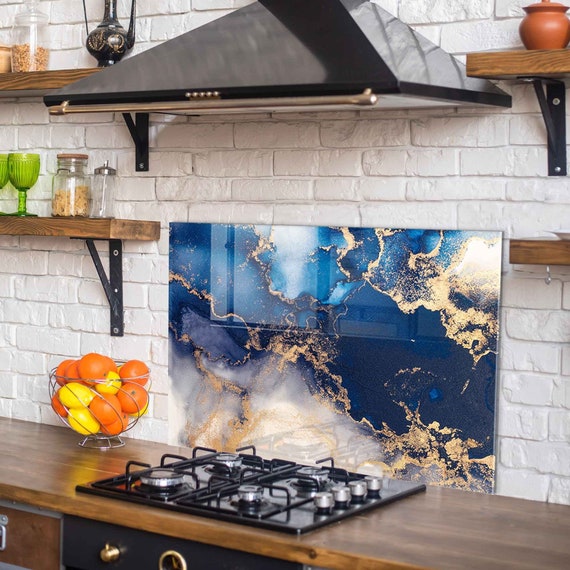
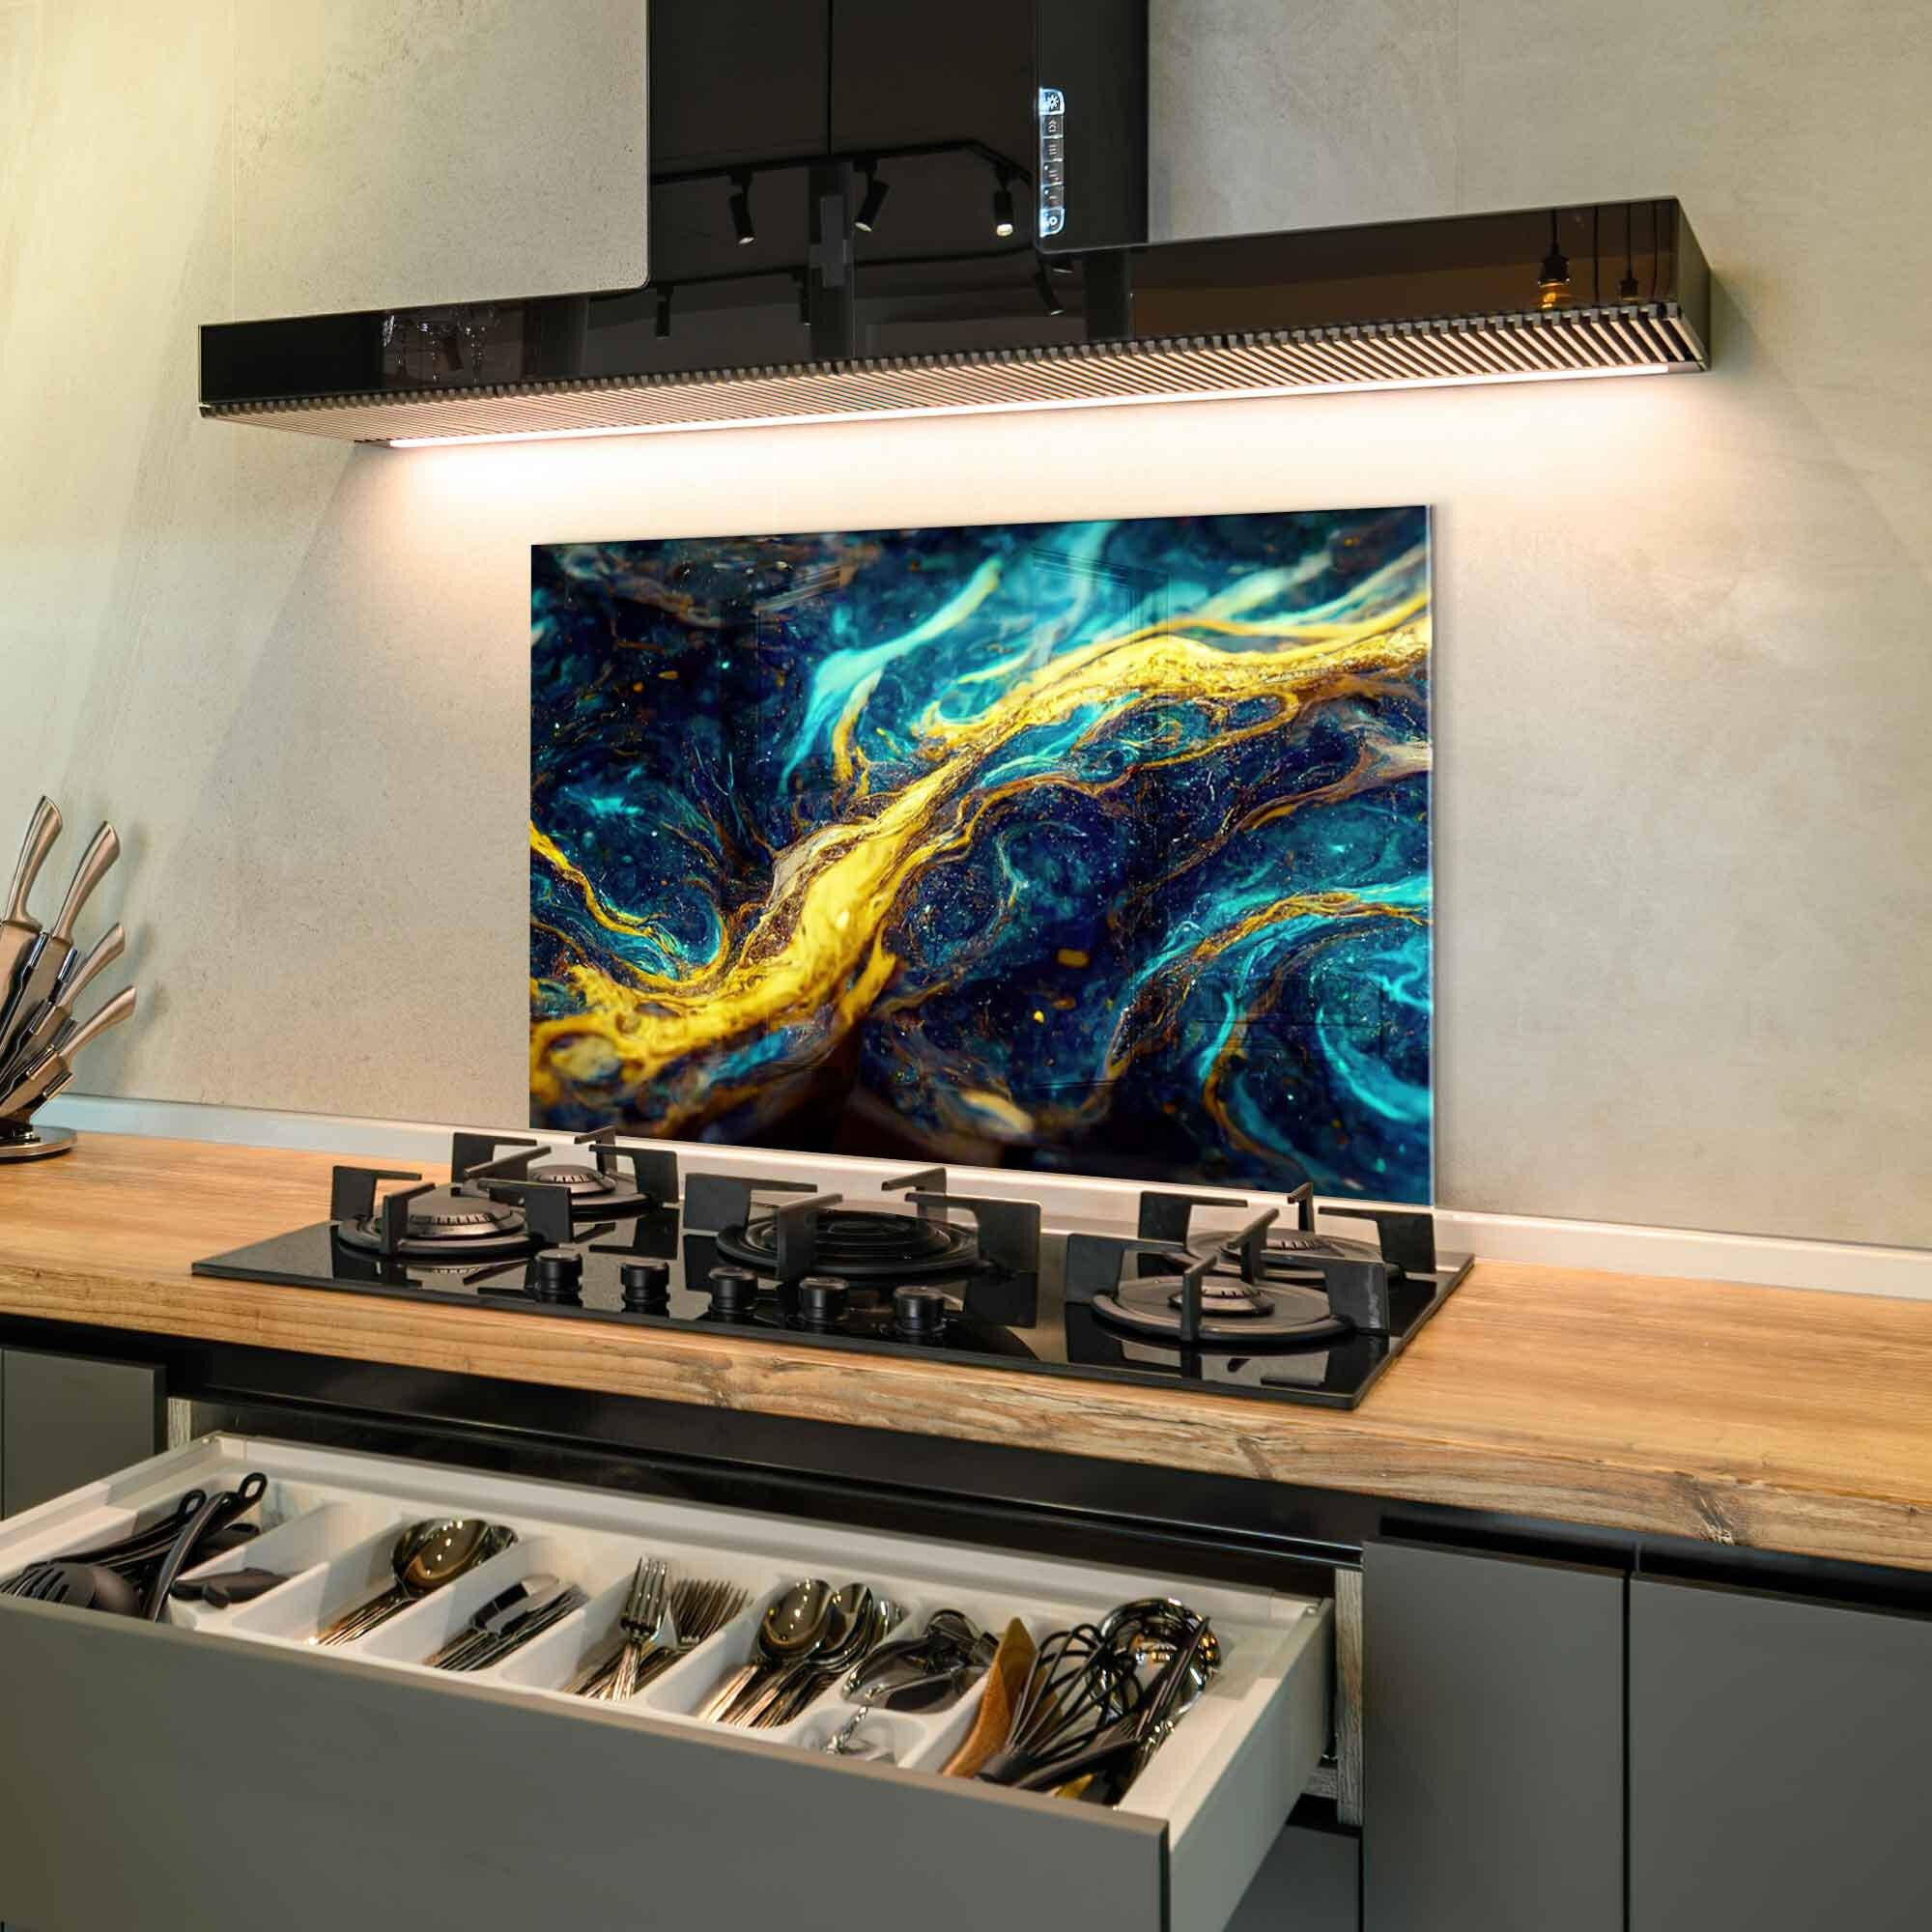
Design ideas to make it yours
A tempered glass stove backsplash panel can be minimal or bold. It is a great canvas.
Ideas I love:
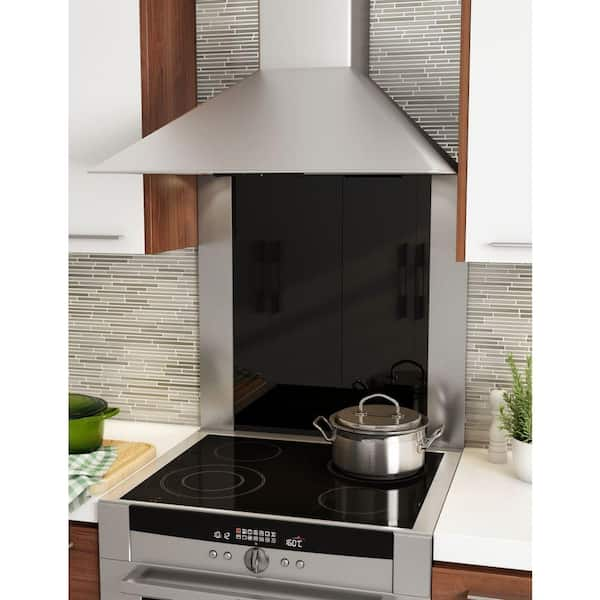
- Back-painted color to match or contrast cabinets
- Low-iron clear panel over a textured wall or wallpaper for depth
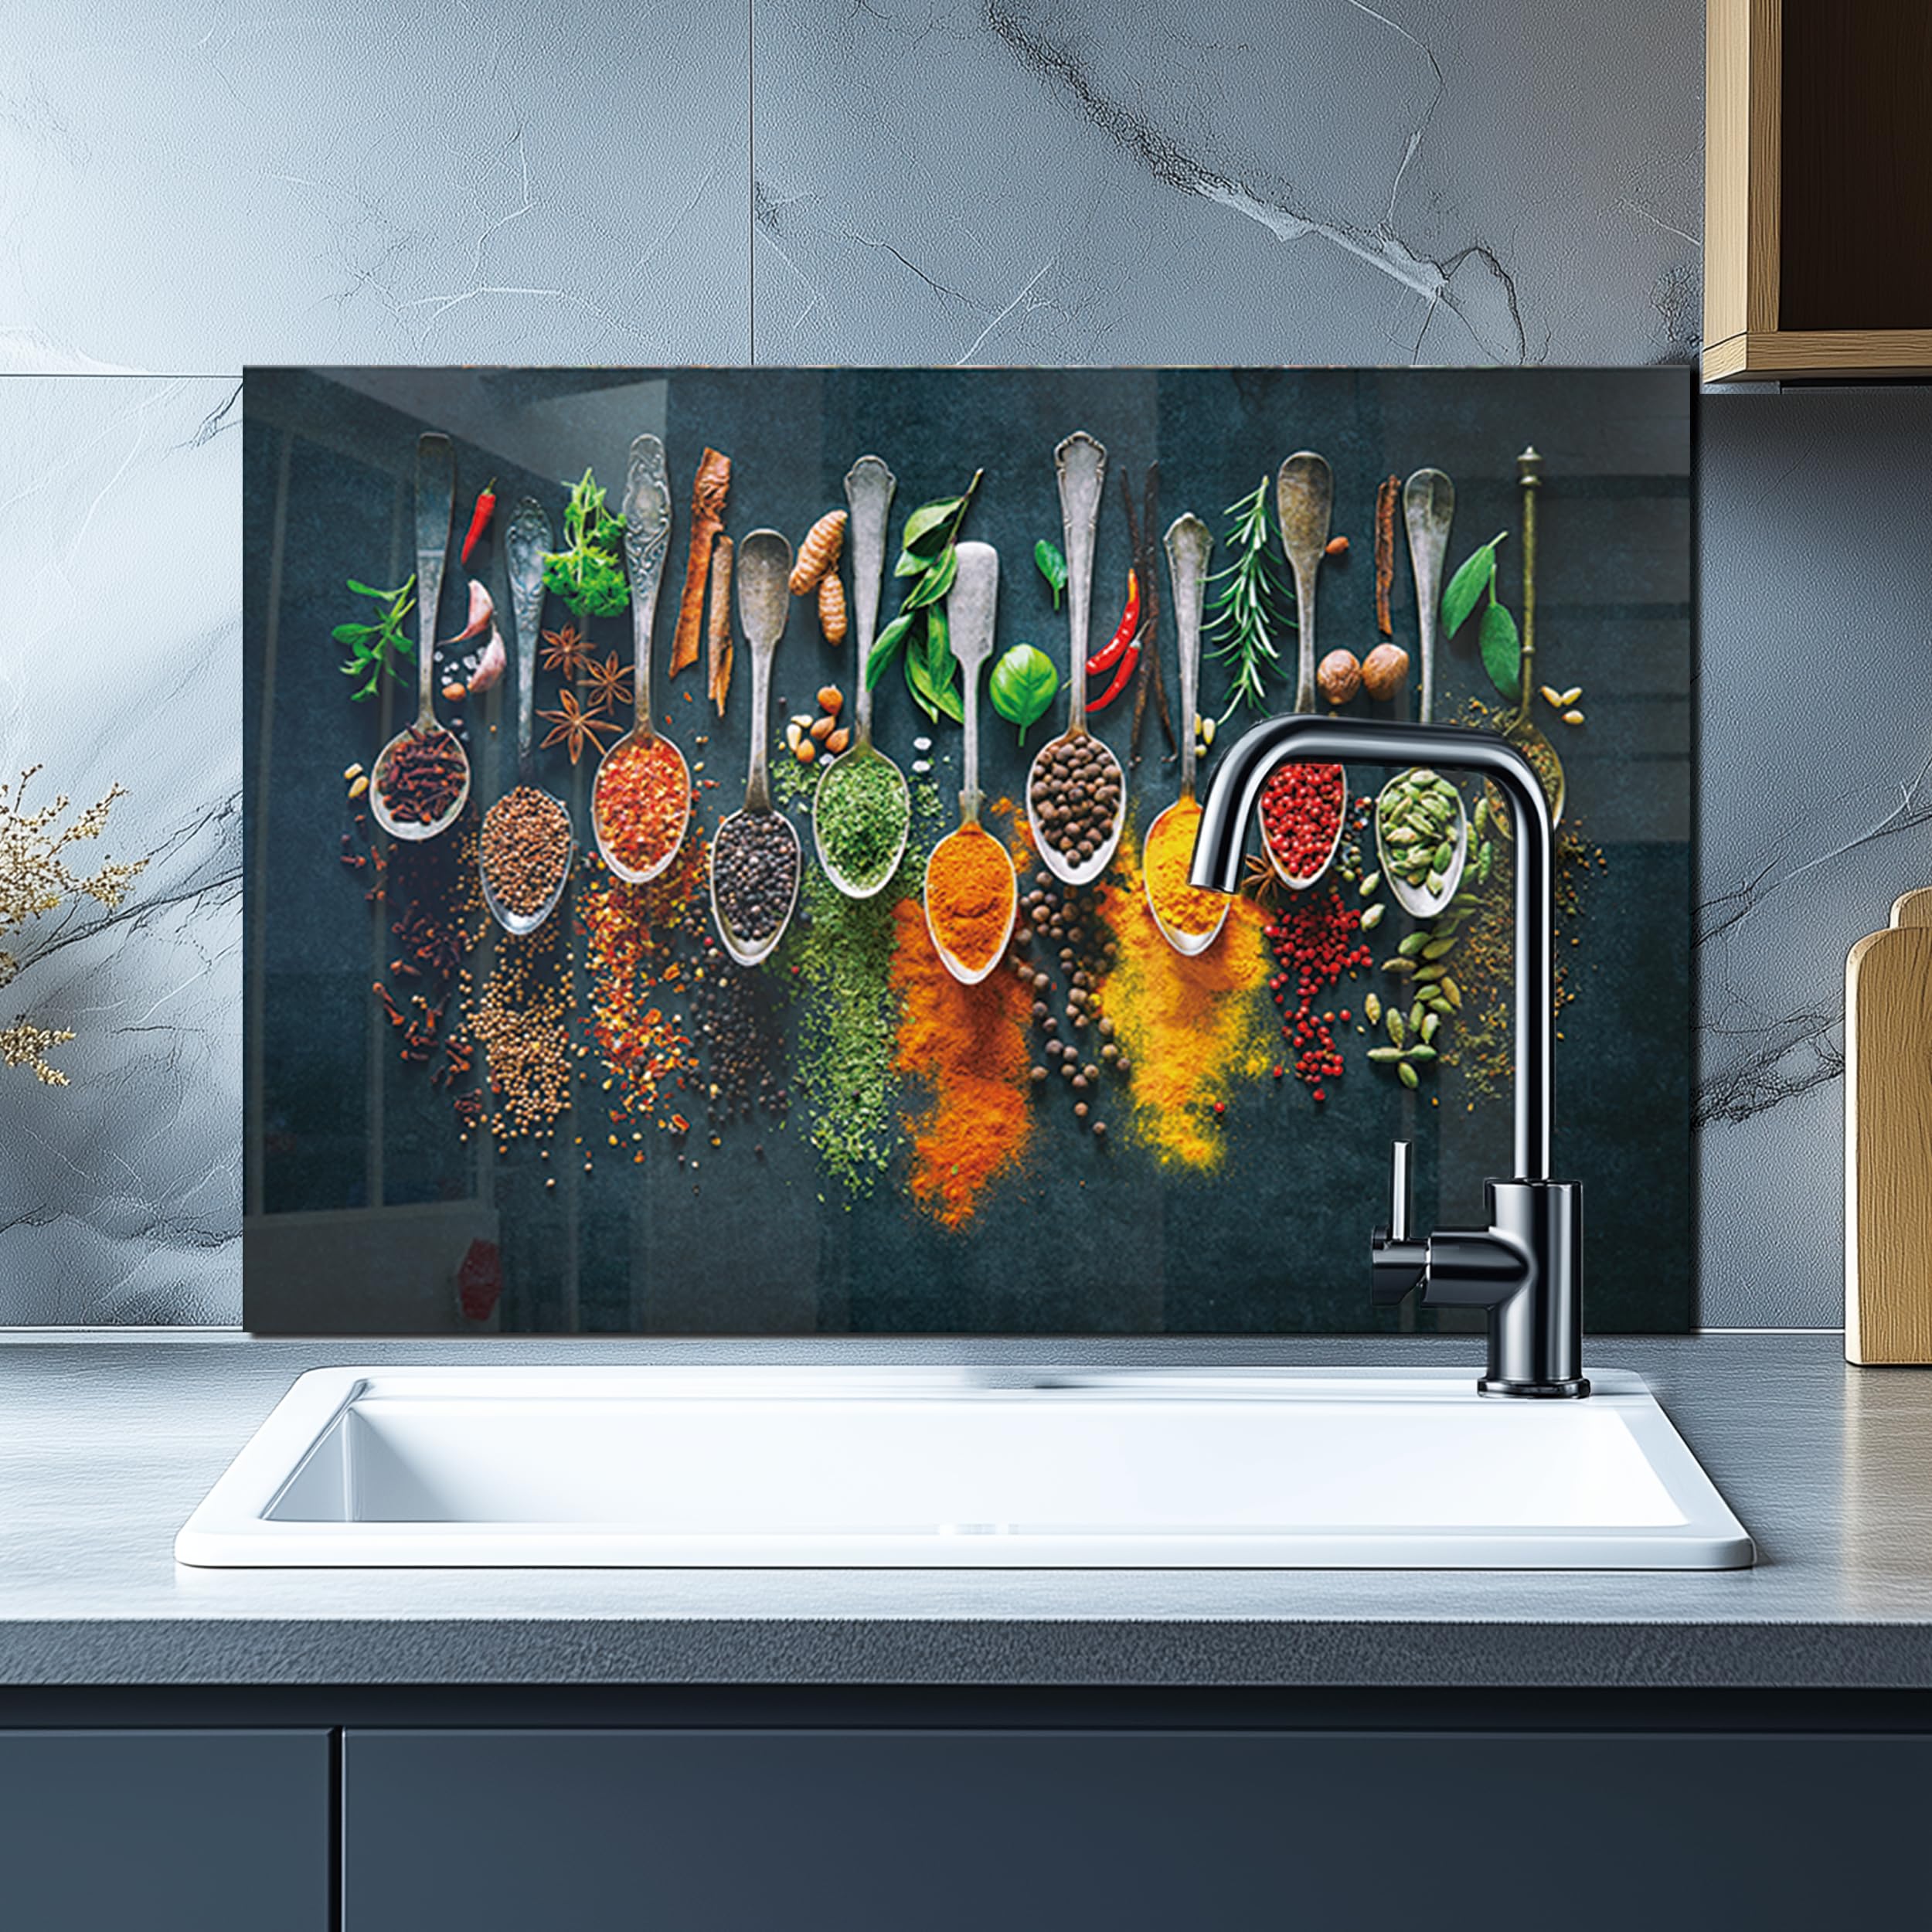
- Printed patterns that mimic tile without grout
- Smoked or bronze tint for a warm mood
- Mirror to bounce light in tight kitchens
- Art panels with high-res images sealed behind the glass
When a client wants “quiet luxury,” I suggest a low-iron, satin back-painted panel in a soft gray. It hides smudges and feels calm.

Cleaning and care that takes minutes
A tempered glass stove backsplash panel is easy to maintain. Daily care is simple.
My go-to routine:
- Wipe warm splatter with a damp microfiber cloth and a drop of dish soap.
- For film, use a 1:1 mix of vinegar and water. Buff dry with a clean cloth.
- For baked-on spots, soften with warm water. Use a plastic scraper at a low angle.
- Avoid abrasive pads and powdered cleaners. They can mar paint or mirror backing at the edges.
- Check silicone lines once a year. Touch up if gaps show.
I set a timer for 60 seconds after cooking. One quick wipe while the surface is warm saves scrubbing later.
Cost, ROI, and where to buy
The price of a tempered glass stove backsplash panel depends on size, thickness, color, and cutouts. Custom work costs more, but it fits like a glove.
Typical ranges I see in the field:
- Basic clear, 6 mm, small span: lower cost
- Low-iron or back-painted color: mid range
- Large panels, 8 mm, many cutouts or prints: higher cost
To boost value:
- Order one clean panel rather than many small ones. Fewer seams look premium.
- Choose classic colors for better resale.
- Ask about safety standards, edge polish, and warranty. Lead times run 1 to 3 weeks for custom orders.
Local glass fabricators give sharper fit and faster service. Big-box stores work too but check specs closely.
Common mistakes to avoid
Even a sturdy tempered glass stove backsplash panel can fail if handled wrong. Skip these errors.
Watch-outs:
- Skipping low-iron glass over white paint, which makes the wall look green
- Forgetting relief around outlets and pot fillers
- Using the wrong silicone or too little adhesive bead coverage
- Forcing the panel against uneven tile or high drywall seams
- Letting flames reach the glass edge or back-painted surface
- Measuring only once, or not checking for out-of-plumb walls
When in doubt, template the wall with cardboard. It catches surprises before you order glass.
Tempered glass stove backsplash panel vs alternatives
You have options. Here is how a tempered glass stove backsplash panel stacks up in real kitchens.
Tile:
- Pros: classic look, many styles
- Cons: grout stains, more time to clean, longer install
Stainless steel:
- Pros: heat safe, pro-kitchen vibe
- Cons: shows scratches and fingerprints, can dent
Acrylic or PVC:
- Pros: low cost, light weight
- Cons: not for high heat behind a stove
Porcelain slab:
- Pros: durable, few seams
- Cons: heavy, costly, needs pro tools
For fast cleaning and a sleek face, glass wins a lot of city kitchens I service.
Frequently Asked Questions of tempered glass stove backsplash panel
Is a tempered glass stove backsplash panel safe behind gas burners?
Yes, when installed to code and kept out of direct flame. Use proper clearances and follow both the range manual and glass maker guidance.
What thickness should I choose?
Most homes use 6 mm. Pick 8 mm for very wide spans or when you want extra rigidity.
Can I mount it over existing tile?
Yes, if the tile is flat, clean, and sound. Use neutral-cure silicone and mind total thickness around outlets and trim.
Will the color look true behind glass?
Low-iron glass keeps whites and light tones true. Standard clear has a green tint that can shift color, especially on white.
How do I clean baked-on grease?
Soften with warm water, then use mild soap and a plastic scraper. Avoid abrasives and harsh chemicals that can damage edges or back paint.
Can I drill a hole after tempering?
No. All cuts and holes must be done before tempering. Post-temper drilling will shatter the glass.
Does it work with induction or electric stoves?
Yes. It handles heat and steam well behind induction and electric ranges when installed per maker rules.
Conclusion
A tempered glass stove backsplash panel brings clean style, fast care, and solid safety to the heart of your home. Measure with care, choose the right glass, and install with smart clearances. You will gain a wall that looks new after years of dinners and deep sears.
Ready to upgrade your kitchen cleanup and style in one move? Use the steps here, talk with a trusted fabricator, and make a plan this week. Have questions or want layout feedback? Drop a comment and let’s make your backsplash shine.