A tempered glass backsplash behind stove is safe, stylish, and simple to maintain.
If you cook often and hate scrubbing grout, a tempered glass backsplash behind stove can change your daily clean-up. I have helped many homeowners switch to glass and never look back. In this guide, I’ll share how it works, what it costs, how to install it right, and the mistakes to avoid. You will leave knowing if a tempered glass backsplash behind stove is the best fit for your kitchen, and how to get pro-level results.

What Is a Tempered Glass Backsplash Behind Stove?
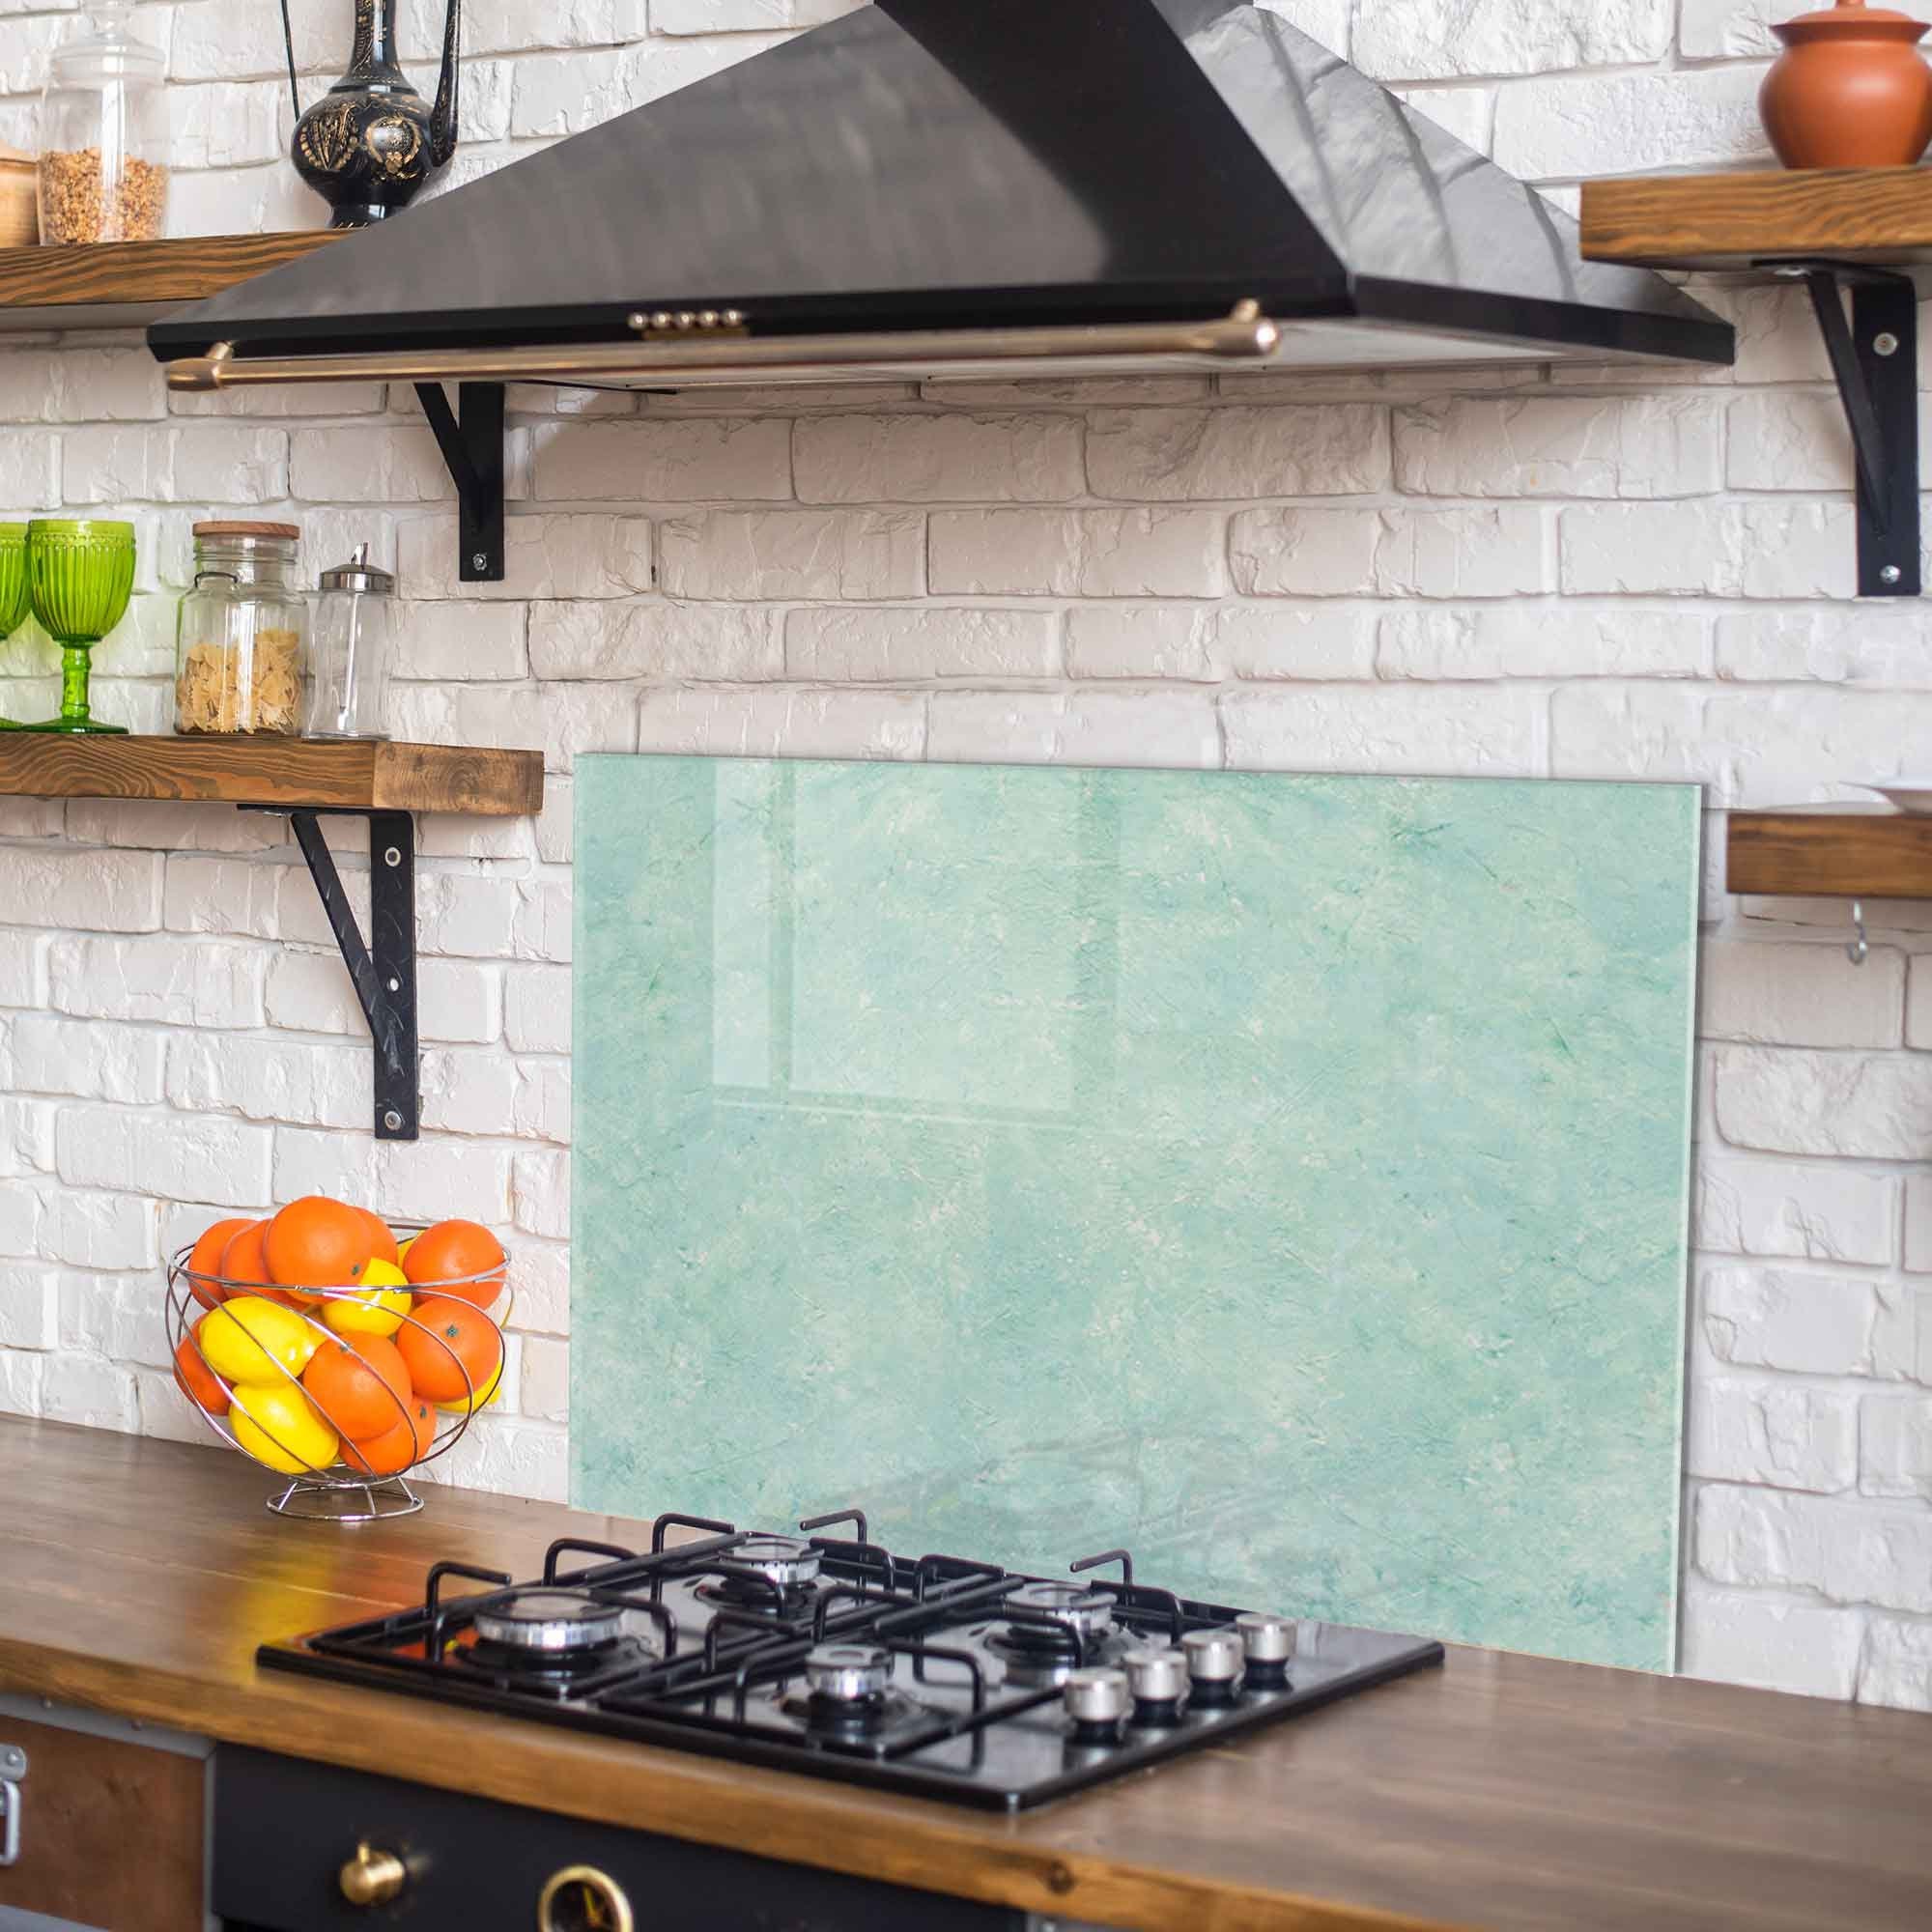
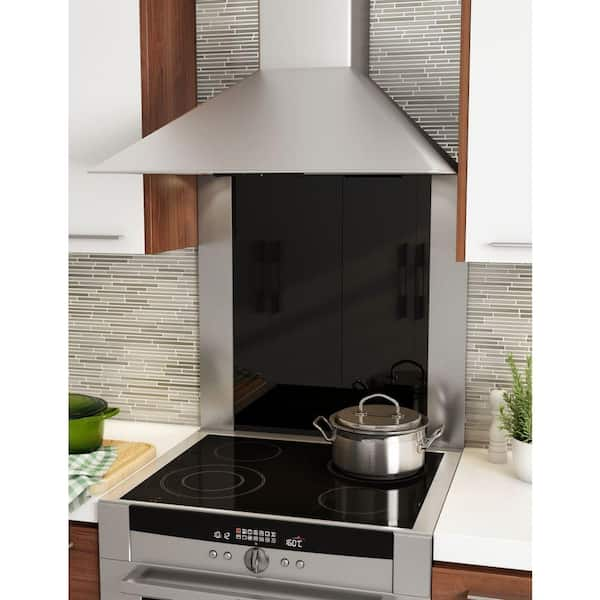
A tempered glass backsplash behind stove is a single pane or series of panes of toughened safety glass mounted on the wall behind your range. It is heat-treated to increase strength and to break into small, dull pieces if it fails. That makes it safer than standard glass.
Most panels are 1/4 inch thick. Edges are polished for a clean look and to reduce stress points. Many are back-painted or printed, so you see a smooth, even color with no visible glue lines. This creates a sleek, modern wall that handles splatter and heat well.
Tempered glass is non-porous and grout-free. That means grease and sauce wipe off fast. When planned right, a tempered glass backsplash behind stove looks seamless and brightens the room.

Key Benefits and a Few Drawbacks
A tempered glass backsplash behind stove brings more than looks. Here is what to weigh.
Benefits:
- Easy to clean Grease, steam, and stains come off with one wipe.
- Heat and impact resistance The glass is tough and safe for normal cooking use.
- Bright, modern style Light bounces, so small kitchens feel bigger.
- Custom color and art You can match cabinets, or print patterns or photos.
- Hygienic No grout lines. Fewer places for food to hide.
Drawbacks:
- Cost Custom glass and templating add up.
- Smudges Fingerprints can show on dark or glossy finishes.
- Exact measuring needed Once tempered, glass cannot be cut or drilled.
- Thermal shock risk Direct flame or extreme, uneven heat can crack glass.
For most homes, the benefits win. A tempered glass backsplash behind stove gives a high-end finish with low daily care.
Safety, Heat, and Code Basics You Should Know
Safety first. Tempered glass is a safety glass that meets common impact standards for homes. It is suitable for use near heat when installed right. Still, it should never touch flames or red-hot cookware.
Follow three rules:
- Read your range manual Clearances vary by brand and fuel type. The manual is the law in your kitchen.
- Use the right materials Choose tempered glass, high-temperature neutral-cure silicone, and heat-safe back paints or ceramic frit.
- Protect edges Edges are the weak points. Keep them off hard corners and away from pot impacts.
Many glass makers offer printed or back-painted glass rated for backsplash zones. Your installer should confirm compliance with safety glass standards. If you are placing a tempered glass backsplash behind stove with gas burners, keep pans centered and avoid oversize pots that push heat to the wall.
Design Options: Colors, Finishes, and Custom Cuts
You can tailor a tempered glass backsplash behind stove to almost any style. The choices are wide.
Popular options:
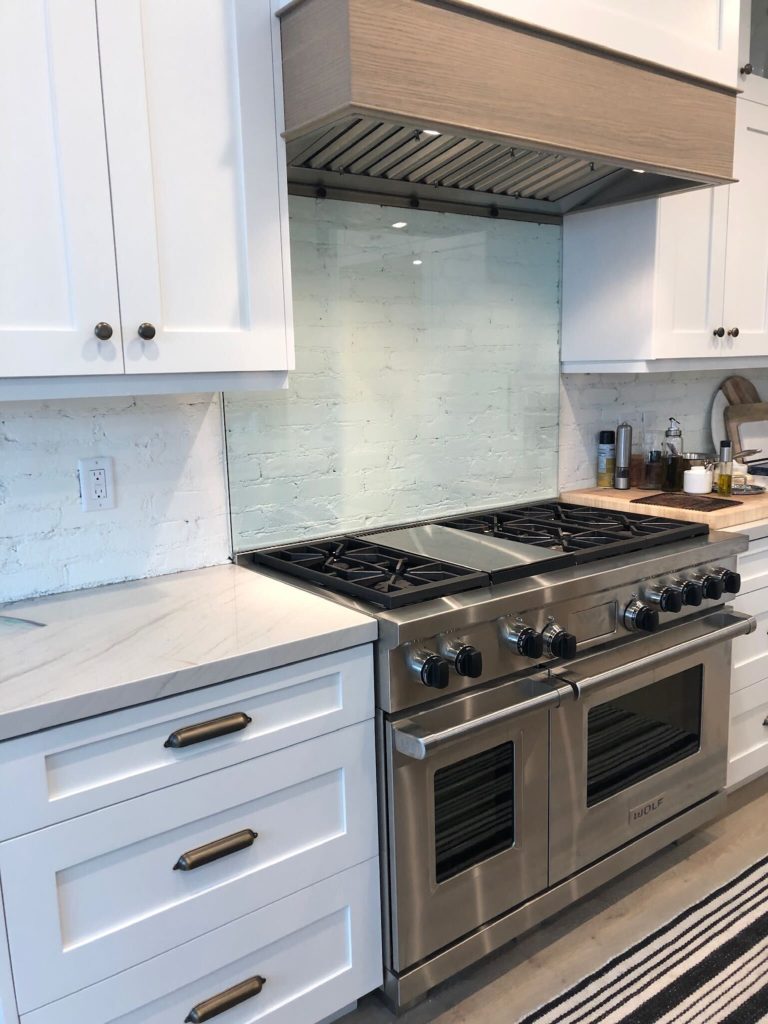
- Back-painted color A solid color baked on the glass back. Hides glue and looks even.
- Low-iron glass For true whites and crisp colors without the green tint.
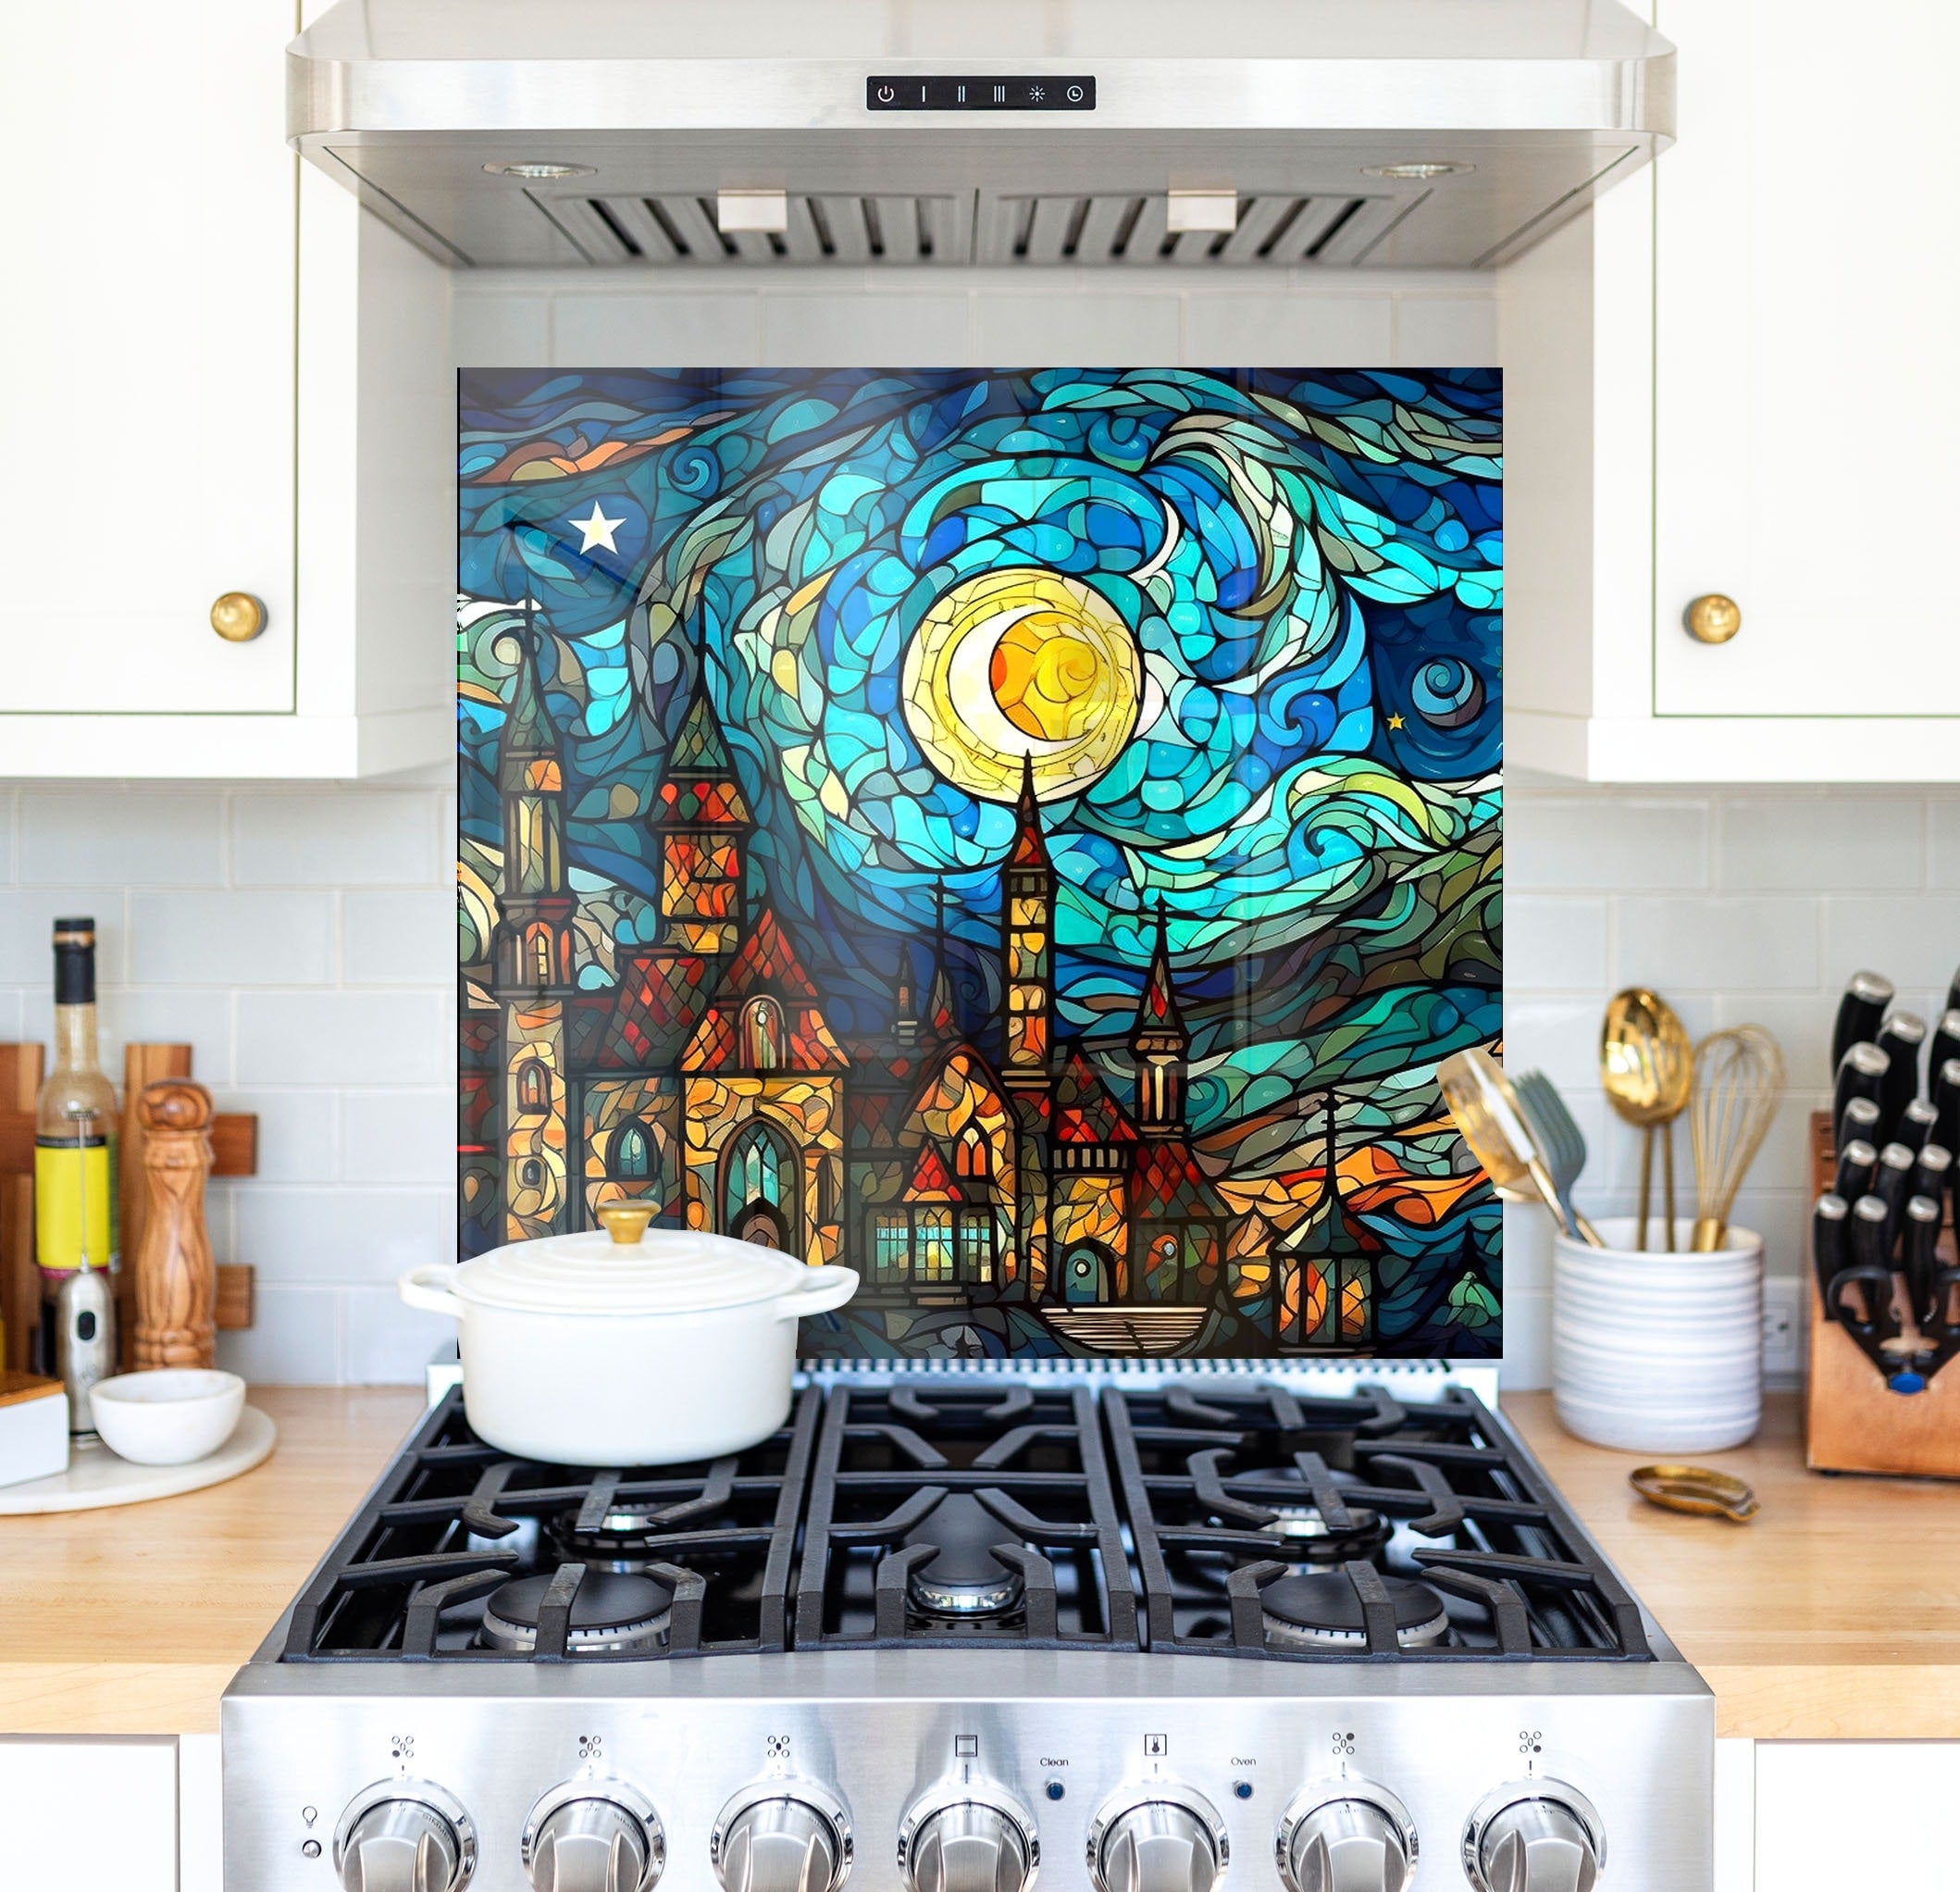
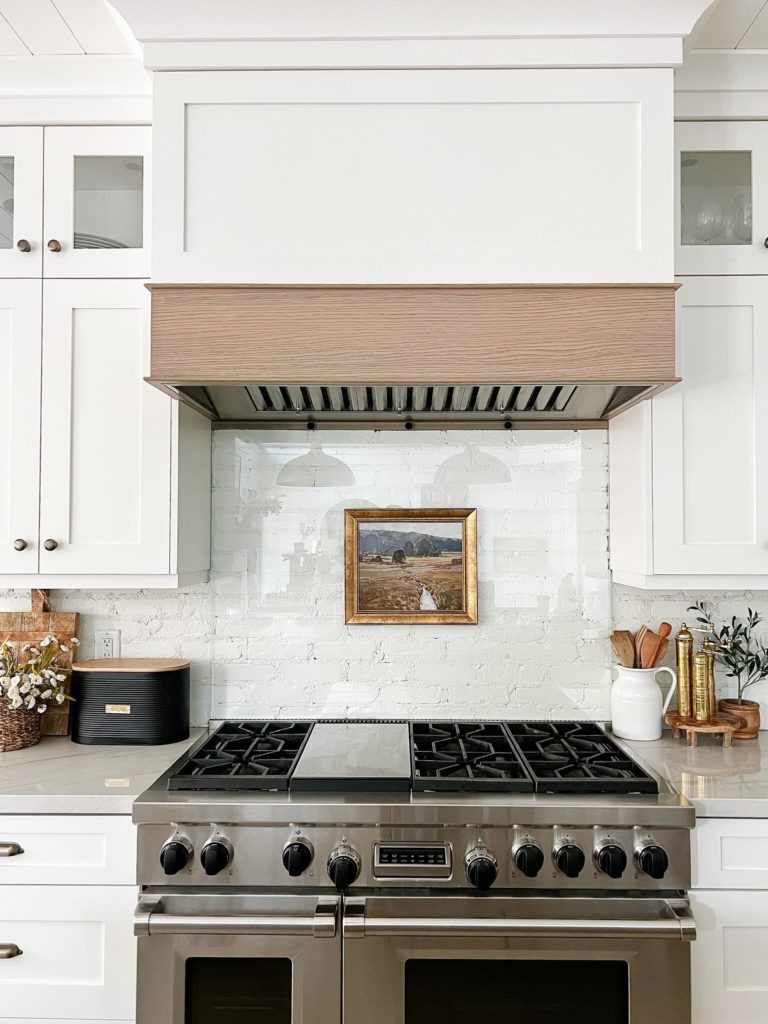
- Digital prints Marble looks, geometric art, or even a photo. Great for statement walls.
- Clear glass Simple and budget-friendly. Works best on smooth, painted walls.
- Finishes Standard gloss shines. Satin or etched glass hides smudges better.
Plan for outlets early. Outlet cutouts are possible but cost more and add risk. When I can, I move outlets to nearby areas or use a two-piece layout. This helps avoid complex cuts.
A small rail or ledge at the bottom can shield the edge from pan bumps. It is a smart add-on for busy kitchens.
Cost, Budget, and Value
A tempered glass backsplash behind stove is an investment. Costs vary by size, color, and cutouts.
Typical ranges:
- Glass material per square foot Standard tempered panels cost in a mid-range bracket. Low-iron or custom print adds to the price.
- Edge polish and shaping Needed for a finished look and safe handling.
- Cutouts for outlets Priced per cutout. Each adds time and risk.
- Installation Labor for templating, handling, and mounting is a set fee or per square foot.
Expect a total between a few hundred dollars for a small area to over a thousand for custom art or large spans. For resale, the clean, modern look can help. Buyers love a spotless, easy-to-clean cooking zone.
Measuring, Templating, and Installation Guide
You can DIY if you are precise and patient. Still, many people hire a pro for templating and install. One error can mean reordering the whole panel.
Steps I follow:
-
Plan and prep
- Turn off gas or power and slide the range out a bit.
- Check the wall for flatness. Fill dips and sand bumps.
- Confirm hood height and any clearances from the range manual.
-
Measure and template
- Use cardboard or a digital template. Note all edges and corners.
- Decide on inside corners, returns, and outlet moves.
- Confirm final size and thickness. For most jobs, I choose 1/4 inch tempered.
-
Order the glass
- Specify tempered safety glass, polished edges, and low-iron if color match matters.
- Choose back-painted color or printed design.
- Approve a final drawing before tempering. After tempering, no more cuts.
-
Install day
- Dry-fit first. Check gaps and level.
- Clean the wall. Mark silicone spots.
- Apply small dots of high-temp neutral-cure silicone across the field.
- Set 1 to 2 mm spacers at the bottom and sides for expansion.
- Lift with two people. Press gently. Tape in place while it cures.
- Seal edges with matching caulk to block moisture and crumbs.
-
Final checks
- Wait for full cure per the silicone label.
- Slide the range back. Confirm no contact with the glass.
- Wipe the surface and enjoy the view.
A tempered glass backsplash behind stove needs careful handling. Take your time or hire a specialist if in doubt.

Cleaning and Maintenance Tips
Daily care is simple. That is why many cooks love it.
- Use mild glass cleaner or a mix of vinegar and water Wipe with a soft cloth.
- For stuck-on spots Warm soapy water first. A plastic scraper can help on cooled messes.
- Avoid abrasives and harsh pads They can mark coatings and dull the finish.
- Check caulk lines once a year Touch up gaps to keep grease out.
If you love to fry, keep a small squeegee by the sink. One quick pass, and your tempered glass backsplash behind stove looks new again.

Common Mistakes to Avoid
I see the same errors in rushed installs. They are easy to dodge.
- Skipping tempering Non-tempered glass is unsafe near heat.
- Bad measuring After tempering, you cannot trim. Measure twice, template once.
- Wrong adhesive Use neutral-cure, high-temp silicone. Some glues attack back paint.
- No expansion gap Glass needs a tiny gap so it can move without stress.
- Outlet overload Too many cutouts weaken the panel and raise costs.
- Expecting pure white with regular glass Standard glass has a green tint. Choose low-iron for whites and light grays.
- Direct flame or pan contact Do not let burners or hot pans touch the glass.
A well-planned tempered glass backsplash behind stove avoids these issues and lasts for years.
How It Compares to Other Backsplash Materials
You have options. Here is a quick view.
- Ceramic or porcelain tile Durable and budget friendly. Grout takes work to keep clean.
- Large-format porcelain slabs Few seams and great heat resistance. Heavier and needs a pro.
- Stainless steel Industrial look and very heat safe. Shows scratches and fingerprints.
- Quartz or stone Beautiful and strong. Not all engineered stone is rated for direct high heat.
- Acrylic panels Easy to install and low cost. Not for use behind gas burners.
If easy cleaning and modern style matter, a tempered glass backsplash behind stove is hard to beat. For a classic look, tile still shines.
Buying Checklist and Quick Specs
Use this shortlist when you order.
- Glass type Tempered safety glass for backsplash use.
- Thickness Commonly 1/4 inch. Ask your fabricator for advice.
- Color choice Back-painted, printed, or clear. Low-iron for true color.
- Edge work Polished edges and any corner shaping.
- Cutouts Outlets, switches, or vents planned in advance.
- Adhesive High-temp, neutral-cure silicone only.
- Gaps and trims Small expansion gaps with color-matched caulk.
- Standards Meets common safety glass impact standards.
- Warranty Coverage for paint adhesion and glass quality.
- Lead time Plan for templating, fabrication, and install dates.
Bring a sample door or paint chip to match your finish. A precise match makes your tempered glass backsplash behind stove look custom, not close-enough.
Frequently Asked Questions of tempered glass backsplash behind stove
Is a tempered glass backsplash safe behind a gas stove?
Yes, when installed per the range manual and glass maker specs. Keep glass away from direct flame and protect edges from pan impacts.
How thick should the glass be?
Most kitchens use 1/4 inch tempered glass. Thicker panels can be used for very wide spans or added rigidity.
Can I put outlets in the glass?
Yes, but each cutout adds cost and risk. If possible, relocate outlets just outside the cook zone to keep the panel strong.
Will the glass turn cloudy or yellow over time?
Quality back paints and ceramic frits are stable. Use gentle cleaners and avoid harsh chemicals to keep the color true.
Can I install a tempered glass backsplash myself?
You can, if you template well and use the right silicone. It is a two-person lift, and mistakes can be costly, so many people hire a pro.
Does glass scratch easily?
Tempered glass resists light wear but can scratch with abrasives. Use soft cloths and non-scratch tools.
How do I stop fingerprints on dark glass?
Choose a satin or etched finish, or keep a microfiber cloth handy. A quick wipe keeps it spotless.
Conclusion
A tempered glass backsplash behind stove blends style, safety, and simple care. It turns a splash zone into a smooth, bright surface you can clean in seconds. With careful planning, the right materials, and smart install steps, you get a finish that looks high-end and works hard every day.
If you are ready, measure your cook zone, pick a color you love, and talk with a trusted fabricator. Want more tips or help choosing colors? Drop a comment or subscribe for updates on smart, low-maintenance kitchen upgrades.