
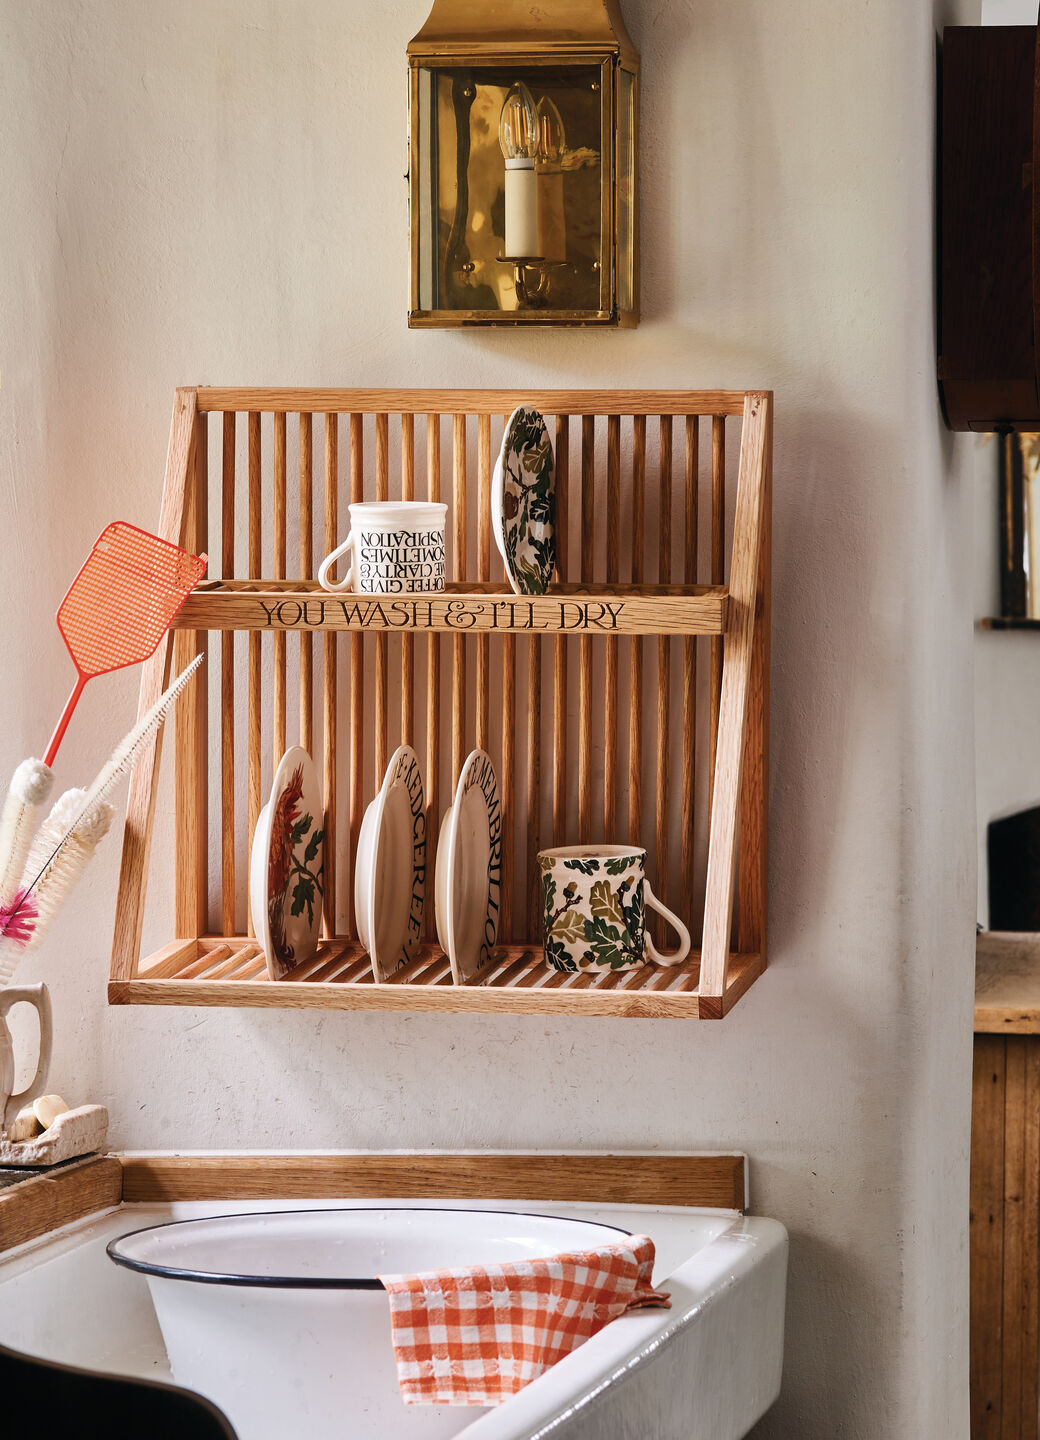
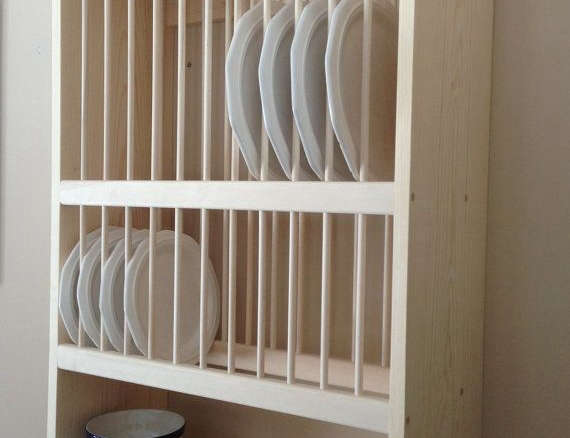
A wooden wall mounted plate rack saves space and showcases dishes with charm.
If you want storage that feels warm, smart, and timeless, this guide is for you. I’ve designed, installed, and used more than a dozen wooden wall mounted plate rack systems in real homes. I’ll show you how to choose the right rack, mount it safely, style it well, and keep it beautiful for years.
Why a wooden wall mounted plate rack belongs in your kitchen
A wooden wall mounted plate rack turns empty wall space into useful storage. It keeps plates within reach, frees your cabinets, and adds a cozy look. It also helps plates dry with airflow. That can cut chips and water spots.
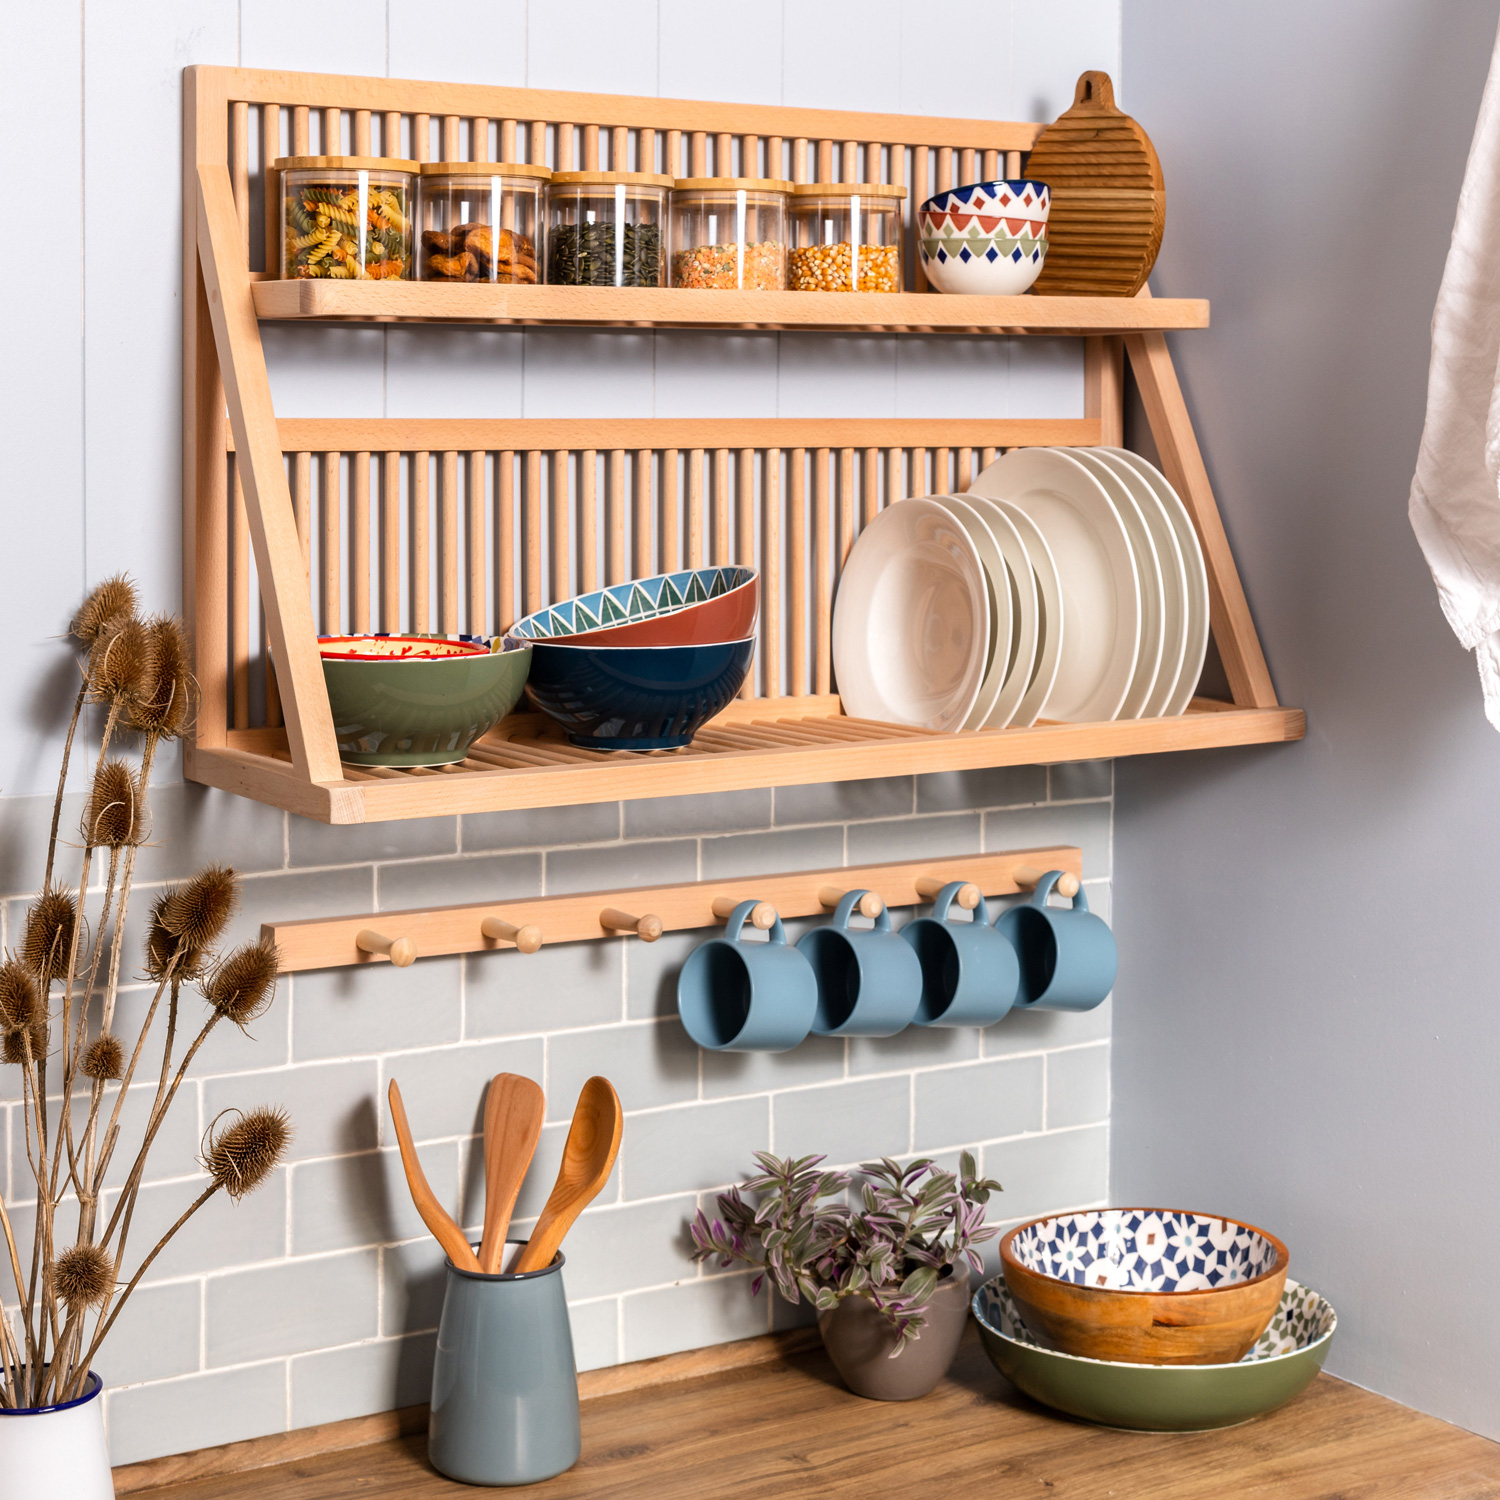
The design is simple. Slats or dowels hold dishes upright. A rail keeps them safe. Many models have a shelf on top. Some add pegs for mugs or towels.
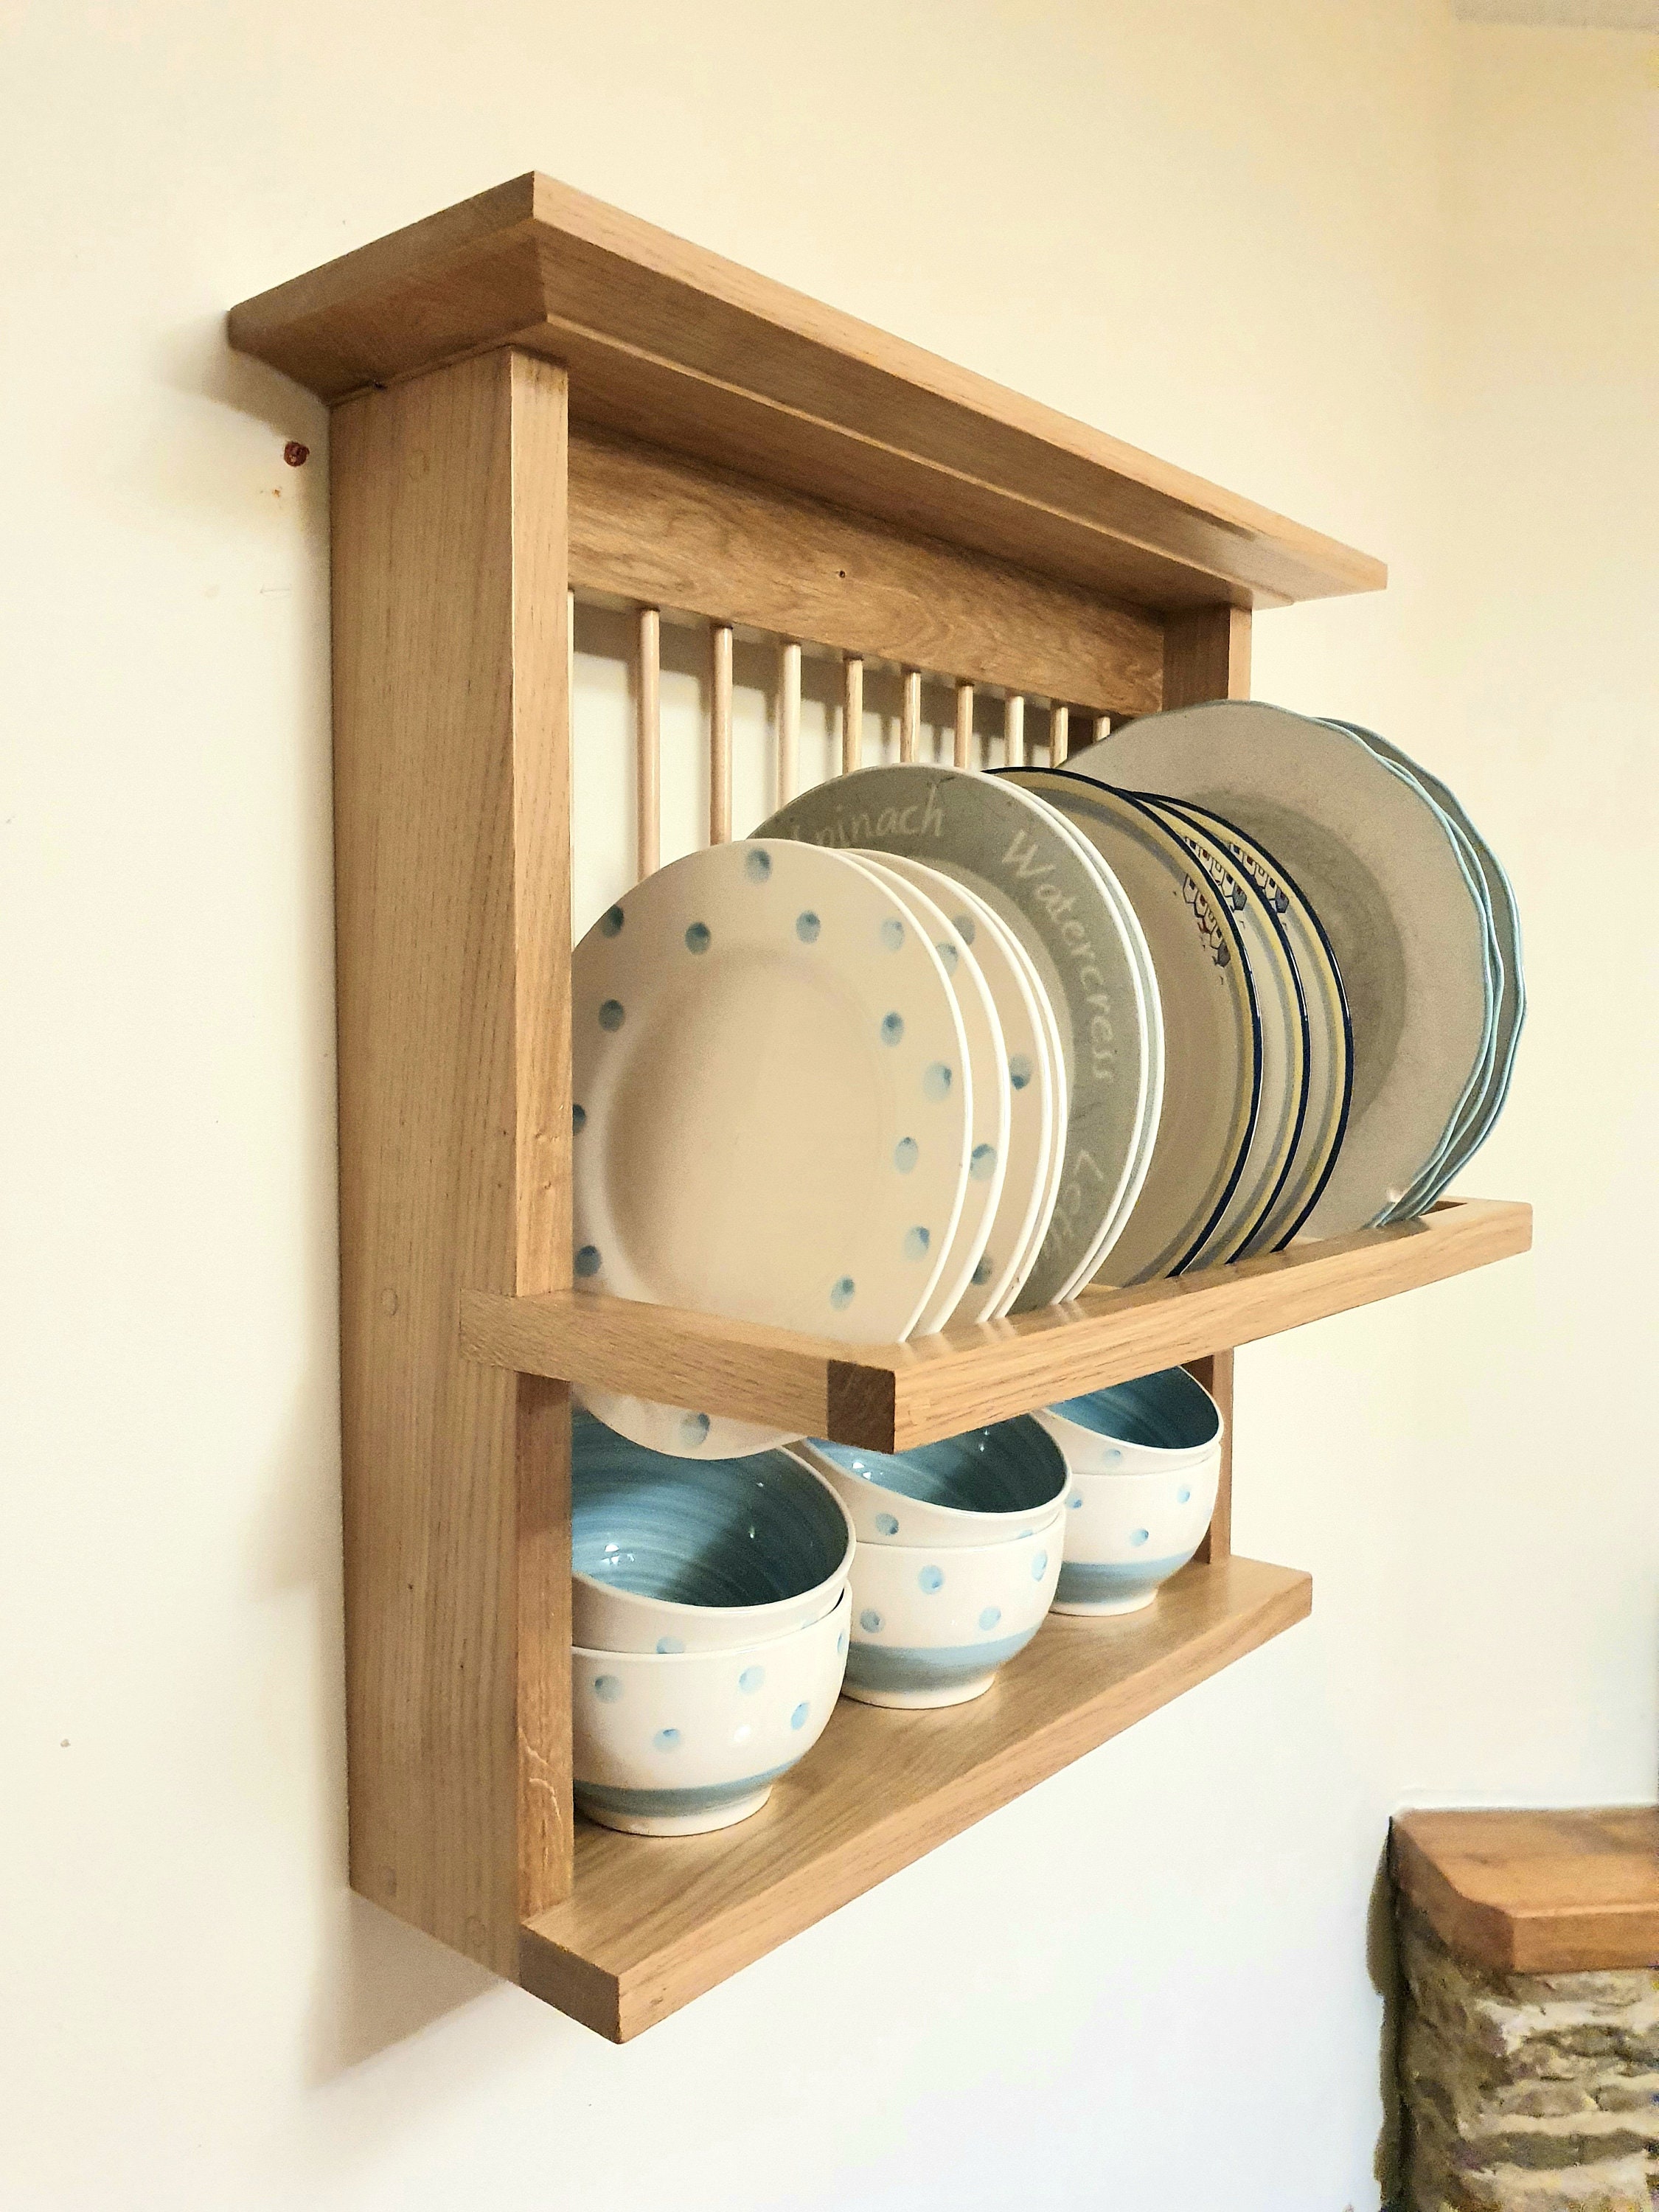
If you love form and function, this shines. A wooden wall mounted plate rack looks great and works hard. It suits farmhouse, Shaker, and modern spaces alike.

Types, woods, and finishes
You can find a wooden wall mounted plate rack in many looks. The best one fits your home and habits.
Common styles
- Shaker: Clean lines, thin rails, and flat sides. Simple and calm.
- Farmhouse: Chunkier rails, visible wood grain, and warm stains.
- Scandinavian: Light wood, matte finish, and airy spacing.
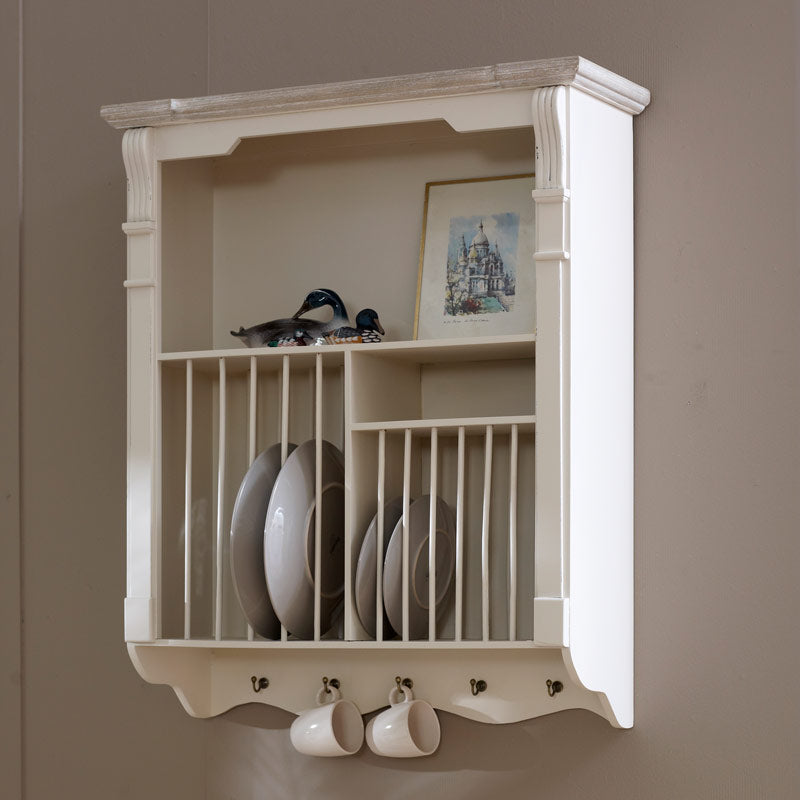
- Cottage: Curves, beadboard backs, and soft pastels.
Best wood choices
- Oak: Very strong. Pronounced grain. Great for a busy kitchen.
- Maple: Hard and smooth. Takes paint well. Resists dents.
- Walnut: Dark and rich. High-end look. Needs gentle care.
- Pine: Light and budget friendly. Softer, so seal it well.
Finish tips
- Clear oil or wax: Warm tone and easy touch-ups. Food-safe options exist.
- Polyurethane: Tough and wipeable. Choose low-VOC for indoor air.
- Paint: Satin or semi-gloss cleans fast. Use a good primer first.
A wooden wall mounted plate rack with a durable finish lasts longer. It also resists steam and splashes near a sink or range.
How to pick the right size and capacity
Start with a tape measure. Fit the rack to your wall, plates, and studs.
Key steps
- Measure your wall space. Leave 2 inches from outlets, trim, and switches.
- Check stud spacing. Most walls have studs 16 inches on center. Plan screws into at least two studs.
- Measure your largest plate. Many dinner plates are 10 to 12 inches. Add 1 inch of headroom.
- Pick shelf depth. 5 to 7 inches works for most plates. Go 7 to 9 inches for platters.
- Count capacity. Plan 1.25 to 1.5 inches per plate slot for easy pull-out.
- Mind clearance. Leave 18 inches from counter to bottom of rack if above a counter.
Weight matters. An average dinner plate weighs 1 to 2 pounds. A 20-plate load can hit 20 to 40 pounds, plus the rack. Size your hardware for at least 60 pounds total.
Choosing a wooden wall mounted plate rack that fits these numbers prevents tilt, sag, and cracks.
Step-by-step installation guide
You can mount most racks in an hour. Always work into studs when you can.
Tools and supplies
– Stud finder, pencil, level, and tape measure
- Drill, wood drill bits, and driver bits
- Screws: #10 wood screws, 2.5 to 3 inches
- Anchors for drywall if studs don’t line up
- Optional French cleat for heavy racks
Steps
- Mark studs. Use a stud finder and confirm with a small test nail.
- Mark rack holes. Hold the rack up. Use a level. Mark pilot hole spots.
- Drill pilot holes. Use a bit slightly smaller than your screws.
- Mount a French cleat if using one. Screw the wall side into studs.
- Lift the rack. Hang on the cleat or drive screws through the rack rails.
- Check level. Tighten screws. Add caps or plugs if supplied.
- Load test. Add plates one by one and look for movement.
Pro tips
- Use a spacer board to clear a tile backsplash lip.
- For plaster walls, use masonry bits and anchors made for plaster.
- In rentals, consider a rail system that spreads weight over more screws.
A wooden wall mounted plate rack set with a French cleat feels rock solid and is easy to remove for painting.
Styling and everyday use tips
Your rack is storage, but it is also a gallery wall. Make it yours.
Simple ideas
- Stack by use: Daily plates at eye level. Rare plates up high.
- Mix shapes: Add bowls and salad plates for depth.
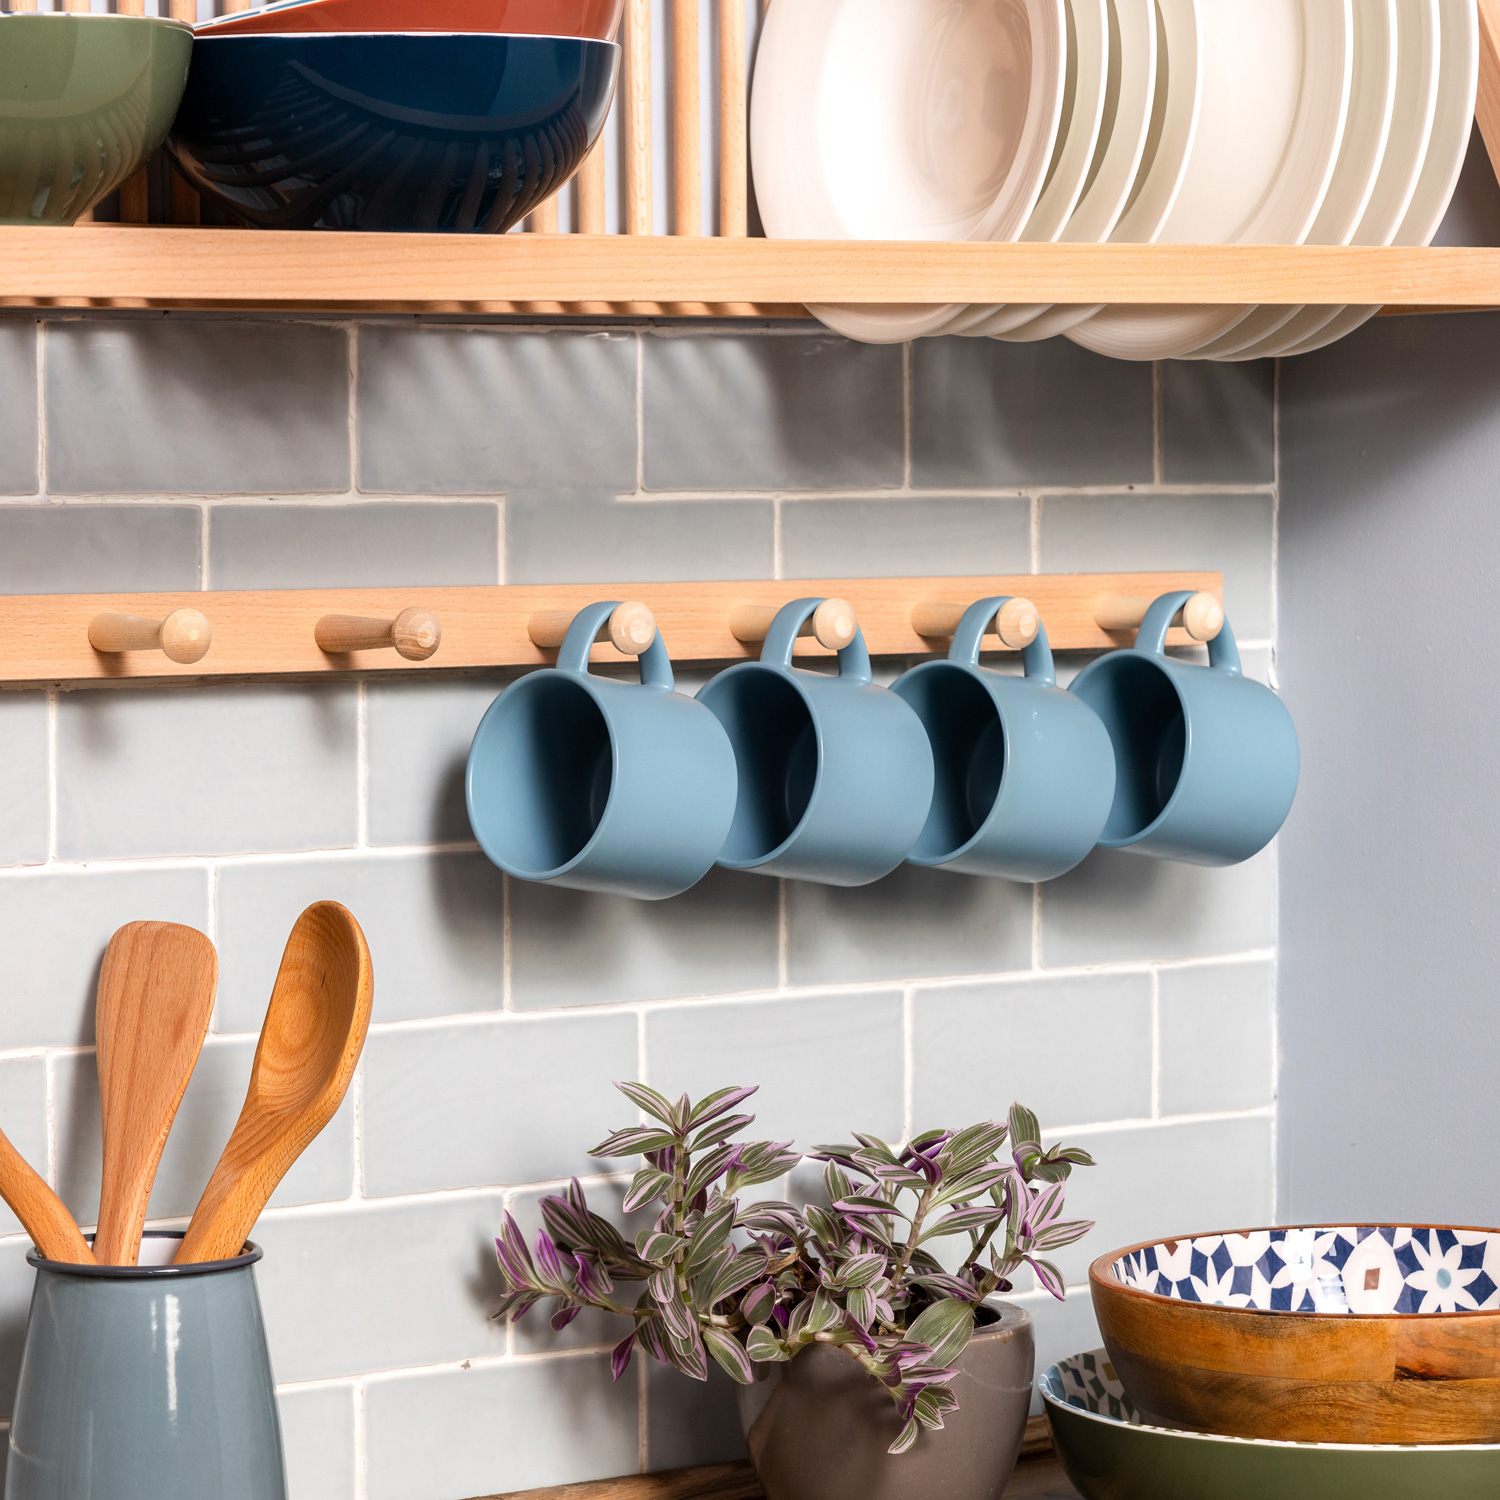
- Add hooks: Hang mugs, strainers, or a small cutting board.
- Layer color: Use white plates for calm. Add one accent color for pop.
- Use the top shelf: Plants, cookbooks, or jars of grains look great.
I rotate plates by season. It keeps the kitchen fresh. A wooden wall mounted plate rack makes this quick and fun.
Care, cleaning, and long-term upkeep
Wood likes steady care. Small steps go a long way.
Easy routine
- Dust weekly with a soft cloth or a dry mop head.
- Wipe spills at once. Use a damp cloth, then dry.
- Refresh oil or wax finish twice a year if used. Follow the label.
- Keep humidity near 30 to 50 percent to limit warping.
Avoid harsh pads, bleach, and long steam blasts. If paint chips, sand a small area smooth and touch up. A well-kept wooden wall mounted plate rack can last decades.
Safety, load capacity, and code notes
Safety first. Good anchors and screws matter more than looks.
Checks to make
- Secure into at least two studs when you can.
- If using anchors, choose ones rated above your full load.
- Keep plates behind a front rail or dowel at least 1 inch high.
- In quake zones, add a second rail or a small silicone dot on each plate base.
- Maintain 18 inches clearance from a gas cooktop for heat and code safety.
Do a quick weight math. Rack weight plus plates should sit well below your anchor rating. When in doubt, use a French cleat or a rail system. A sturdy wooden wall mounted plate rack should not wiggle when you load it.

Cost, value, and where to buy
You can find options for almost any budget.
Typical ranges
- Entry: $40 to $120. Often pine or rubberwood. Lighter loads.
- Mid: $150 to $400. Oak, maple, or painted hardwood. Stronger joinery.
- Custom: $500 to $1,500+. Premium wood, exact fit, hand finish.
Where to look
- Local makers and carpenters for custom sizing.
- Home stores for ready-made racks.
- Vintage shops for solid old pieces. Refinish as needed.
- Online marketplaces for both new and used deals.
Focus on build, not brand. Solid wood, tight joints, and clean rails win. A quality wooden wall mounted plate rack pays back in daily joy and real use.

DIY vs ready-made: which is right for you?
DIY can be fun if you have the tools and time.
DIY needs
- Table saw or circular saw with a guide
- Drill, clamps, sander, and wood glue
- Dowels or slats, side panels, and a back board
- Finish of choice and mounting hardware
Pros of DIY
- Exact size for your wall
- Wood and finish you love
- Often cheaper at mid to high sizes
Pros of ready-made
- Fast install
- Predictable quality
- Clear load ratings
Common DIY mistakes to avoid
- Thin rails that flex under load
- Screws too short for stud grab
- Finish too soft for kitchen steam
- No front rail, so plates slide
If you go DIY, test with a full load for 24 hours. A home-built wooden wall mounted plate rack should pass this test with no sag.
Real-world examples and lessons learned
In my own small kitchen, I swapped a cabinet for a wooden wall mounted plate rack. It freed a full shelf. My daily plates sit at eye height now. I grab them with one hand while cooking.
What worked
- A 30-inch-wide rack into two studs felt very sturdy.
- A French cleat made paint and deep cleans easy.
- A top shelf stores cookbooks and a small radio.
What I’d do again
- Use satin paint. It wipes clean better than matte.
- Add a second front rail for big platters.
What to avoid
- Mounting near a steam vent. Steam can lift paint in time.
- Overloading with heavy stoneware on top. Keep the weight lower.
Real life use is kind. A wooden wall mounted plate rack turns chores into a small joy.
Frequently Asked Questions of wooden wall mounted plate rack
How much weight can a wooden wall mounted plate rack hold?
Most hold 40 to 80 pounds when screwed into studs. Check the maker’s rating and your wall type first.
Can I install a wooden wall mounted plate rack on drywall without studs?
Yes, but use heavy-duty anchors or a French cleat. Stud mounting is still safer and best for heavy loads.
What finish is best for kitchen steam and splashes?
A water-based polyurethane or a high-quality enamel paint works well. Both clean fast and resist moisture.
Will a wooden wall mounted plate rack damage my plates?
Not if rails are smooth and plates sit secure. Add clear bumpers under plates for extra grip if needed.
How do I clean a painted rack without dulling the color?
Use a damp cloth with mild soap. Dry right away, and avoid harsh scrub pads.
Is a wooden wall mounted plate rack safe over a sink?
Yes, if mounted into studs and kept clear of direct spray. Choose a water-resistant finish and wipe splashes fast.
What size rack should I buy for a set of 12 plates?
Look for at least 15 to 18 inches of linear space. Plan 1.25 to 1.5 inches per plate for easy access.
Conclusion
A wooden wall mounted plate rack blends beauty, reach, and space savings. It turns a blank wall into a hard-working, heartwarming zone. With the right size, secure install, and simple care, it will serve you for years.
Pick your style, measure with care, and mount it right. Start small if you are unsure. Then enjoy the ease of plate-at-hand living. Want more ideas like this? Subscribe for fresh, practical home tips, or drop a comment with your space and I’ll help you plan.