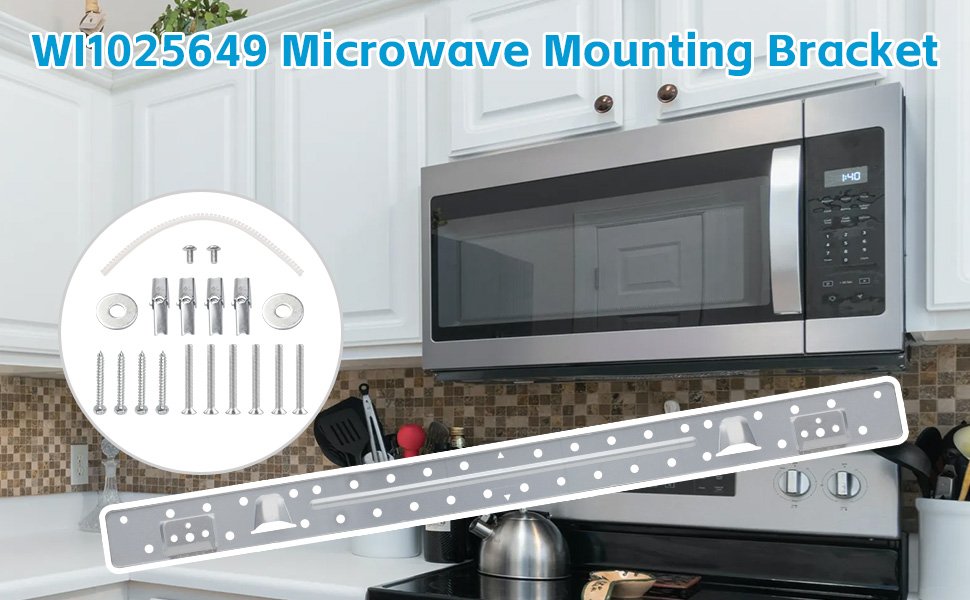
A sturdy metal wall plate that locks your Whirlpool microwave to wall studs.
If you are choosing a whirlpool over the range microwave mounting bracket, you are in the right place. I install and service these units often, and I know the small things that make a big difference. This guide breaks down parts, fit, tools, install steps, safety, and fixes. Read on to master the whirlpool over the range microwave mounting bracket with clear, simple steps that work.

What is a Whirlpool Over the Range Microwave Mounting Bracket?
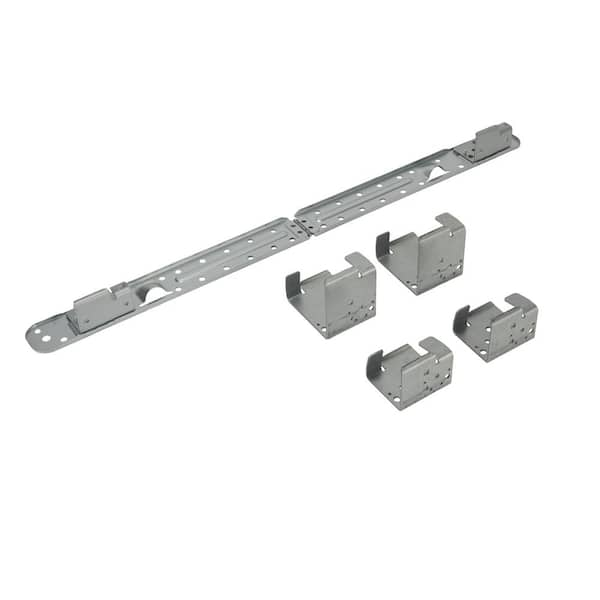
The mounting bracket is a steel wall plate. It holds the back of the microwave to the wall. The front hangs on two top bolts from the cabinet. Together, they create a tight, safe mount.
For most Whirlpool models, the whirlpool over the range microwave mounting bracket is specific to the series. Many look alike, yet hole spacing and tabs can vary. Always match the model number to be safe. If you cannot find the original, Whirlpool offers replacement kits for many models.
A good bracket spreads weight across studs. It sets the exact height and angle. This keeps the door level and the fan aligned with the vent path.
How the Mounting Bracket Works and Why It Matters
Think of the bracket as a shelf lip. The microwave back case hooks onto it. Then two screws from the top cabinet pull the unit tight. This makes a strong triangle that resists pull and tilt.
A proper whirlpool over the range microwave mounting bracket prevents sag, vibration, and heat stress. It also lines up the blower with your vent or recirculation filter. When the plate is off by even 1/4 inch, doors can rub and fan noise goes up.
I have seen units mounted to drywall alone. They looked fine on day one. By month three, the bracket tore the wall. Studs matter. So do toggle anchors when studs are off center.
Types, Sizes, and Compatible Models
Most Whirlpool OTR brackets fall into these groups:
- Universal Whirlpool kit for newer 30-inch OTR units. It fits many standard-depth models.
- Model-specific bracket plates. These match exact tab shapes and hole maps.
- Retrofit brackets for older or discontinued models. These often ship with adapter screws.
Key sizing notes:
- Standard OTR width is 30 inches. Brackets align to 16-inch on-center studs when possible.
- Some low-profile Whirlpool units use different hole patterns.
- Depth and tab style can differ by year and series.
When in doubt, check your model tag behind the door. Then source the whirlpool over the range microwave mounting bracket by that model number. Your fit rate jumps to near 100%.
Tools and Prep Checklist
Gather tools before you lift. It saves time and stress.
- Tape measure and pencil for marks.
- Level and stud finder for accurate lines.
- Drill, driver bits, and masonry bit if tile or brick.
- Two toggle bolts for hollow spots if no stud lands.
- Lag screws for studs.
- Cardboard or a towel to protect the cooktop.
- A helper or a temporary support jig.
Also print the template that ships with your microwave. If you lost it, download a template by model. This template lines up the whirlpool over the range microwave mounting bracket holes, vent cutouts, and cord.

Step-by-Step Installation Guide
Follow this safe, simple flow. Power off the circuit first.
- Mark centerline. Measure the space. Mark the center of the range and the bottom of the cabinet.
- Find studs. Use a stud finder and test with a small pilot hole.
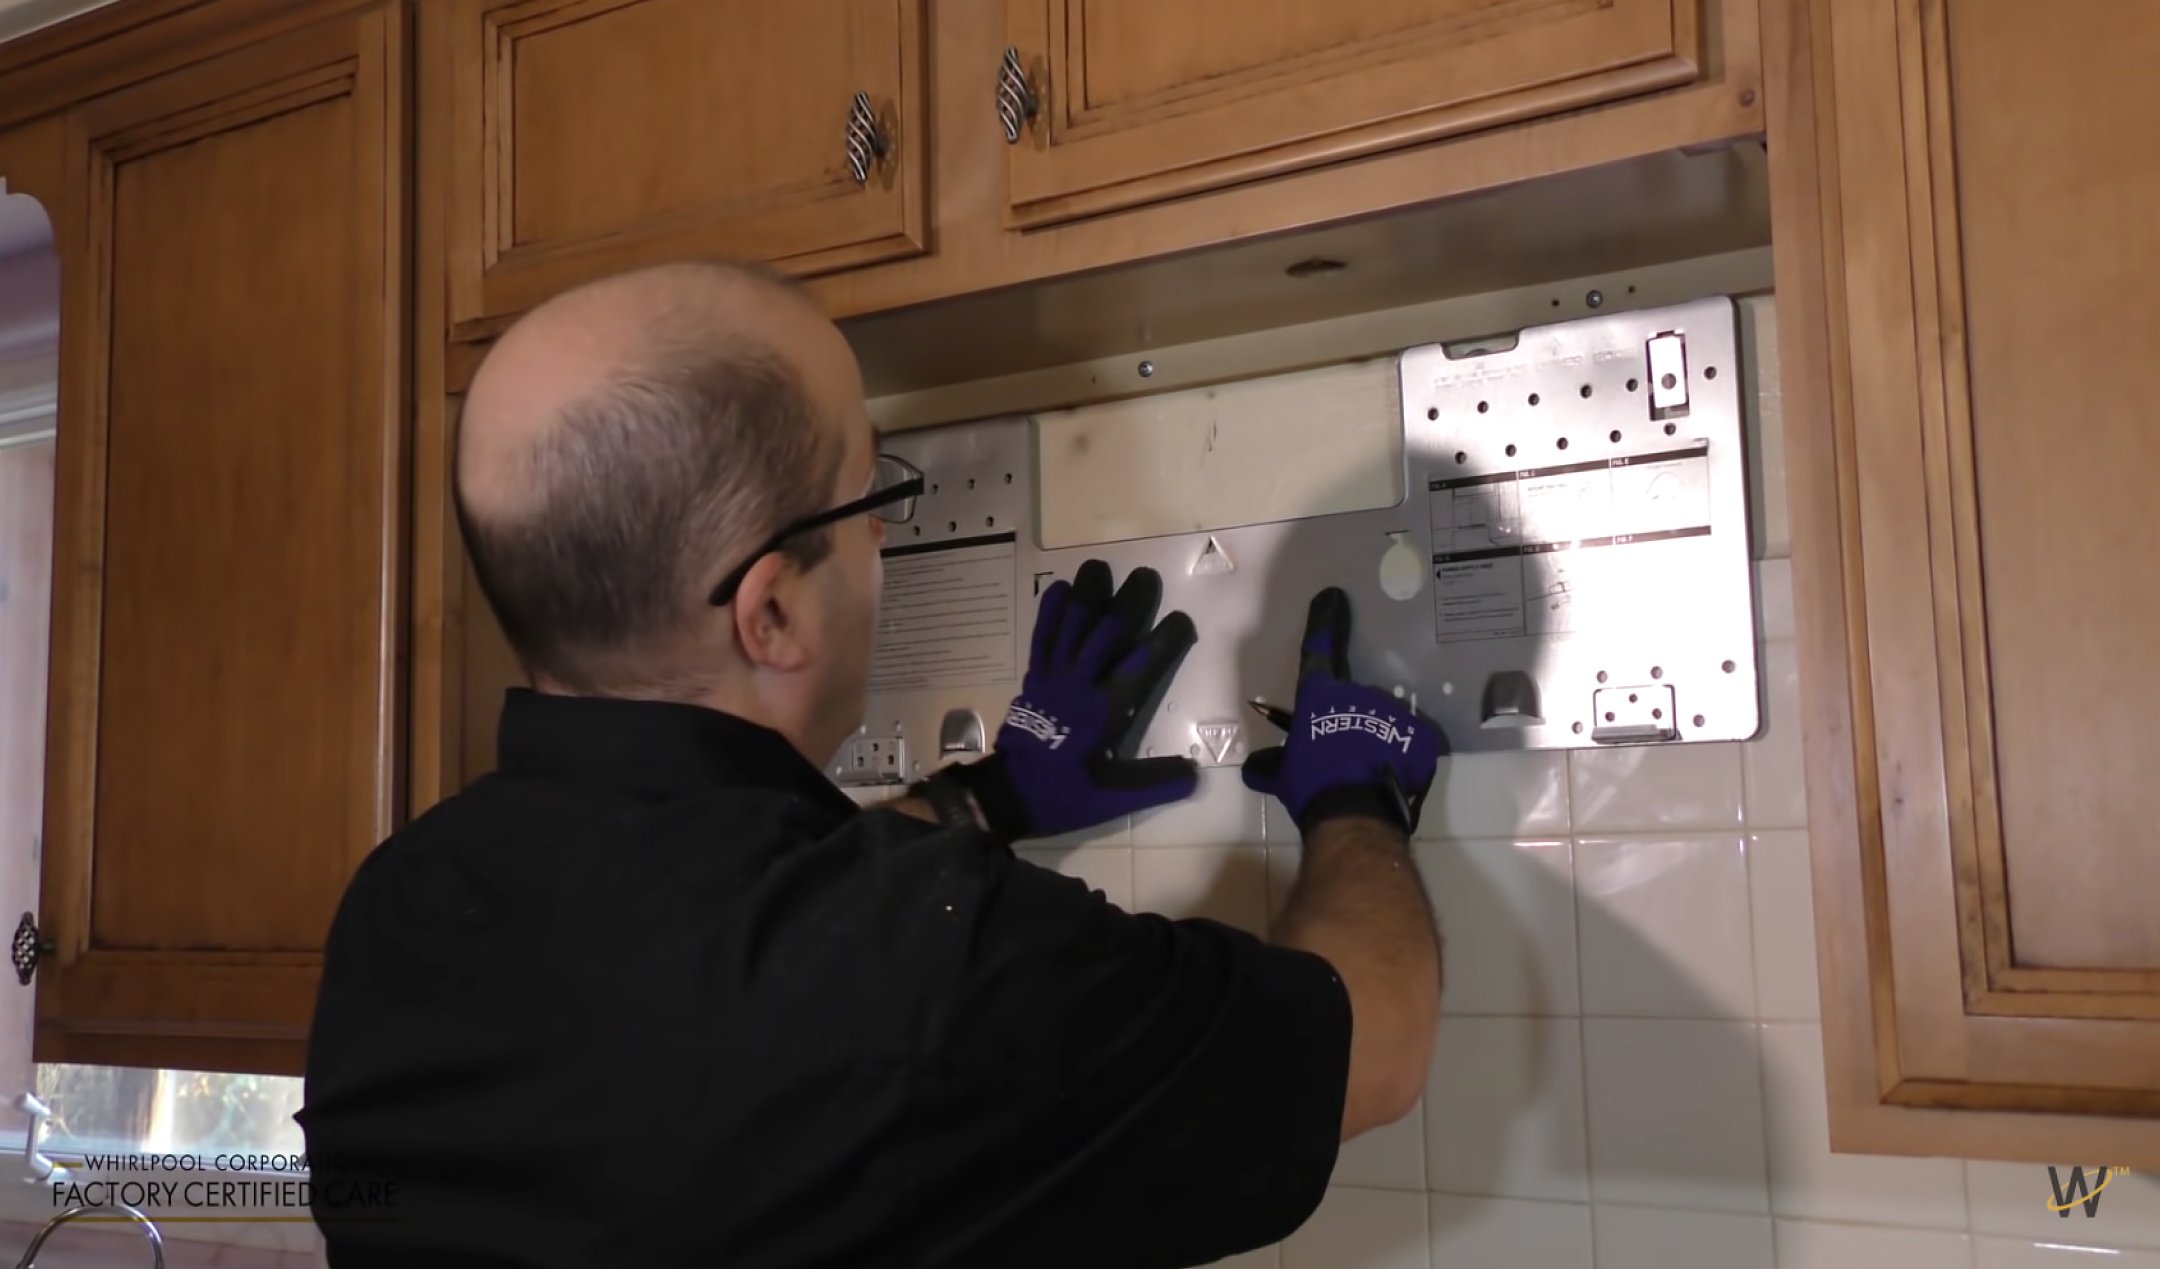
- Tape the wall template. Level it. Mark bracket holes and vent cuts.
- Drill holes. Use wood bits for studs and the right size for toggles.
- Mount the whirlpool over the range microwave mounting bracket. Keep it level and tight to studs.
- Prep the top cabinet. Drill two 3/8-inch holes for the mounting bolts per the template.
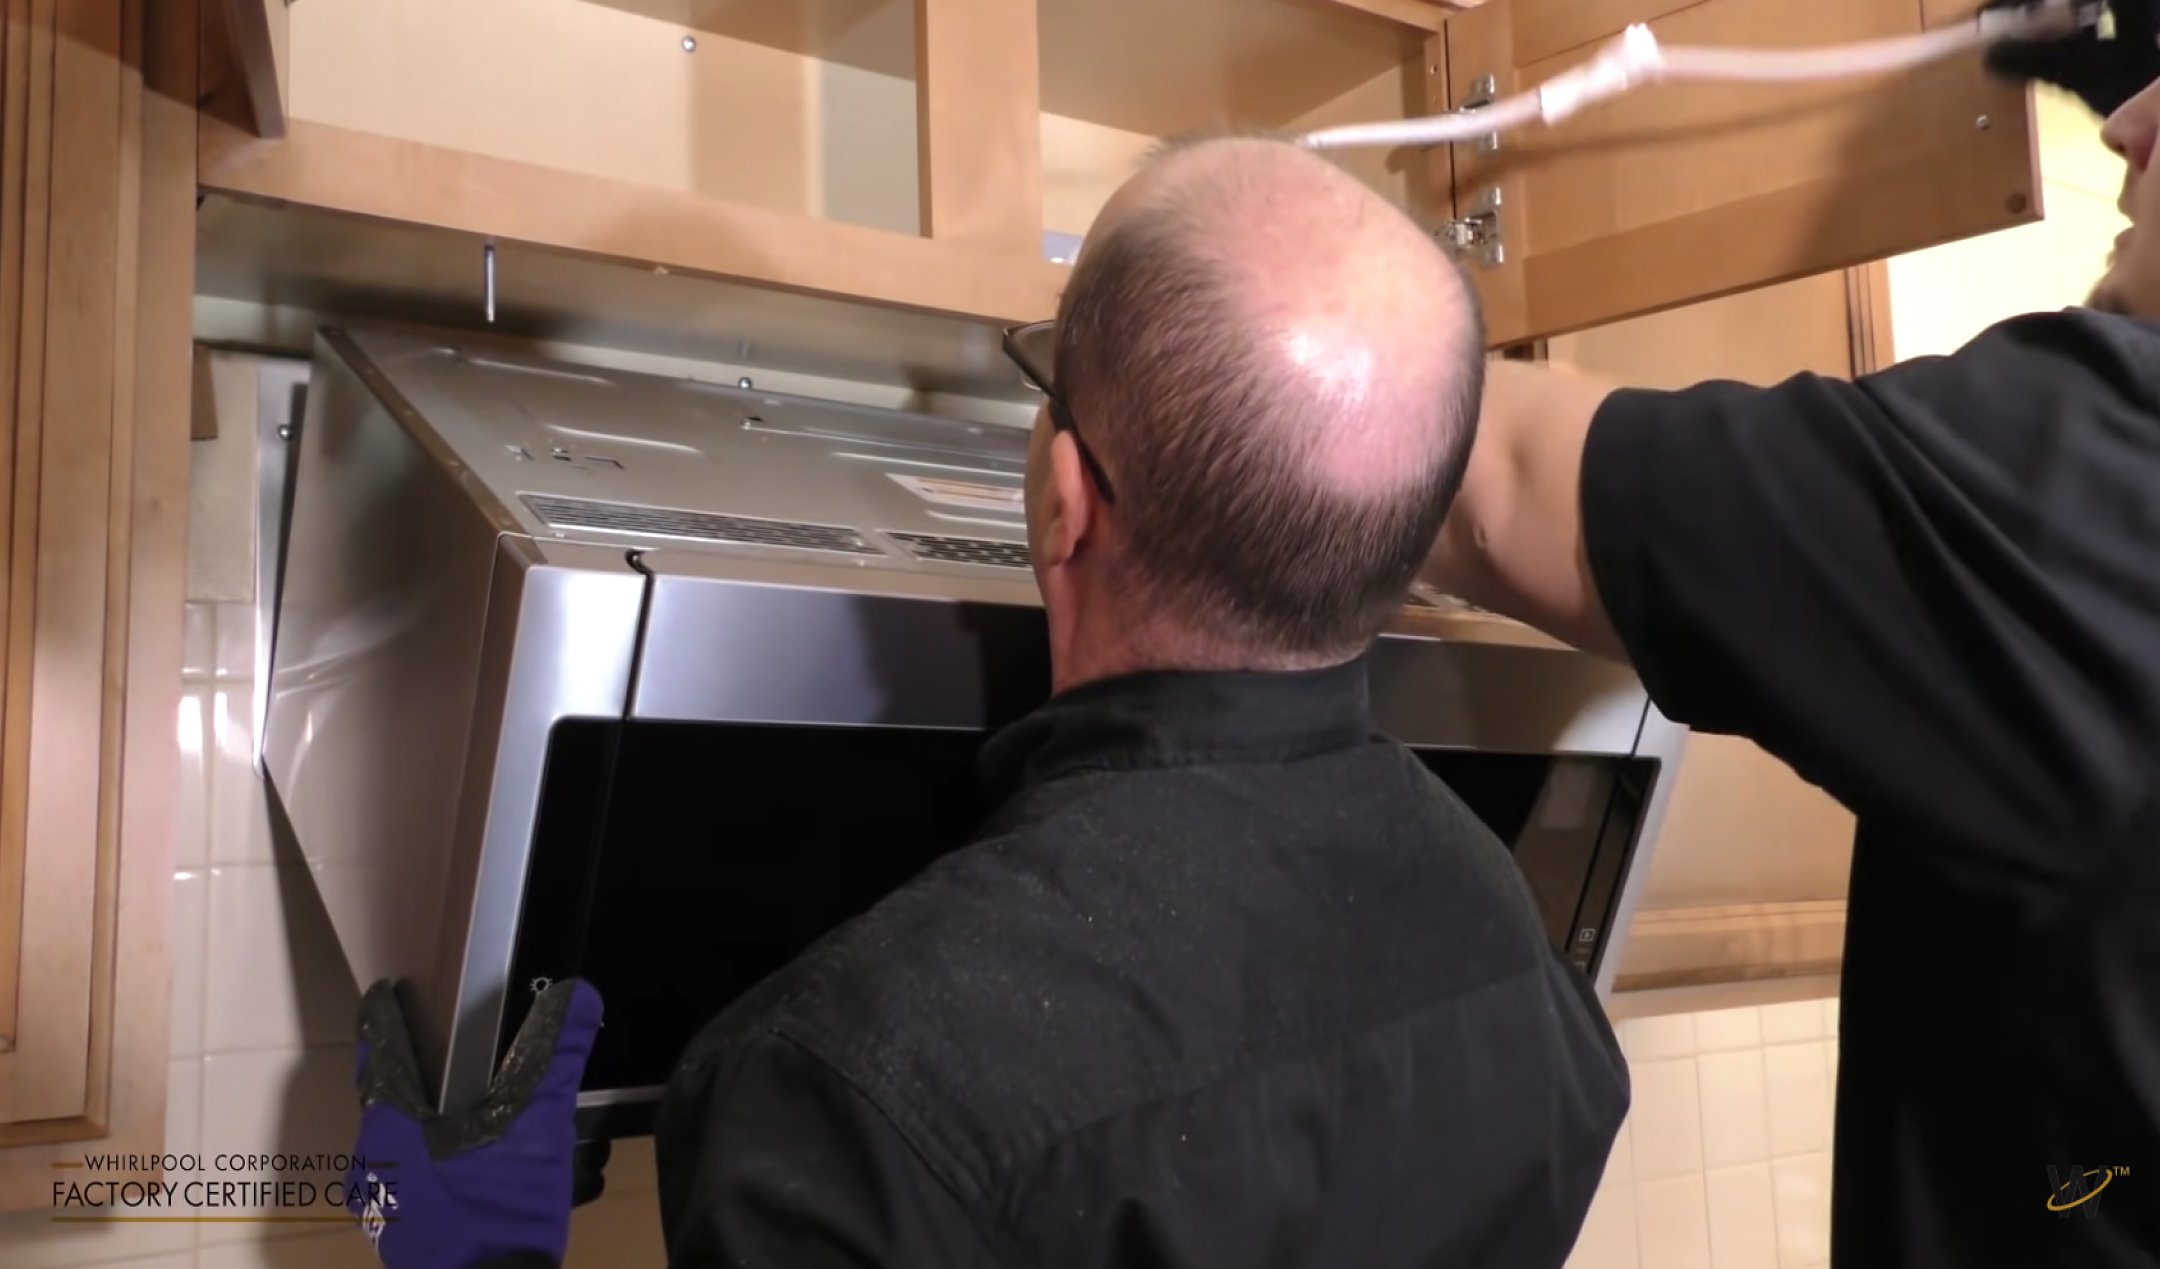
- Lift the unit. Hook the back case onto the bracket tabs.
- Feed the power cord up. Insert top bolts. Tighten until snug. Do not crush the cabinet.
- Install vent parts. Set the blower for recirculate or outside vent as planned.
- Test. Check door gap, light, fan, and clock. Re-level if needed.
Pro tip from the field: If you work alone, set a stacked book pile or a 2×4 jig on the range to hold part of the weight while you hook the back. It keeps your hands free and your back happy.
Common Mistakes and How to Avoid Them
I see the same issues over and over:
- No stud engagement. At least one lag into a stud is best. Use rated toggles if you miss.
- Crooked bracket. Even a small tilt causes door rub and latch wear.
- Wrong bracket for the model. Tabs will not seat. Always confirm part numbers.
- Over-tight top bolts. This crushes cabinet wood and loosens later.
- Ignoring vent path. Airflow fights the cabinet and gets noisy.
Use the exact whirlpool over the range microwave mounting bracket for your unit. Level twice. Tighten once.
Safety, Venting, and Code Considerations
Safety comes first. Kill power at the breaker. Wear eye protection. Protect the cooktop surface.
Venting tips:
- Use smooth metal duct. Keep runs short with gentle elbows.
- Seal joints with foil tape rated for duct use.
- Follow clearance rules for gas ranges and hoods.
Most manufacturer guides and many local codes call for proper stud anchoring and listed duct parts. When unsure, ask a licensed installer. A correct whirlpool over the range microwave mounting bracket is only one part of a safe setup.
Troubleshooting and Replacement
If your microwave sags, rattles, or the door rubs, check the bracket:
- Look for pulled screws, cracked drywall, or bent tabs.
- Verify both top bolts are present and tight.
- Re-level the plate and re-seat the hooks.
Replacing a lost or bent whirlpool over the range microwave mounting bracket is simple:
- Get the exact model number from the door frame label.
- Order the OEM bracket kit with screws and template.
- Reinstall using the steps above.
I once fixed a “noisy fan” call by re-seating the case on the plate. The blower inlet had a 1/8-inch misalignment. A quick lift and click solved the hum.
Cost, Warranty, and Where to Buy
Expect an OEM bracket kit to cost a modest amount. Prices vary by model and region. Aftermarket plates exist, but OEM fit is best and saves time.
Buy from appliance parts stores, Whirlpool’s parts site, or trusted online sellers. Keep your receipt. Using the correct whirlpool over the range microwave mounting bracket helps preserve warranty terms tied to proper installation.
Maintenance and Long-Term Tips
A good mount should last for years with no drama. Still, it helps to check yearly:
- Confirm top bolts are snug.
- Inspect caulk lines or vent joints for leaks.
- Listen for new rattles during fan use.
When you upgrade the microwave later, keep the old bracket if it matches. If not, swap in the new whirlpool over the range microwave mounting bracket that ships with the unit. It will save you from odd gaps and stress on the case.
Frequently Asked Questions of whirlpool over the range microwave mounting bracket
Do all Whirlpool OTR microwaves use the same bracket?
Many share a similar design, but not all are the same. Check your model number and match the bracket to it.
Can I mount into drywall without studs?
Yes, but use rated toggle anchors as directed. At least one lag into a stud is best for long-term hold.
How high should the microwave sit above the cooktop?
Most guides suggest 13 to 18 inches above the cooktop. Check your product manual and local code for exact clearances.
Can I reuse an old bracket from another brand?
Usually no. Tab styles and hole spacing differ. Use the correct whirlpool over the range microwave mounting bracket for a safe, flush fit.
What if my vent opening does not line up?
Reposition the bracket and adjust duct elbows within limits. Keep runs short and use smooth metal duct for best airflow.
Do I need a template to install the bracket?
A template helps a lot. If you lost it, download one for your exact model or use careful measurements from the manual.
Is professional installation worth it?
If you lack tools, help, or vent experience, yes. Pros ensure the bracket, power, and vent meet standards.
Conclusion
The right whirlpool over the range microwave mounting bracket makes your install safer, cleaner, and quieter. Match the bracket to your model, land fasteners in studs, and follow the template. With a helper and a level, you can get a tight, pro-grade fit in an afternoon.
Ready to get hands-on? Gather your tools, print the template, and start with careful marks. If you want more tips or model-specific advice, drop a comment, subscribe, or explore our step-by-step appliance guides for extra help.